Do you want to learn how to draw buffalo (aka bison)? I have put together a step-by-step tutorial that will help you figure out how to draw bison & buffalo by using simple shapes to build up their form. This is an easy illustration tutorial that kids, teens, and adults will enjoy. Even some younger children might be able to draw buffalo if you stand by to help with the instructions. Enjoy!
Drawing Buffalo – How to Draw Buffalo & Bison with Step by Step Instructions
Step 1
To start drawing the buffalo, you will want to first draw 5 vertical lines that are all the same distance apart (as seen above). These lines will help guide you draw a great bison.
Step 2
Now between the first 2 lines, draw a rectangle (lightly) as seen above. This will also be used as a guide for the buffalo’s head.
Step 3
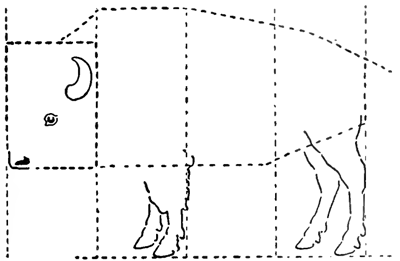
Now draw 2 more guides as seen above …let the vertical lines help you figure out where to draw the lines. Also draw a horizontal (a line that goes across from right to left or left to right). along the bottom of the bison.
Step 4
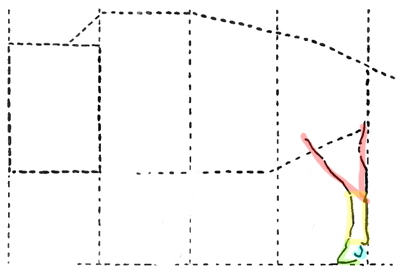
The legs of buffaloes are the hard part to draw. I color coded the leg to help you draw it. The red part looks like a letter ‘v’, the yellow part is like a rectangle, the blue part looks like a backwards letter ‘c’ and the green part looks like an ‘L’.
Step 5
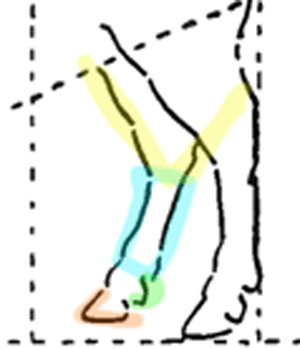
Now draw the other back leg. I again color coded it to help you with the smaller shapes that make up the hole. The yellow part is shaped like a letter ‘v’, the blue part like a rectangle. The green part like a backwards letter ‘c’ and the orange part like a sideways letter ‘v’.
Step 6
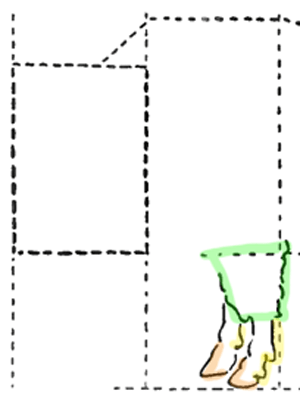
Now lets draw the front feet of the buffalo. The green part is a shape that is like a rectangle but smaller on the bottom than the top (trapezoid). The yellow shape looks like letter ‘J’s. The orange part looks like ‘L’s.
Step 7
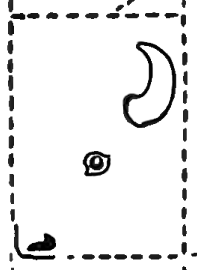
Now draw the bison’s horn, eye, and nostril.Below I inserted a picture of a closeup of the Buffalo’s face.
Now you can see that the nostril looks a bit like a sideways number ‘9’ that was colored in completely black. The horn is like a bubble letter ‘c’ with a rounded bottom.
Step 8
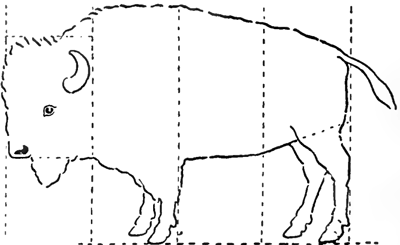
Now we are almost done. Draw out the Bison’s body (so far you just have a light sketch but it is pretty much the same except not as straight and perfect…instead make the lines a bit squigglier. Also draw the beard on the Bison’s face in a ‘v’ like shape. Also draw the bison’s tail.
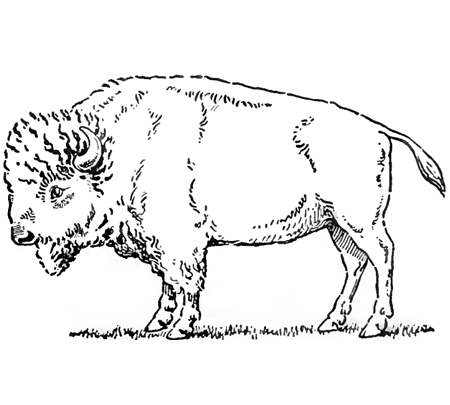
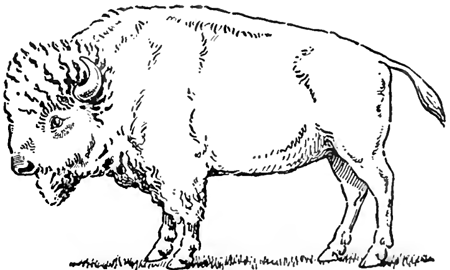
Step 9 – Finished Drawing of Buffalo / Bison Lesson
If you want to make the buffalo more detailed (as seen above)…put in some more details. Erase all of the guidelines and any other marks that don’t belong. Shadow and texture the buffalo by putting in hatch marks.
Technorati Tags: drawing buffalo, drawing bison, draw buffalo, draw bison, bison, buffalo, how to draw buffalo, how to draw bison, how to draw, drawing, drawing step by step, step by step drawing, drawing lessons, drawing tutorials, drawing for kids


Kaya’s Escape « majorchange academy
[…] Buffalo – use it while watching video #2, label each part or draw pictures […]
Hey, Thanks for a quick drawing lesson. I have lots of photos for reference, but needed some basic info and you supplied that. Thanks.
wow this is coming from a 10 year old i had to draw a bison for homework and lets just say im no artist! this helped ALOT!!! :p
That’s great…I’m glad that it helped!!
It works!
gud website..THANKS ALOT if there were fruits and vegetables too it would hAVE BEEN VERY GOOD..
thanx this was fun
ahhhhhhh help me
this is hard ahhhh