Today I will show you how to draw a Cute Kawaii-style Kodama, or Tree Spirit. Kodama are tree spirits in Japanese lore, but they are also seen in Studio Ghibli’s Princess Mononoke. You can find the simple step-by-step drawing lesson below. Happy Drawing!
How to Draw Cute Kawaii Chibi Kodama Tree Spirit from Studio Ghibli’s Princess Mononoke – Easy Step by Step Drawing Tutorial
STEP 01
Draw a letter “C” shape.
STEP 02
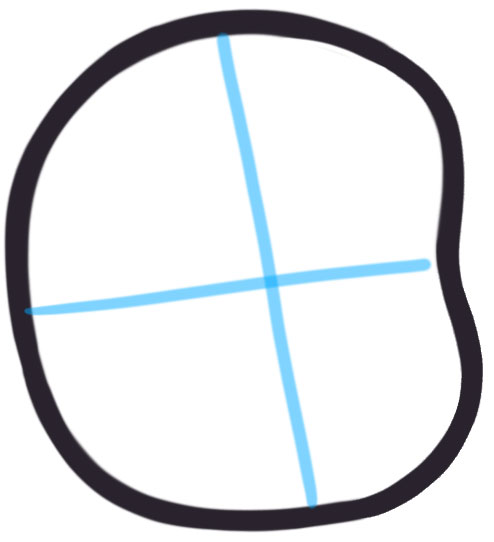
Draw a slightly flattened #3 shape. This will be his face.
STEP 03
(OPTIONAL) Lightly draw guidelines thru the face. This will help you place his eyes and mouth. These lines will be erased later on so if you draw them, draw them very lightly.
STEP 04
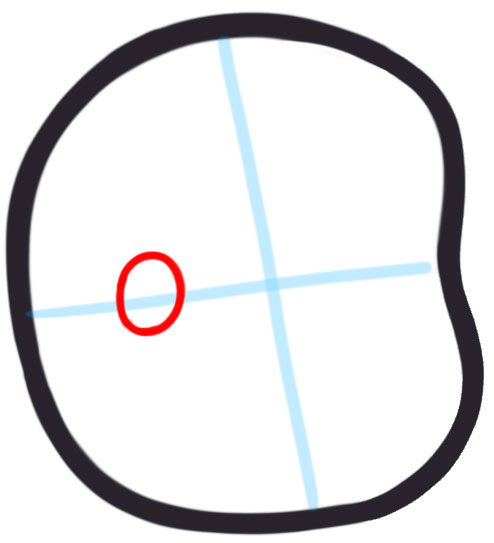
Draw an oval for the left eye. This eye is smaller than the eye on the right side.
STEP 05
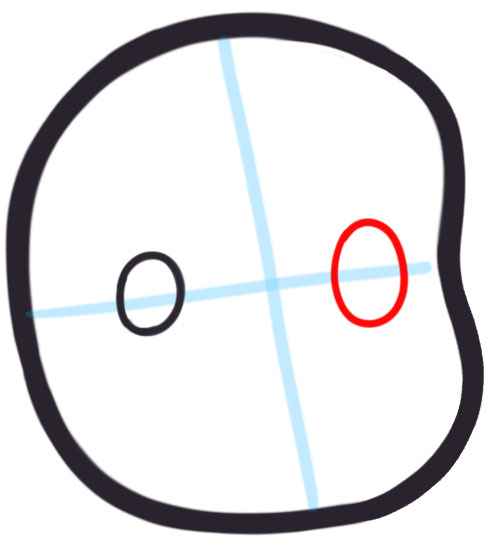
Draw a larger oval for the eye on the right side.
Check Out Our New Chibi Drawing Book on Amazon
STEP 06
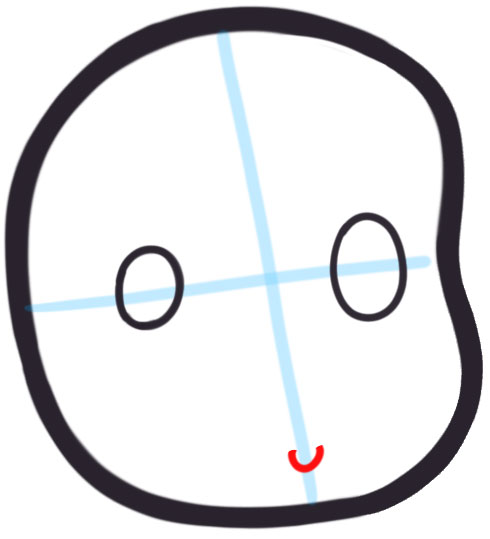
Draw a sideways “C” shape for the mouth.
STEP 07
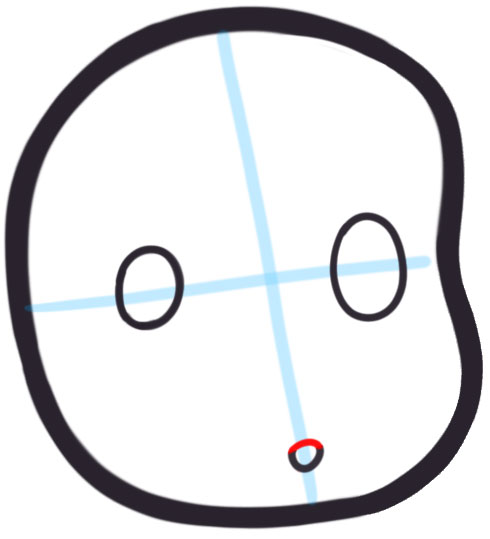
Draw a curved line on the top of his mouth.
STEP 08
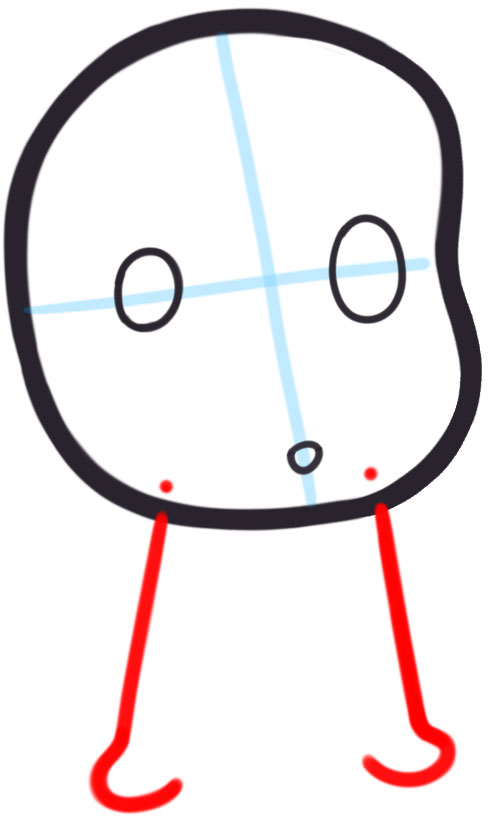
Draw upside-down question mark shapes that are very tall and slightly slanted. You don’t have to draw the dots.
STEP 09
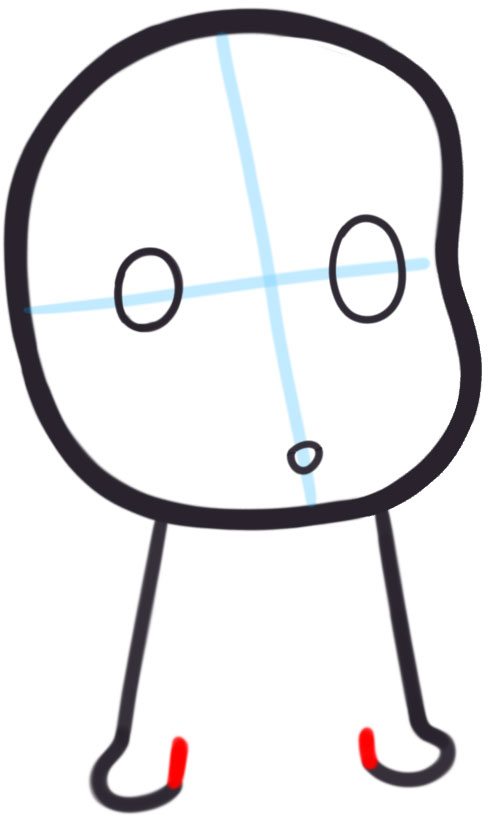
Draw a line on each foot.
STEP 10
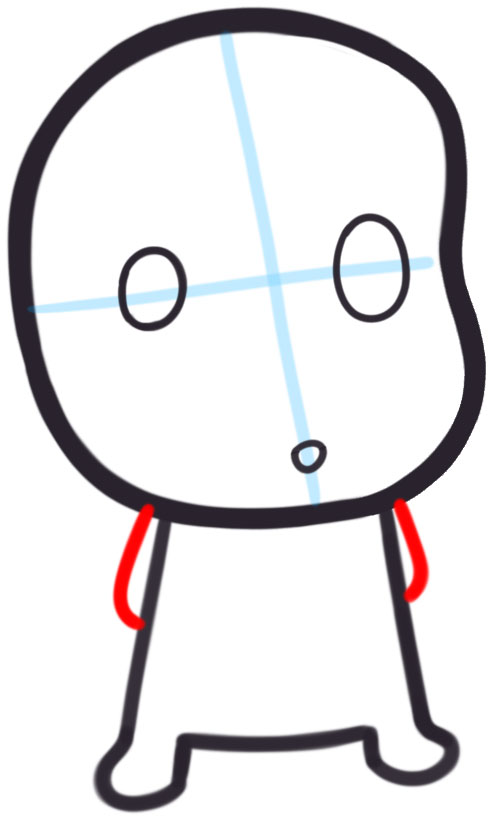
Draw letter “J” shapes for arms. They are slightly turned inwards. Also, the arm on the left should be slightly bigger.
STEP 11
You can fill in the eyes and mouth now. I hope that the Tree Spirit drawing worked out for you. Come back for more tutorials.
Check Out Our New Chibi Drawing Book on Amazon
