Today I’ll show you how to draw a realistic cat’s face, also called a “cat portrait”. I will guide you through these drawing lessons, with easy-to-follow step-by-step instructions. Drawing cats isn’t as tough as you think it is. I will guide you through drawing this cute little cat in about 30 steps. Find out how to draw this cat, with this simple step-by-step lesson below. Happy Drawing!
How to Draw a Cat’s Face – Realistic Portrait – Step by Step Drawing Tutorial
JUST AN FYI TO START OFF WITH
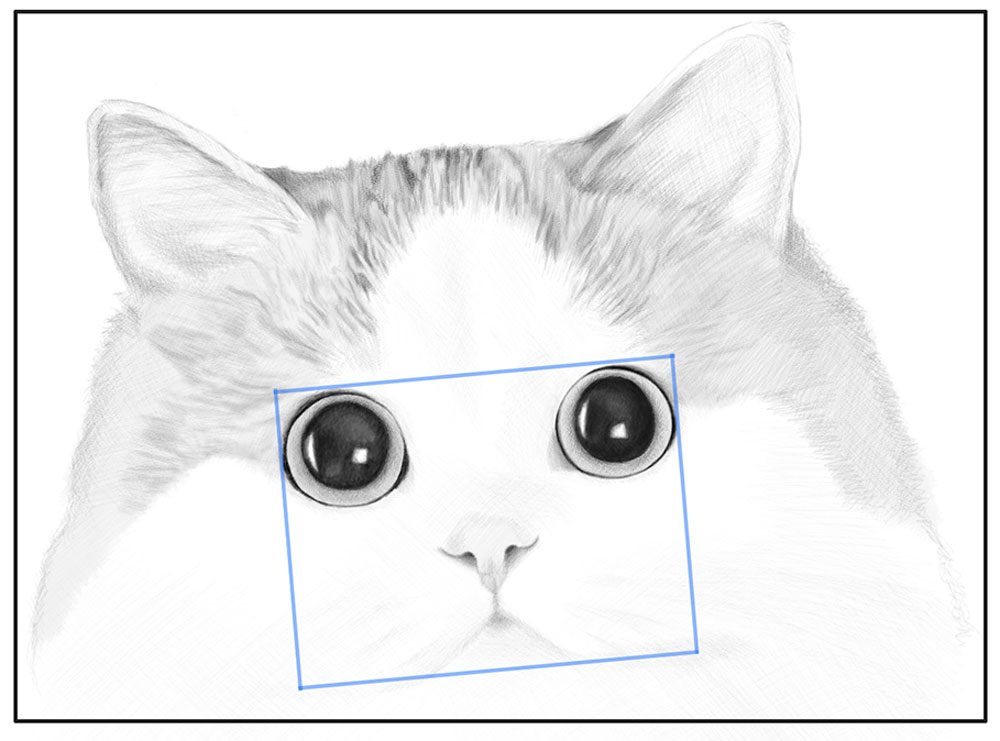
The picture above is what we are going to draw. We are going to start by lightly drawing a rectangle. (I highlighted it in blue above). As seen above, draw the rectangle in the center/bottom of the page.
STEP 01
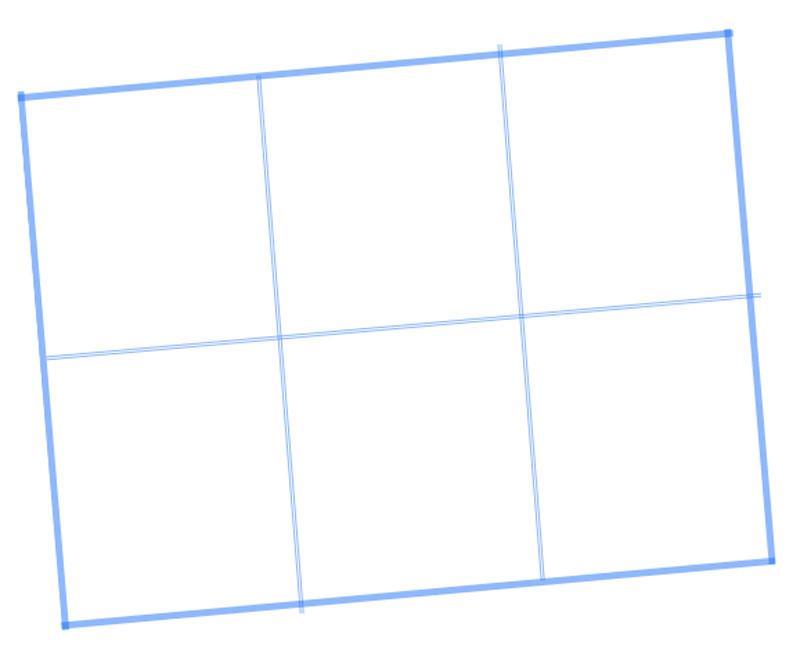
Lightly draw a slanted rectangle that is wider than it is long. It is a 3:4 ratio. (if it were in inches it would be 3 inches high and 4 inches wide. If it were in feet, it would be 3 ft tall and 4 ft. wide). Draw it in the center of the page and leave a lot of room around it (SEE THE FYI THAT IS ABOVE STEP 01).
STEP 02
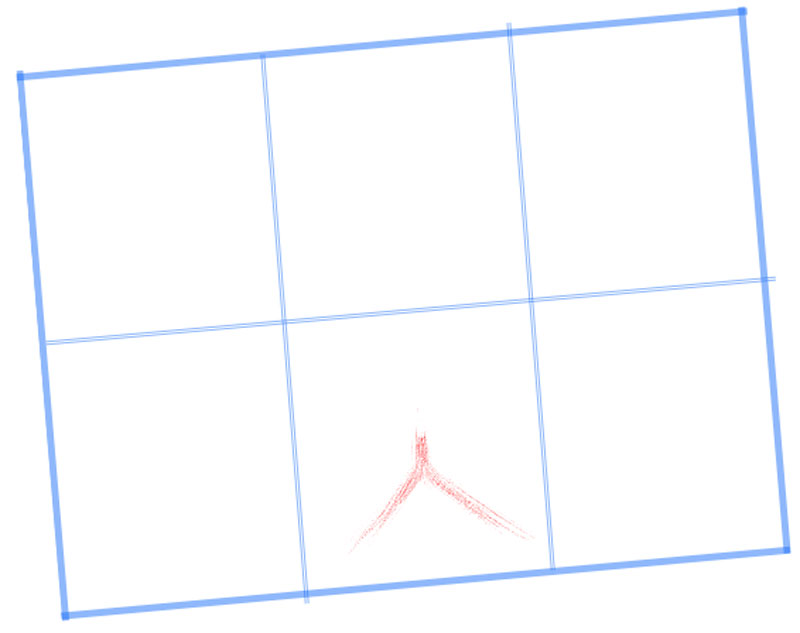
Draw an upside-down “Y”-like shape. Use the guidelines to help you place it in the right place.
STEP 03
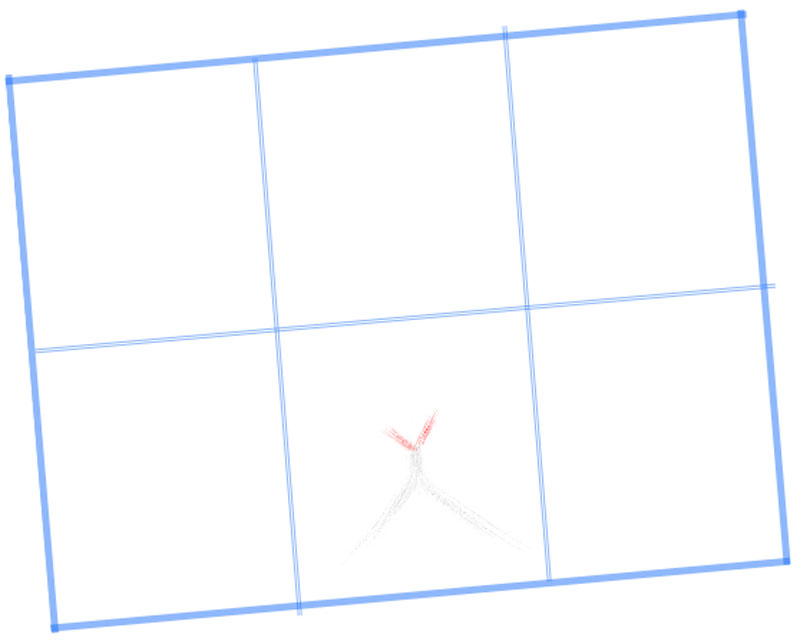
Now, draw a “V”-like shape for the nose
STEP 04
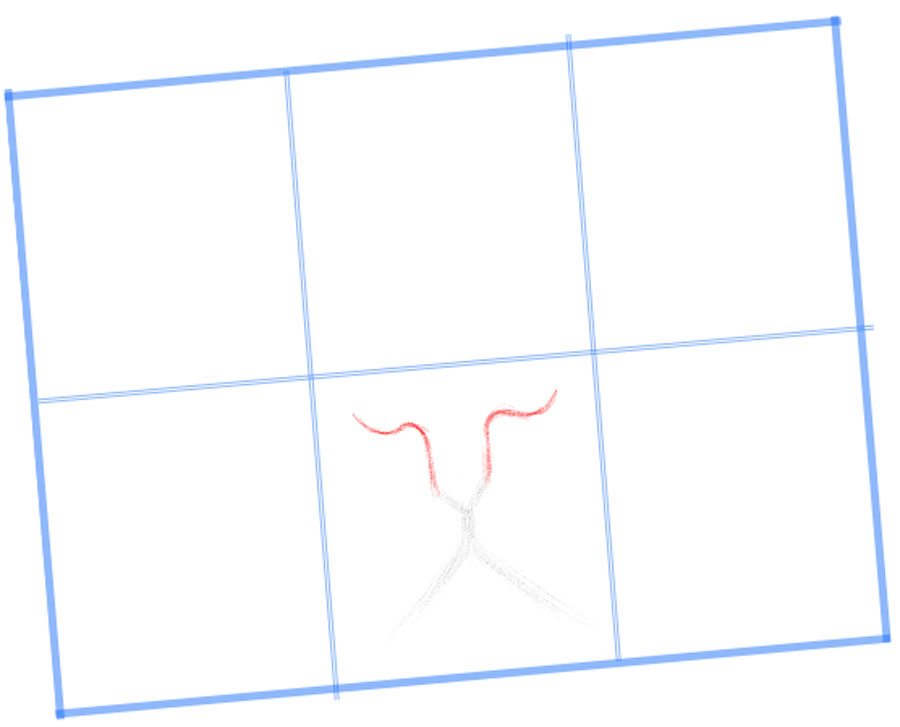
Now draw a sideways “S” and “2”-like shape on top of the nose.
STEP 05
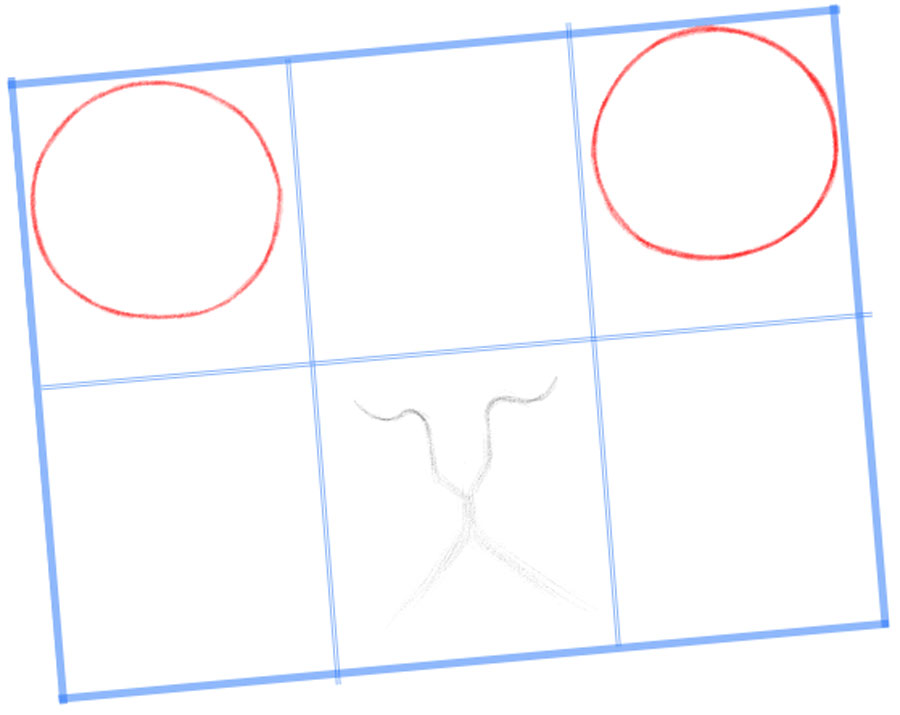
Now draw slightly imperfect circles for the eyes. Use the guides to help you place them. You can now erase these guides.
STEP 06
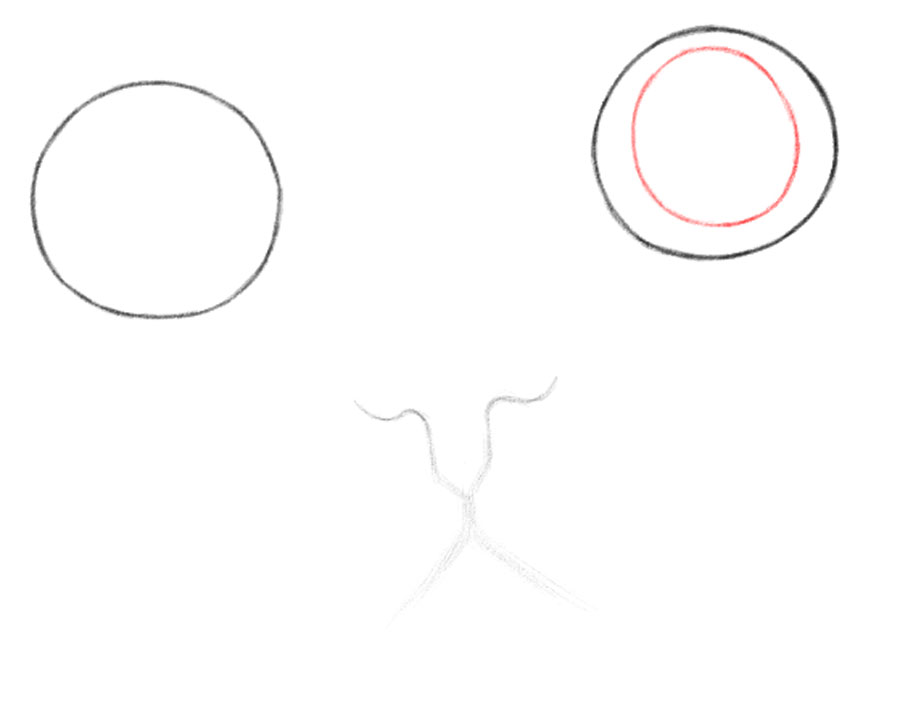
Draw a tall oval inside the right eye.
STEP 07
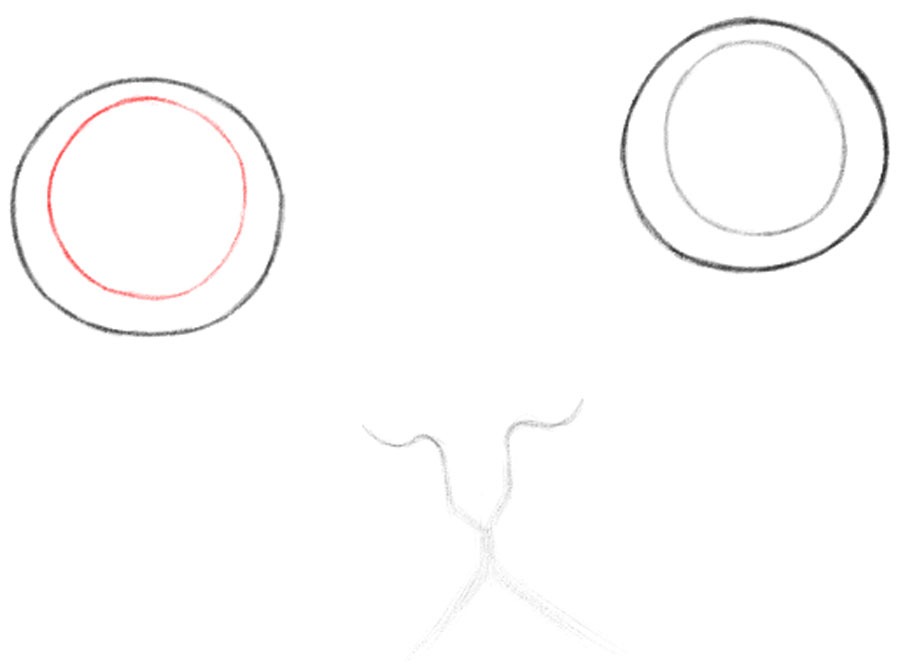
Draw a circle in the left eye.
STEP 08
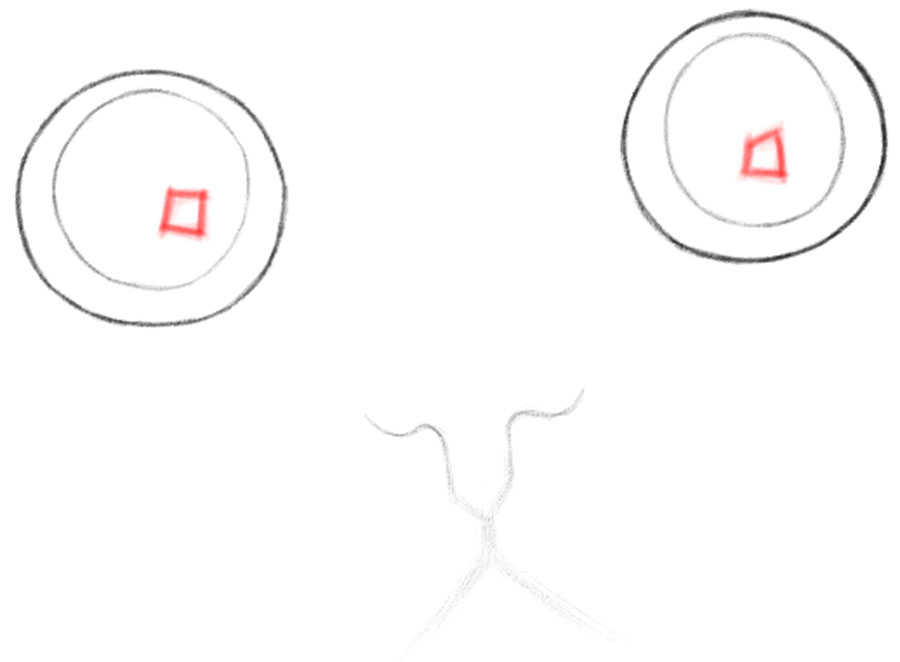
Draw tilted squares in each eye.
STEP 09

Draw a backwards “D” shape in each eye.
STEP 10
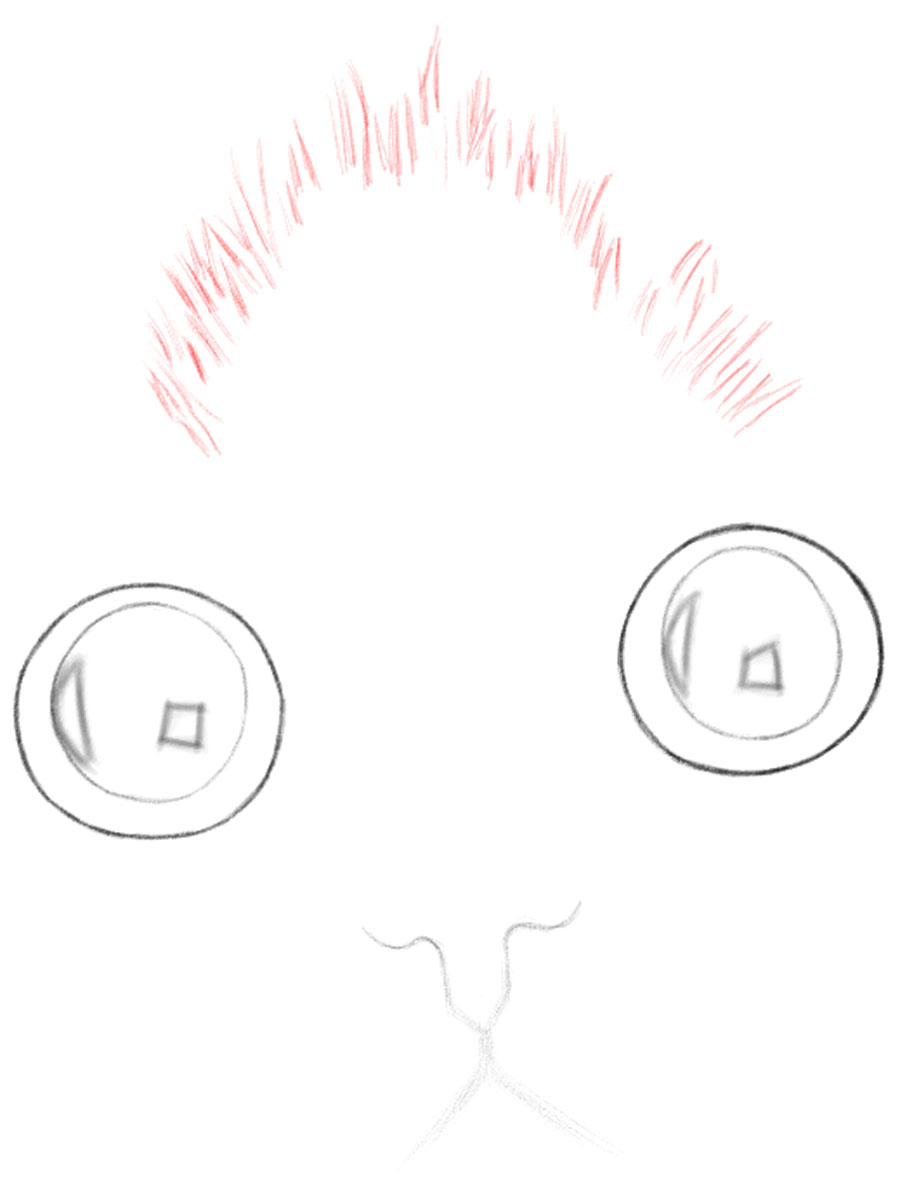
Draw lines in slightly different directions to mimic fur.
STEP 11
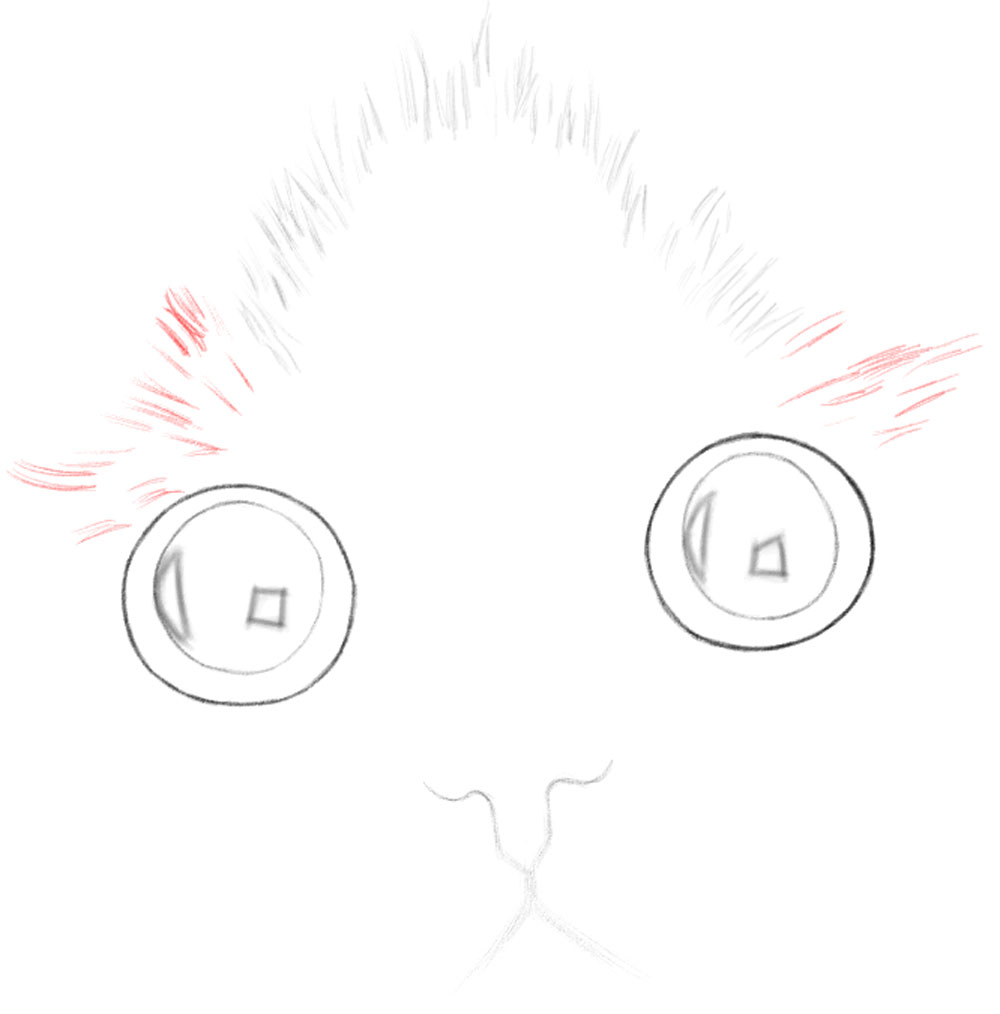
Continue drawing fur above the eyes. Notice the change in direction of the fur.
STEP 12
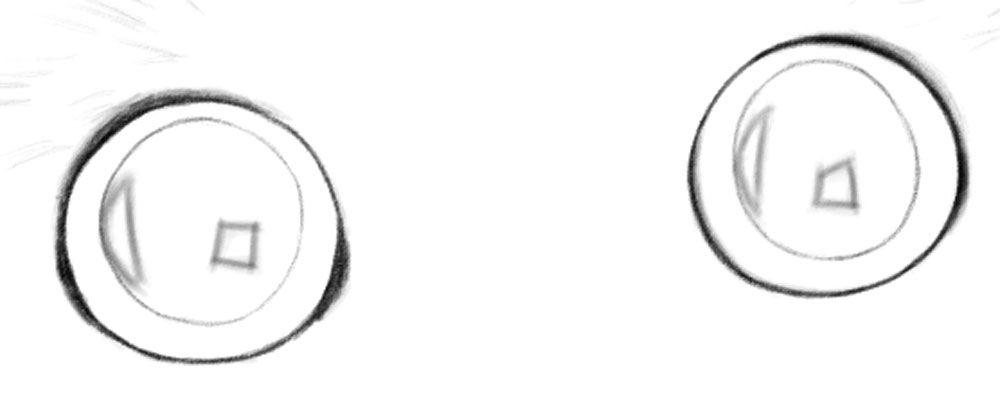
Darken some areas around the eyes.
STEP 13
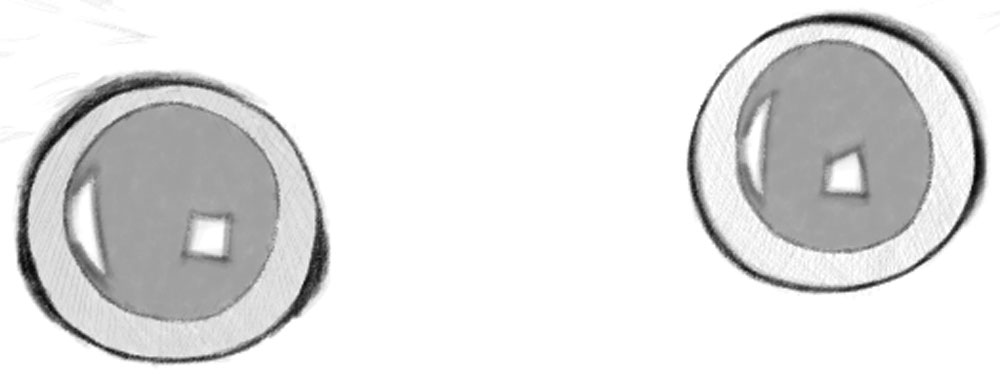
Shade the whites of the eyes as well as the insides of the eyes (quite a bit darker).
STEP 14
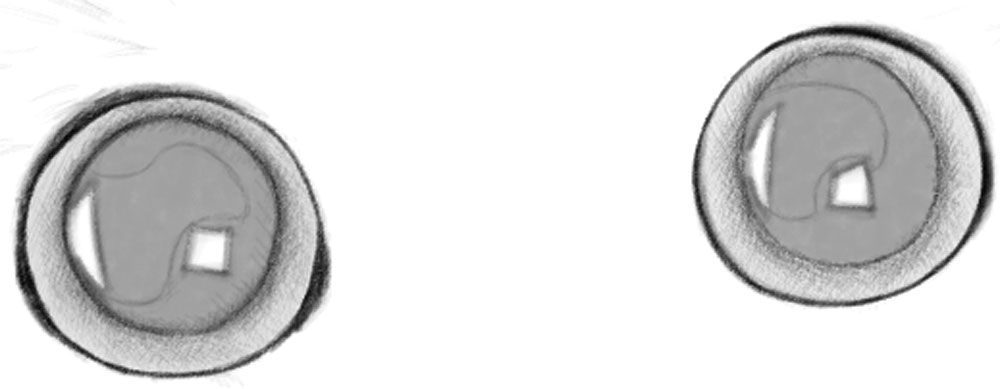
Draw a wiggly shape that loops around the inner eye (it doesn’t have to be like mine). Lightly shade the whites of the eyes, darker near the iris.
STEP 15
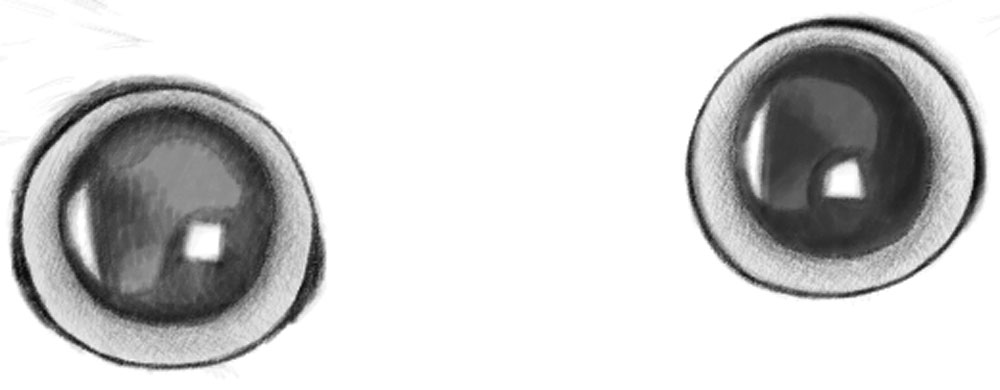
That wiggly shape that you drew in the last step, use it as a guide to darken the areas shown in the picture.
STEP 16
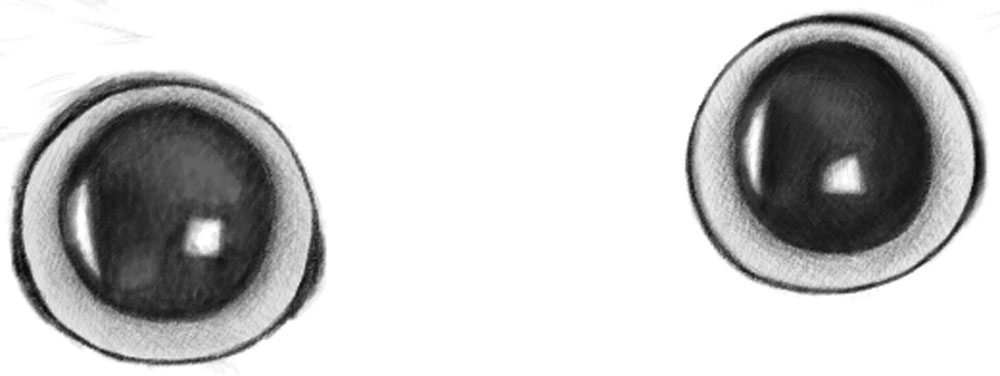
Now, darken things a bit more and then even out the tones so all the blacks and grays blend together smoothly.
STEP 17
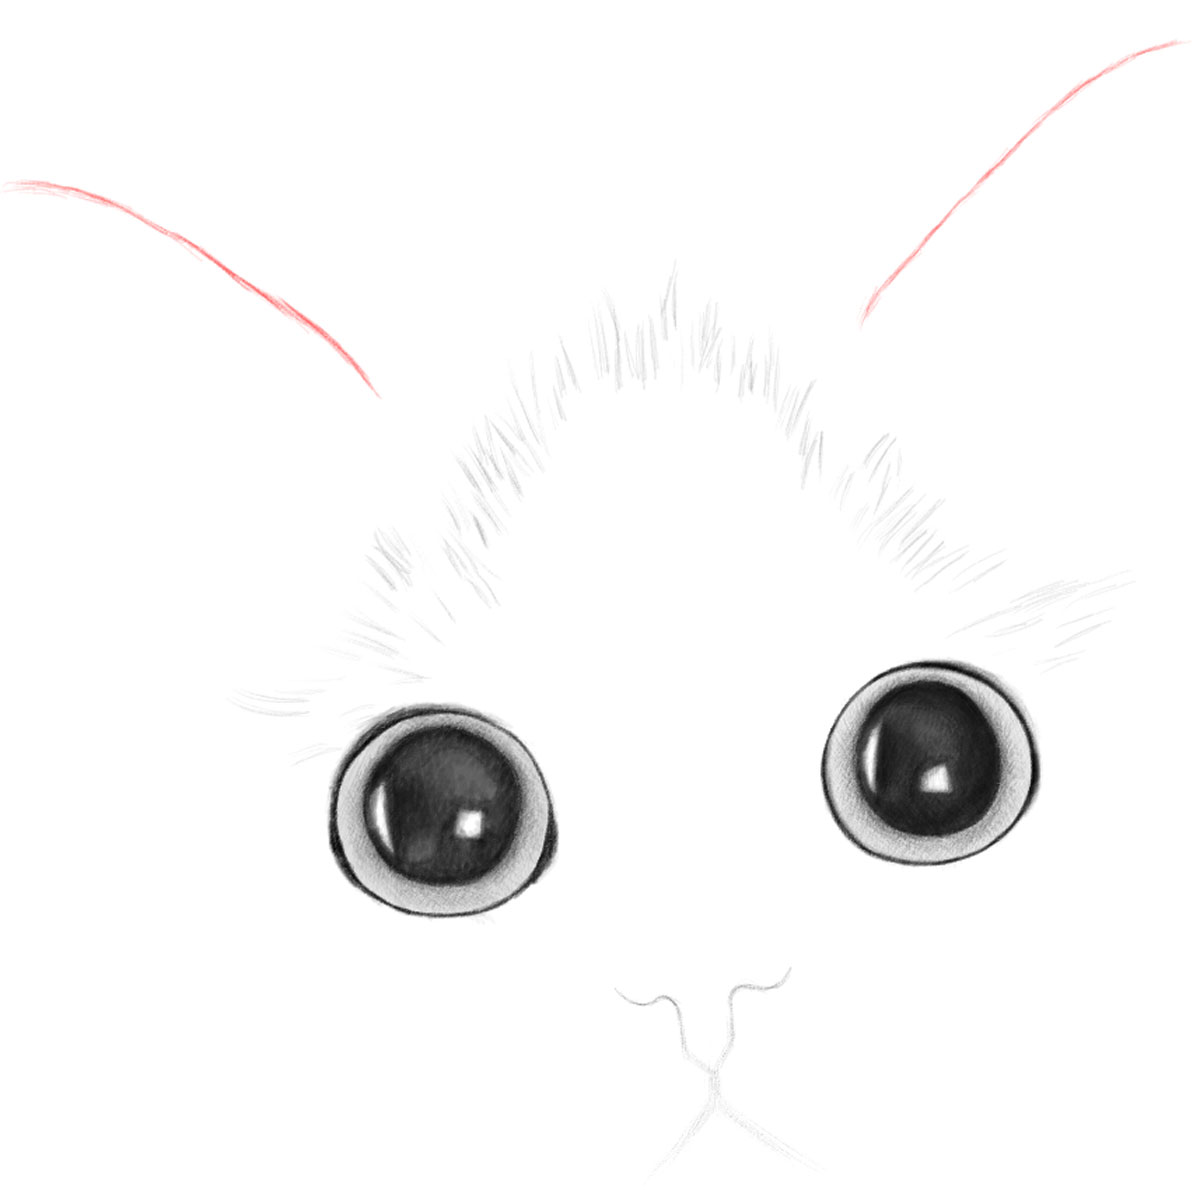
Let’s start drawing the cat’s ears. Draw outward curved lines. Draw them with short strokes because of his fur.
STEP 18
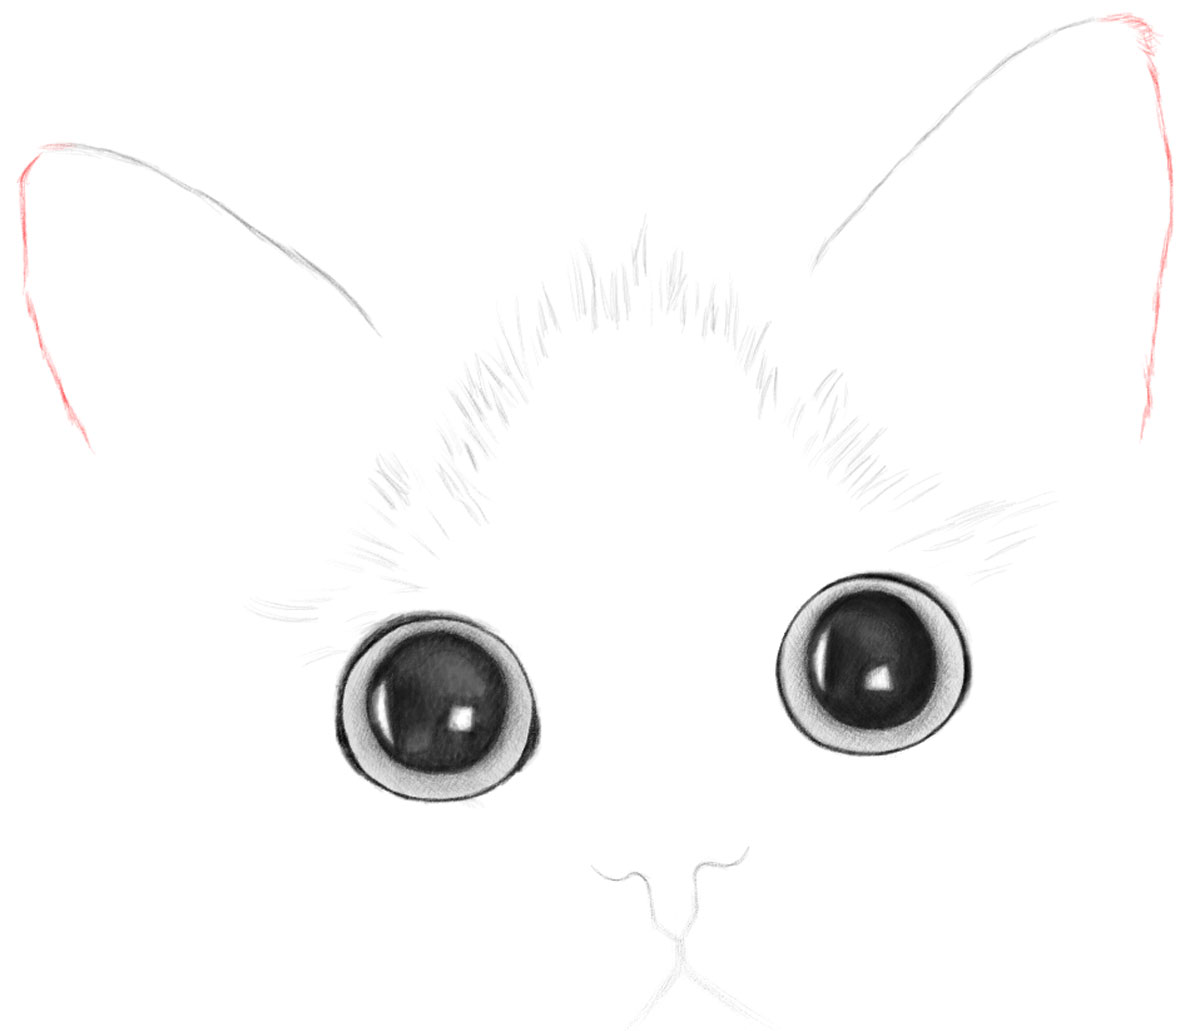
Draw the outside parts of the ears. Again, draw with short strokes to simulate fur.
STEP 19
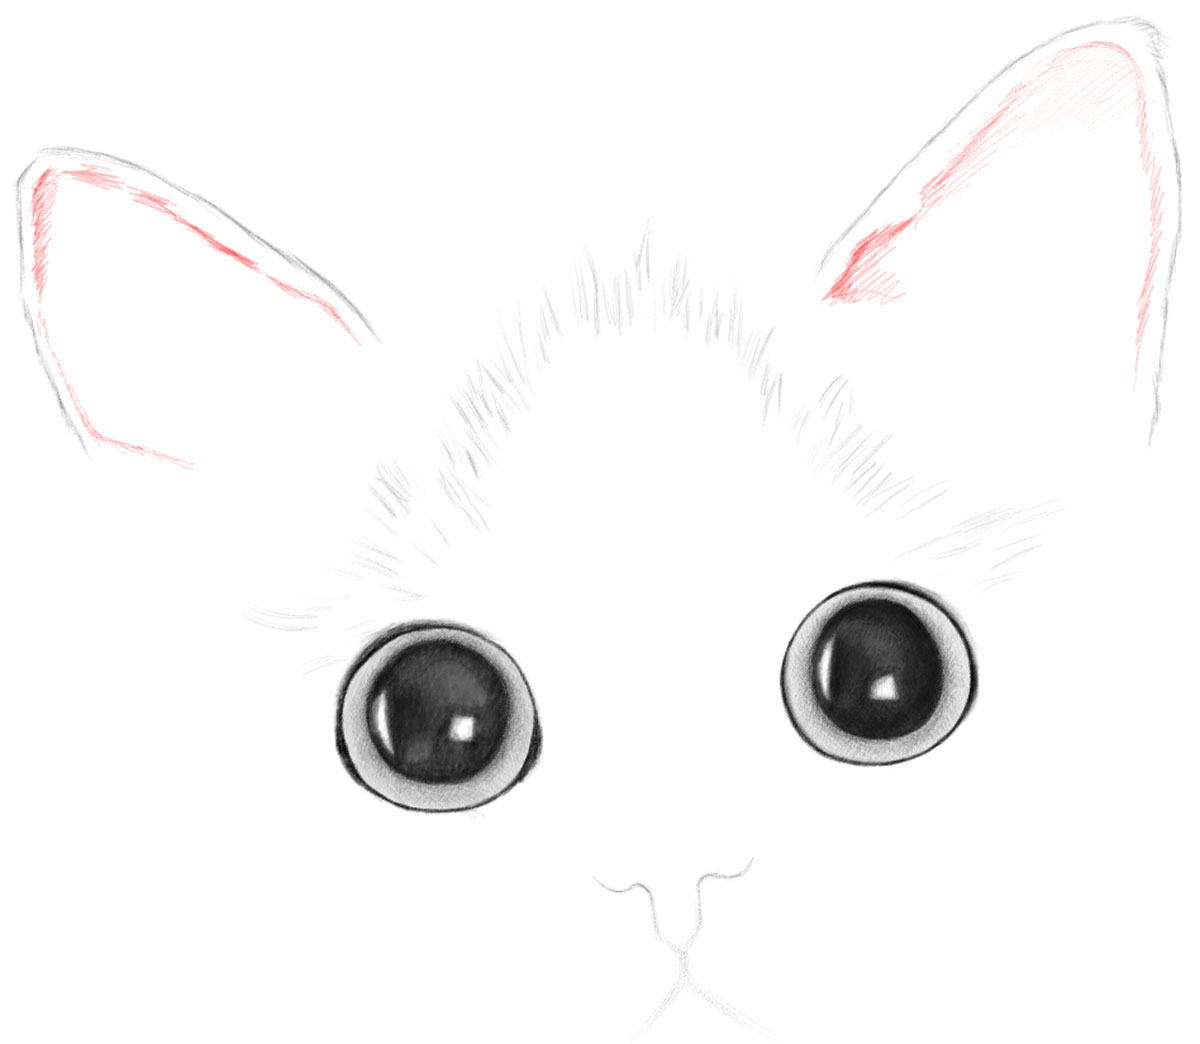
Draw the inner ears by just sort of drawing an inner outline with short uneven strokes.
STEP 20
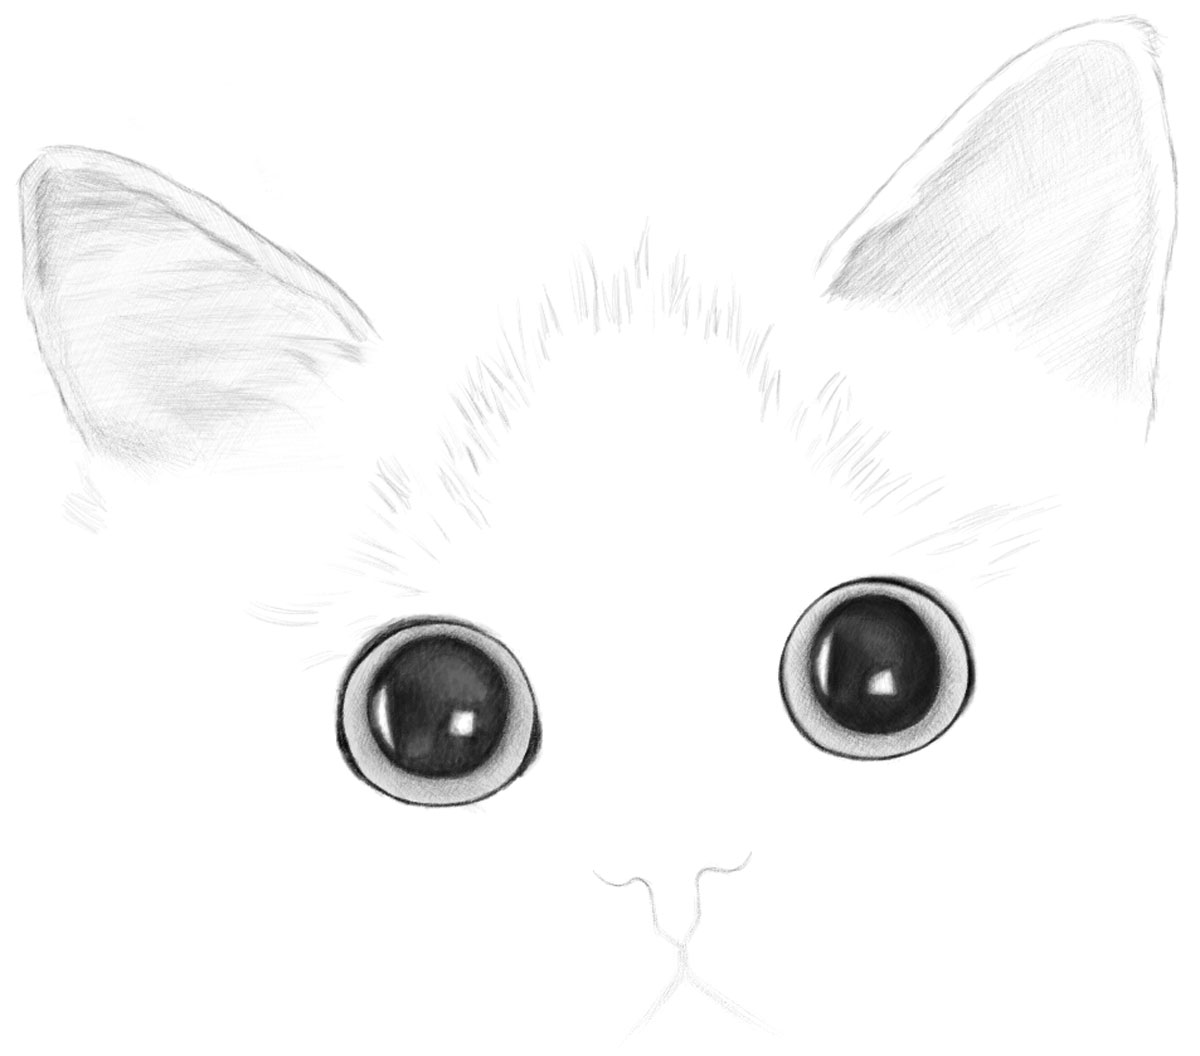
Do a light shading within the ear. Darken on some of the areas as I have. Then even out the tones by trying to lightly darken things a bit around shading so that areas match.
STEP 21
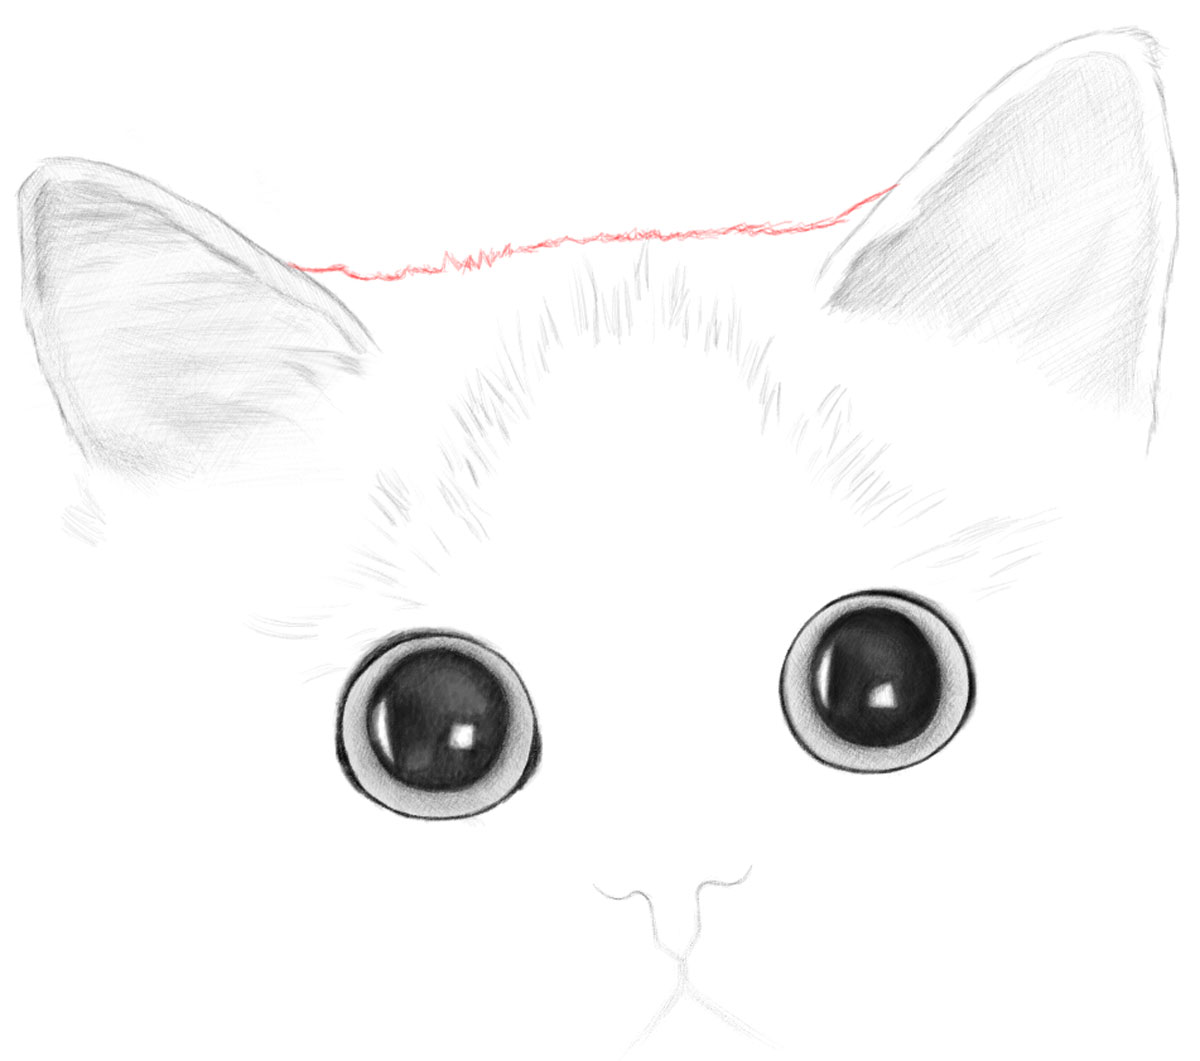
Draw a zig-zaggy line from one ear to the other. The lines are a bit messy to simulate fur.
STEP 22
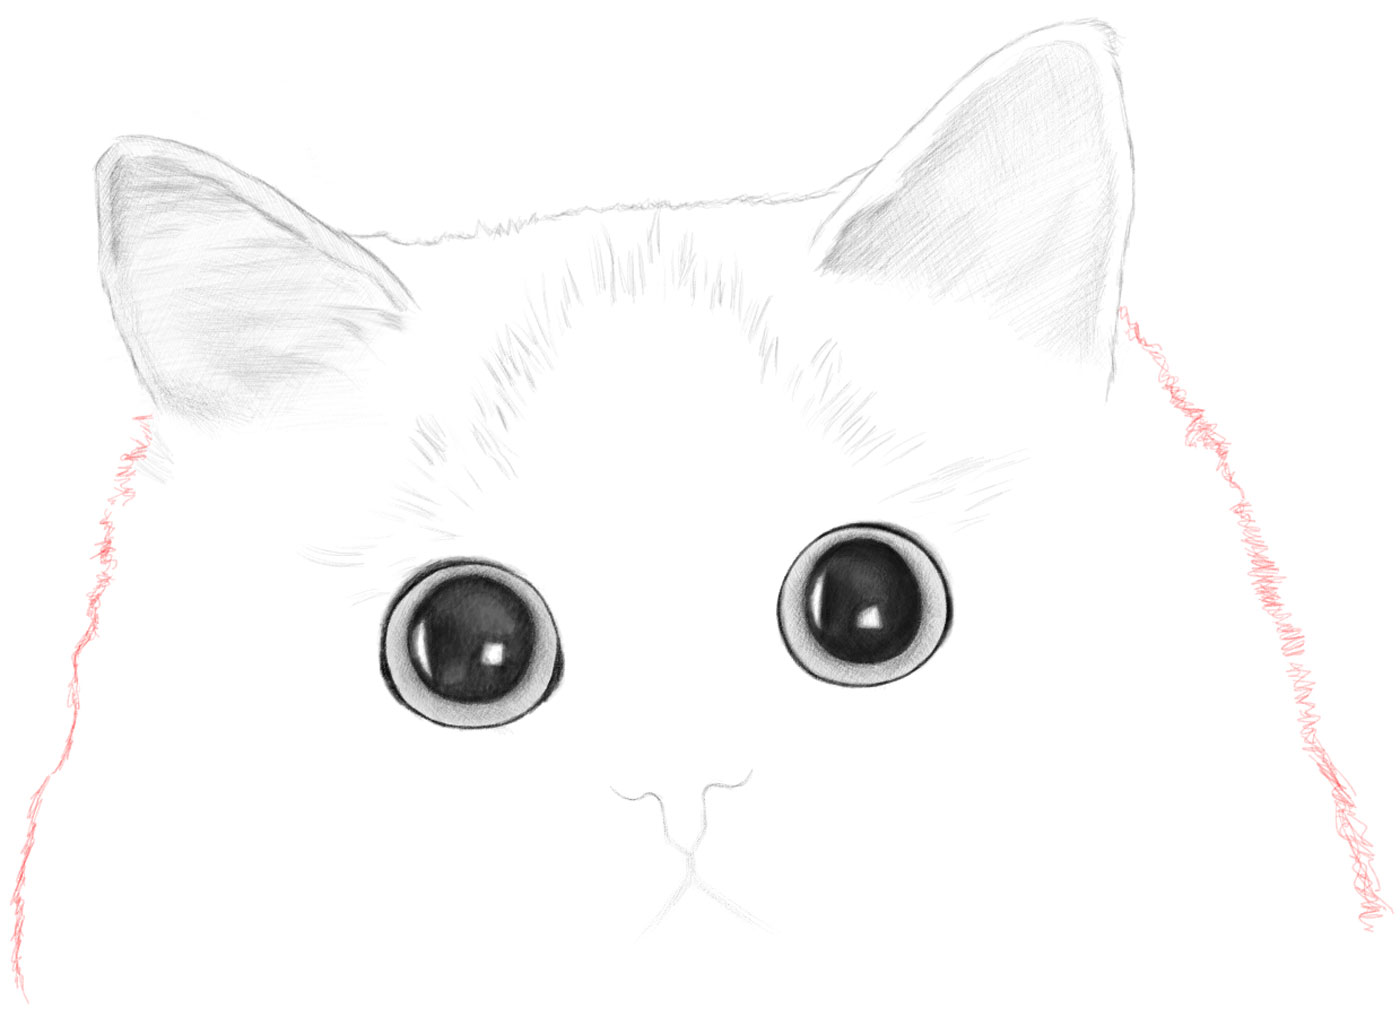
Now you can draw a zig-zaggy line (or just short uneven lines) for the sides of the face.
STEP 23
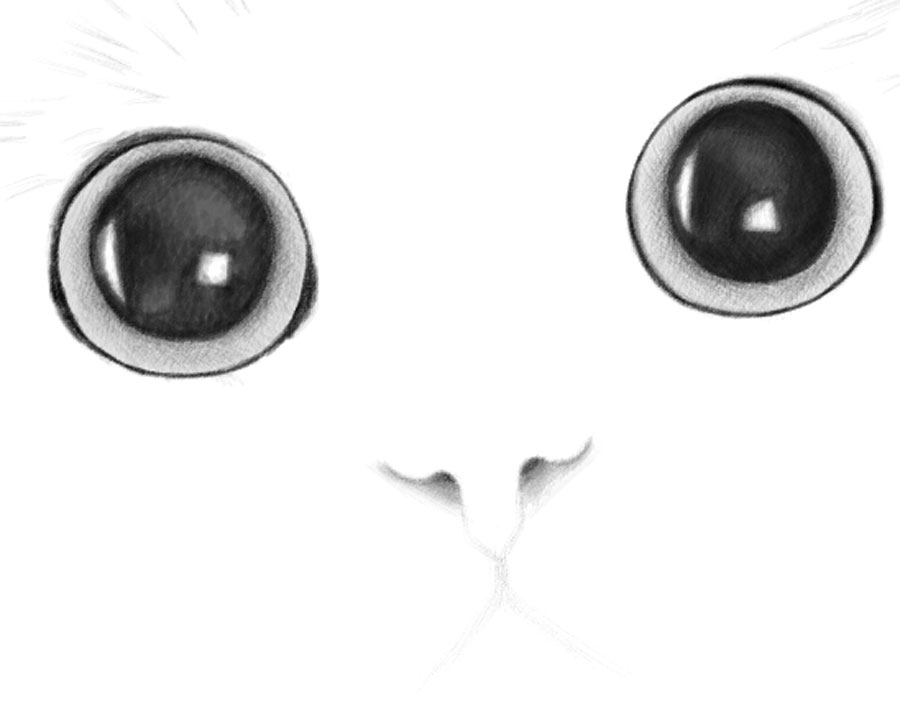
Let’s work on the nose. Add a dark shadow to the back of each nostril. Lightly shade around the nose as I did. Lighten up the shading as you get further from the nose.
STEP 24
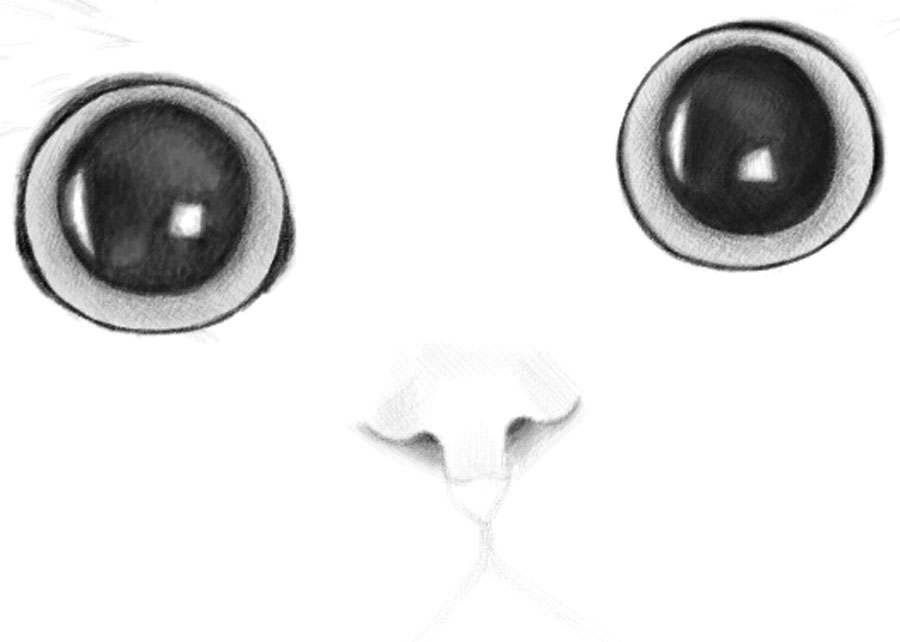
Add a curvy-ish line on the bottom of the nose and then shade a bit on the top of the nose.
STEP 25
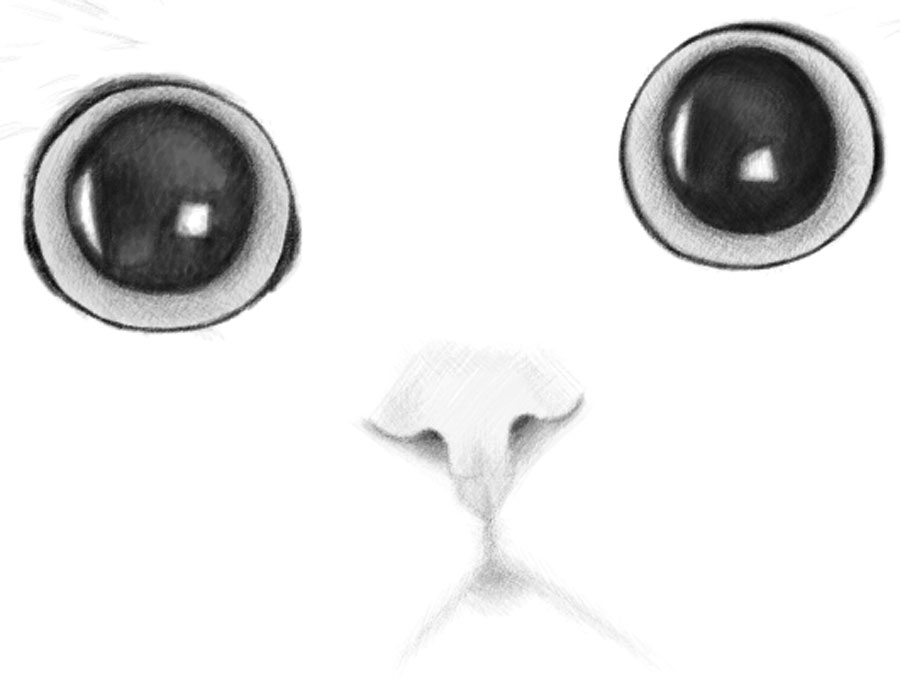
Add a very light shading on the nose and then add darker shading to the bottom of the nose as well as to the mouth.
STEP 26
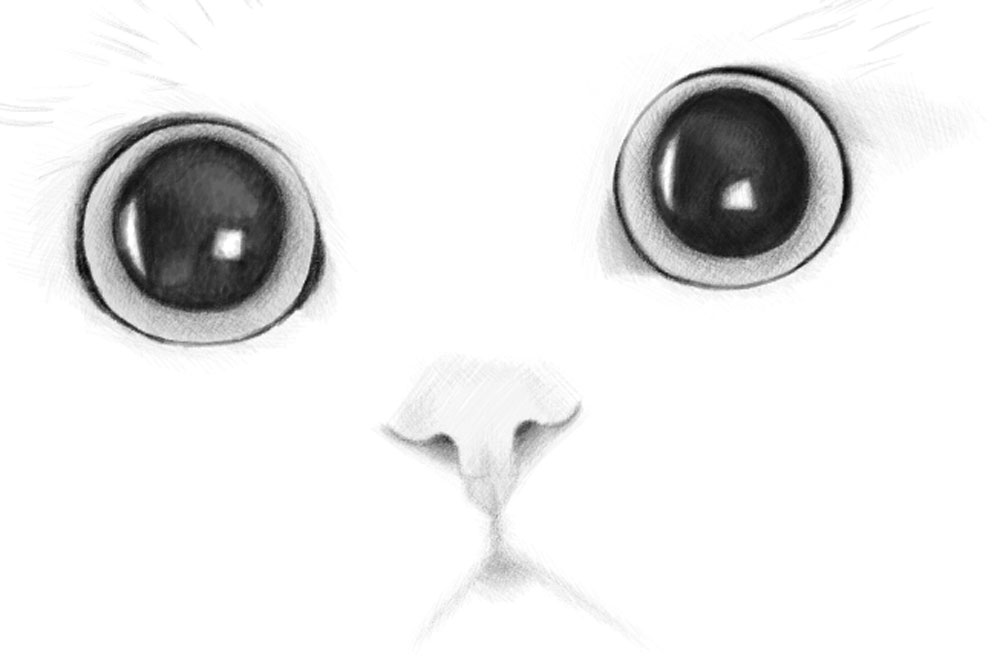
Lighten up the dark outline of the outer eyes in a few places (with an eraser). Add shadowing around the eyes.
STEP 27
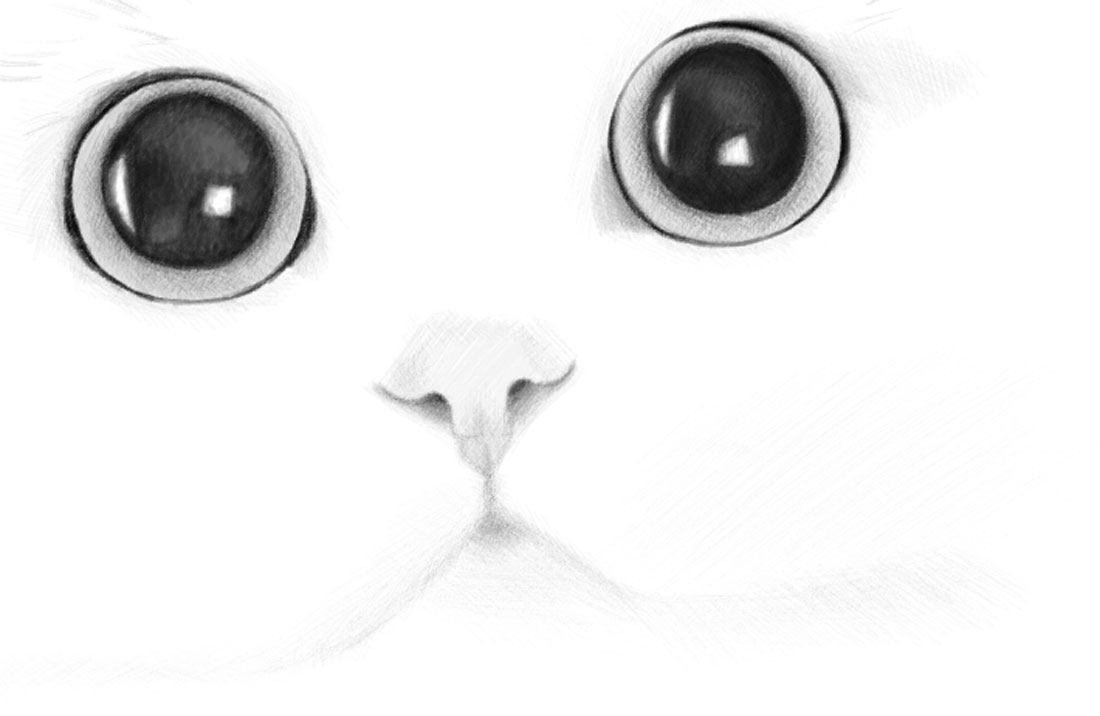
Lightly draw the areas around the mouth. Use short uneven strokes.
STEP 28
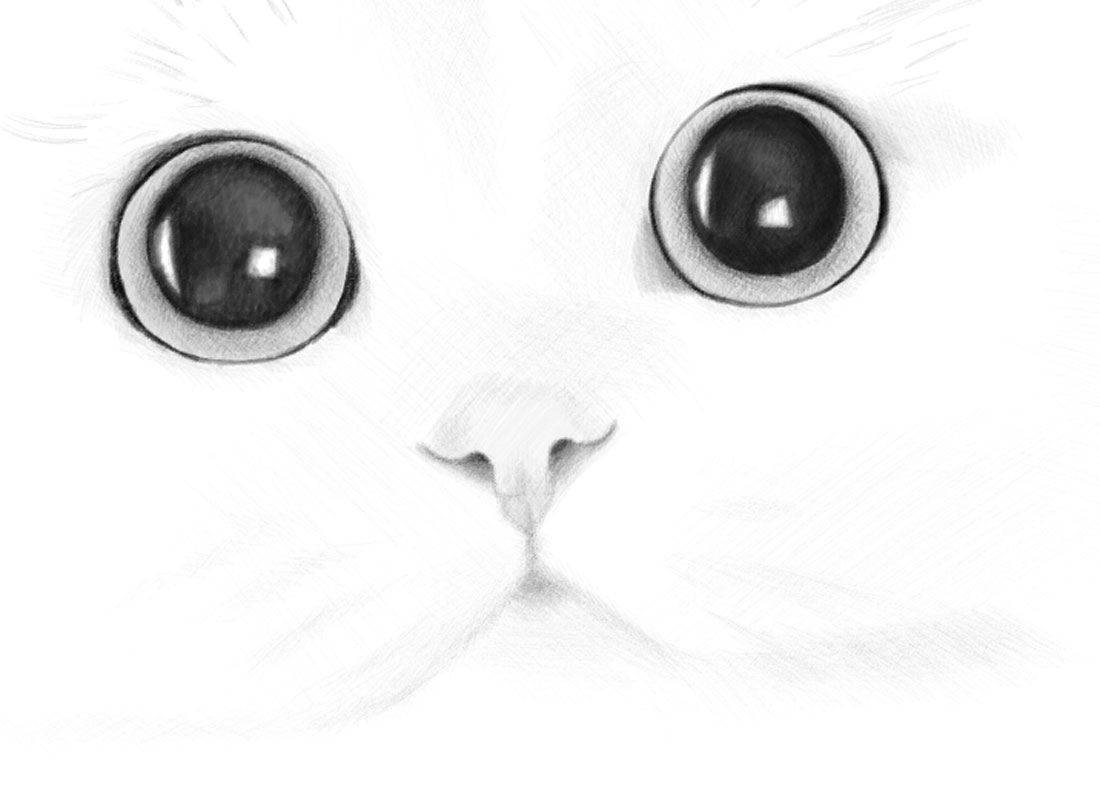
Continue with that.
STEP 29
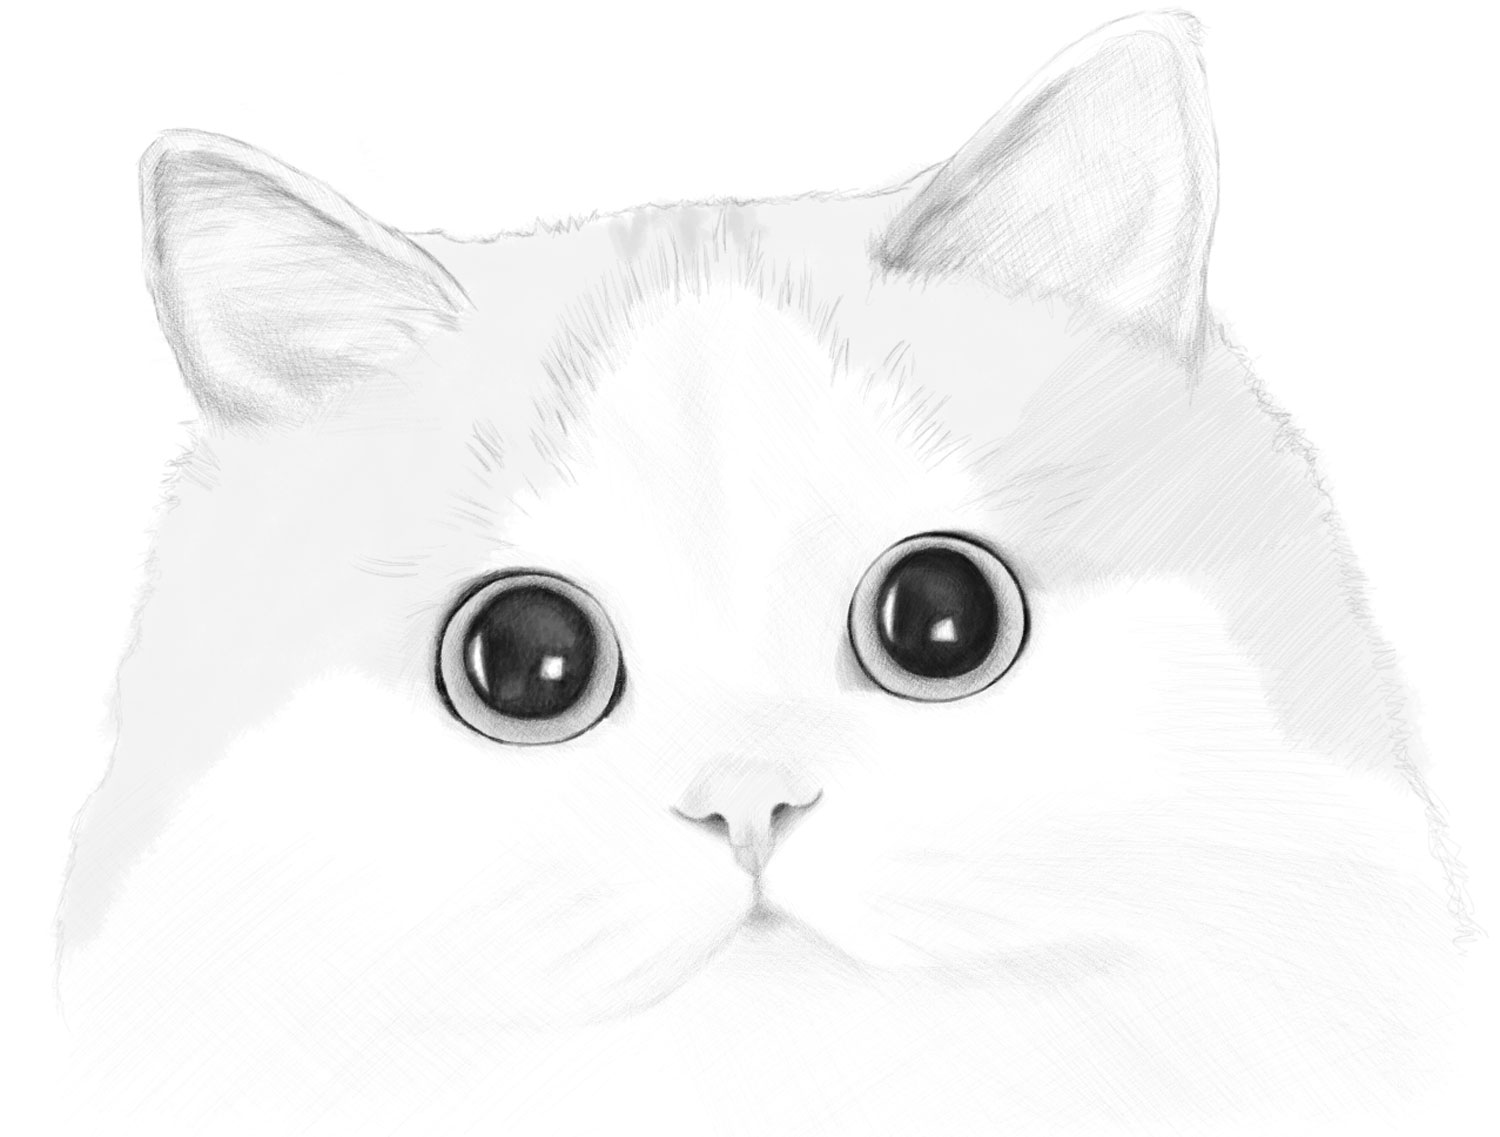
Add some light shading on his white cheeks. Also, add darker shading for the tinted part of the cat. Also, darken up the shading in his ears.
STEP 30
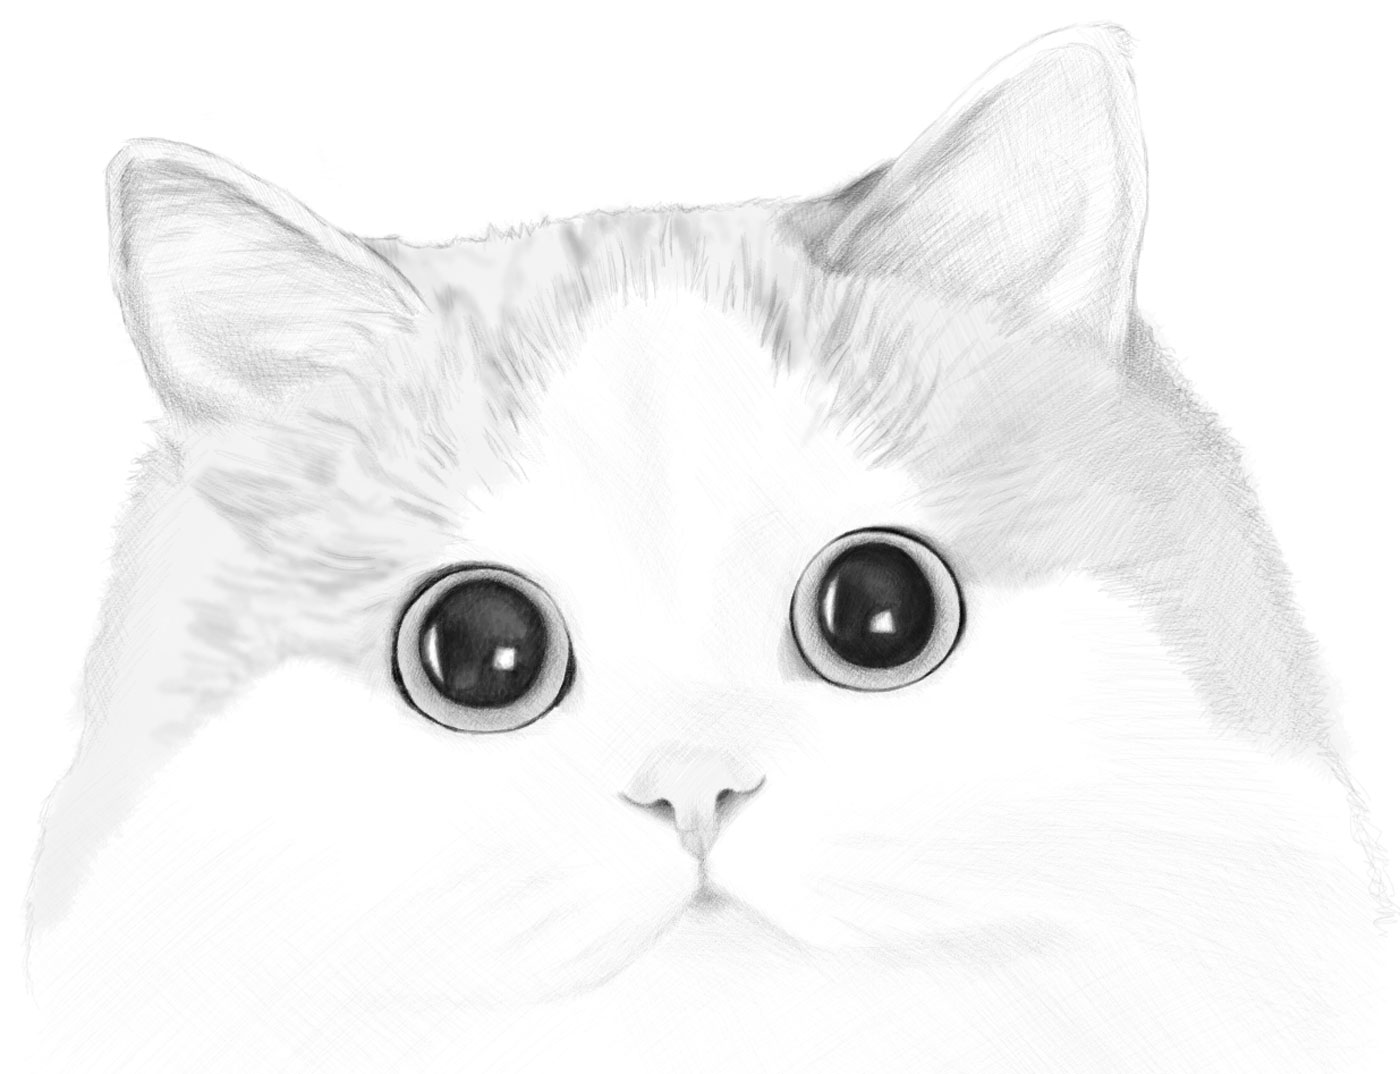
With short uneven strokes, create a pattern on the cat. It doesn’t have to look just like mine. Most cats have patterns on their fur.
STEP 31
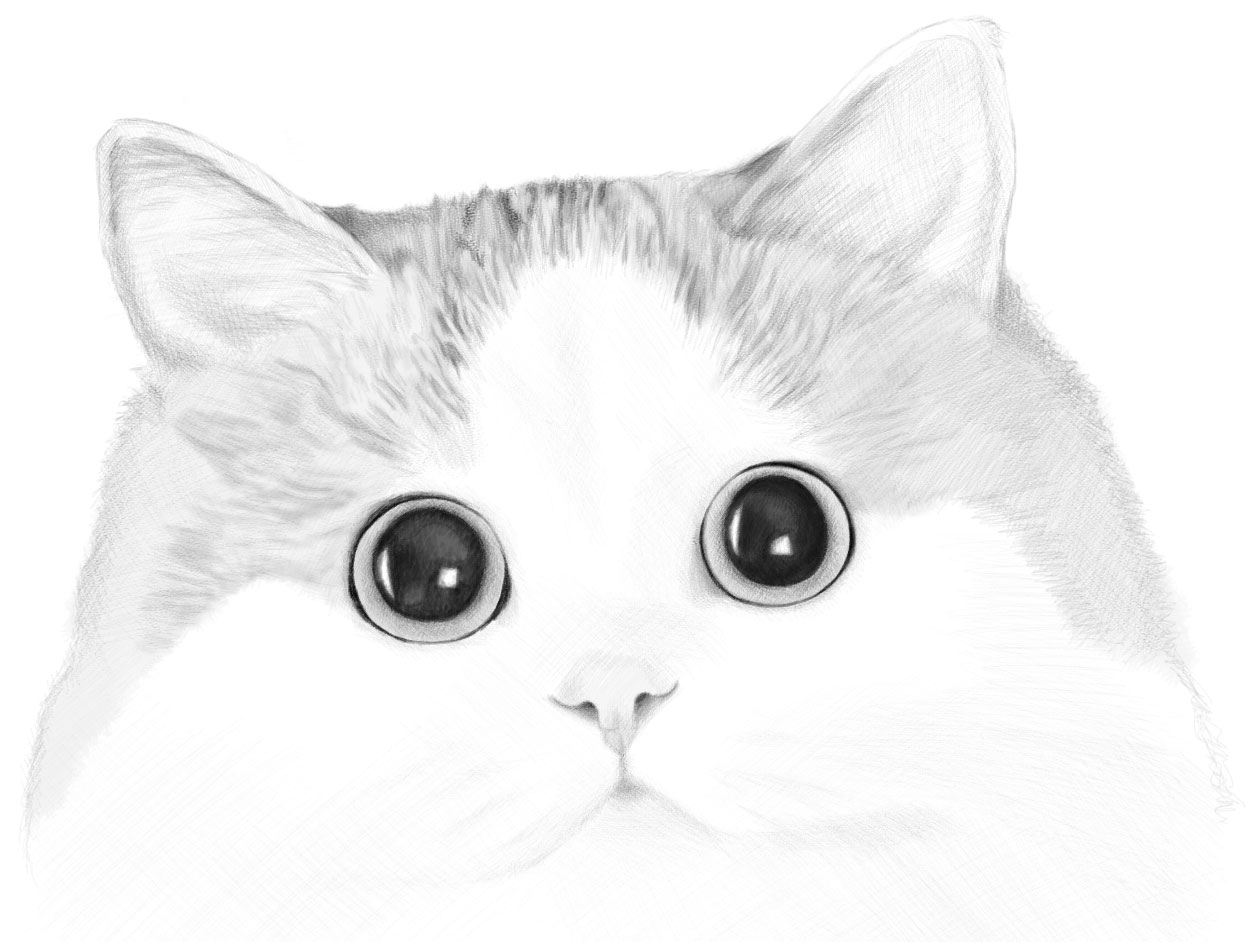
Darken some of the patterns of the fur.
You have finished the cat’s face. I hope that you love the way that your cat’s portrait turned out.
Come back soon for more drawing tutorials.

