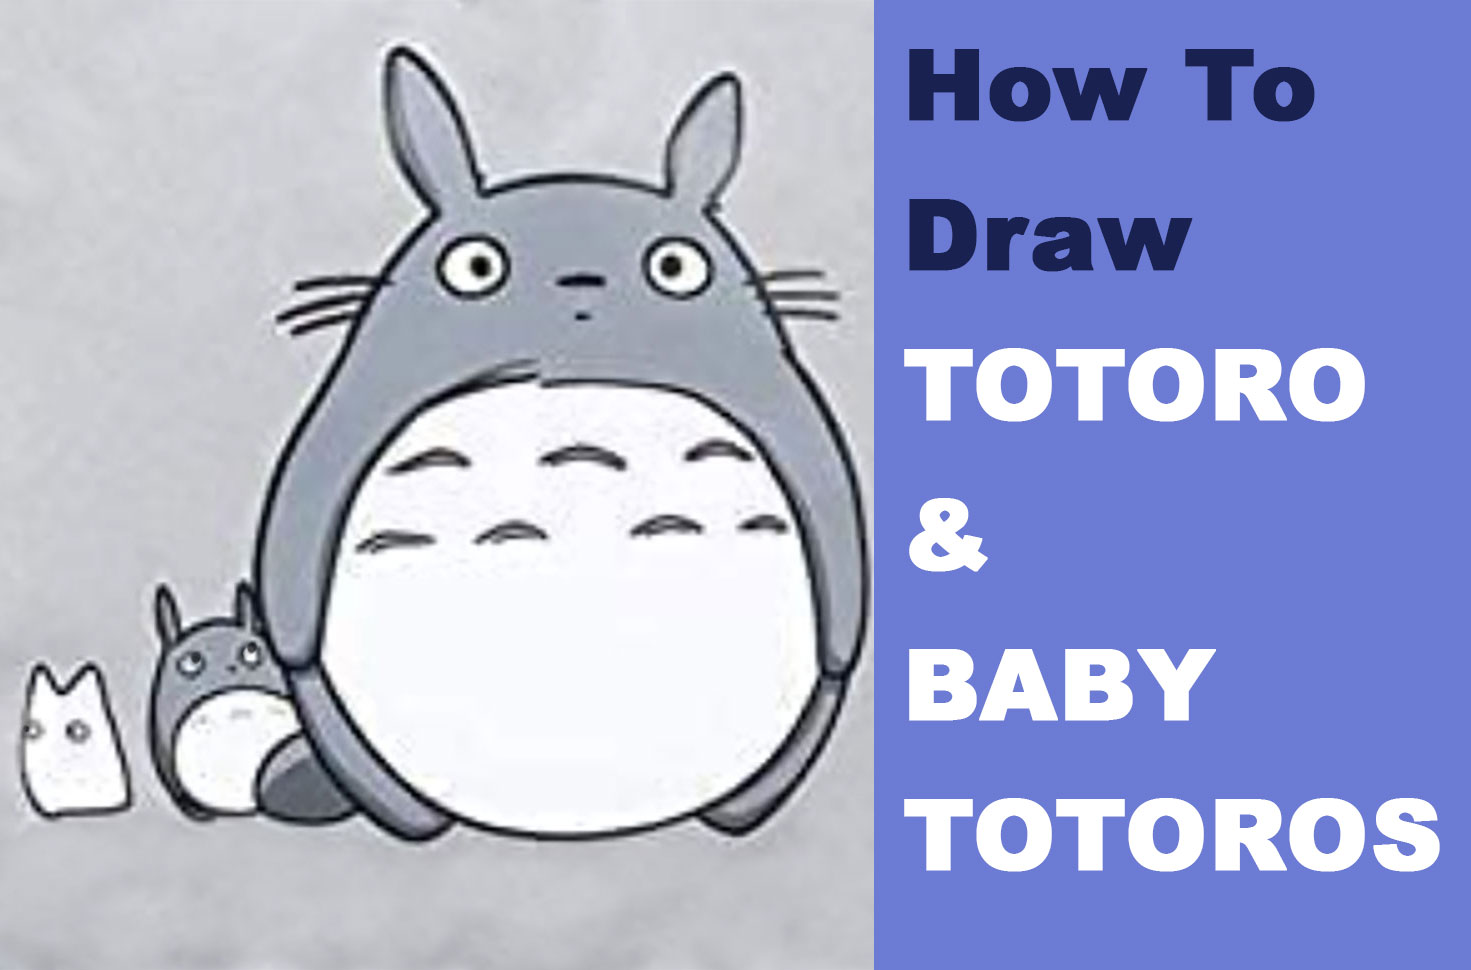
Today I’ll show you how to draw Totoro and the 2 mini Totoros, which are light blue and gray. Totoro and his friends are the creatures from the animated movie, My Neighbor Totoro. This drawing came from a great Totoro backpack I saw on Amazon. I will guide you to drawing him with many steps. I hope you enjoy the tutorial. Happy Drawing!
Learn How to Draw Totoro and Baby / Mini Tototoros (White and Light Blue) Easy Step-by-Step Drawing Tutorial for Kids
STEP 01
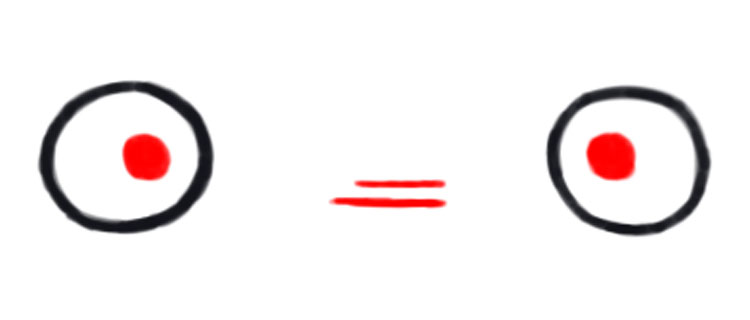
Draw 2 circles. These will be Big Totoro’s eyes.
STEP 02
Now draw a smaller circle in each eye. Draw 2 horizontal lines between the eyes (closer to the right eye). This will be his nose.
STEP 03
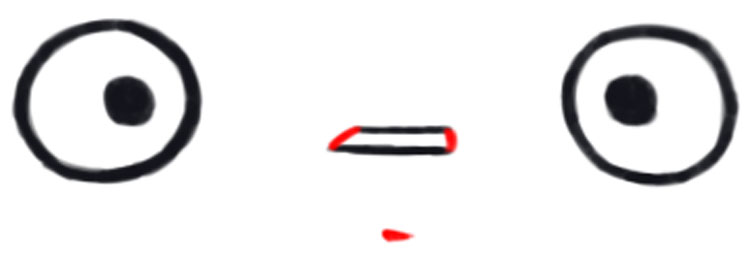
Draw 2 curved lines to finish the nose up. Draw a sideways triangle for the mouth. It’s tiny.
STEP 04
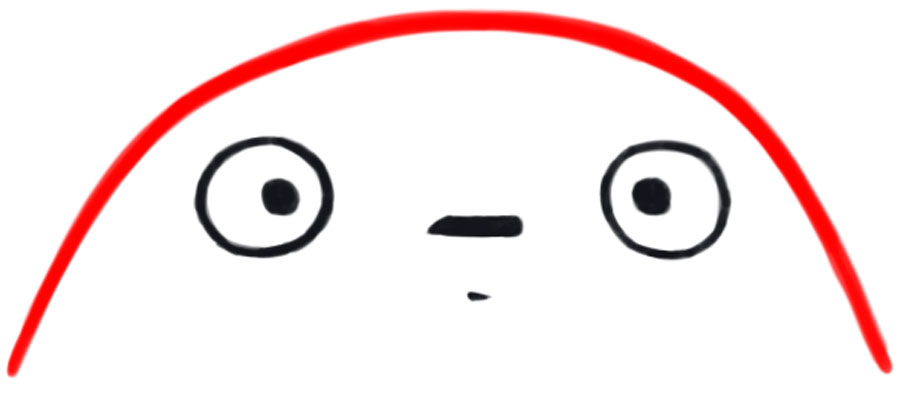
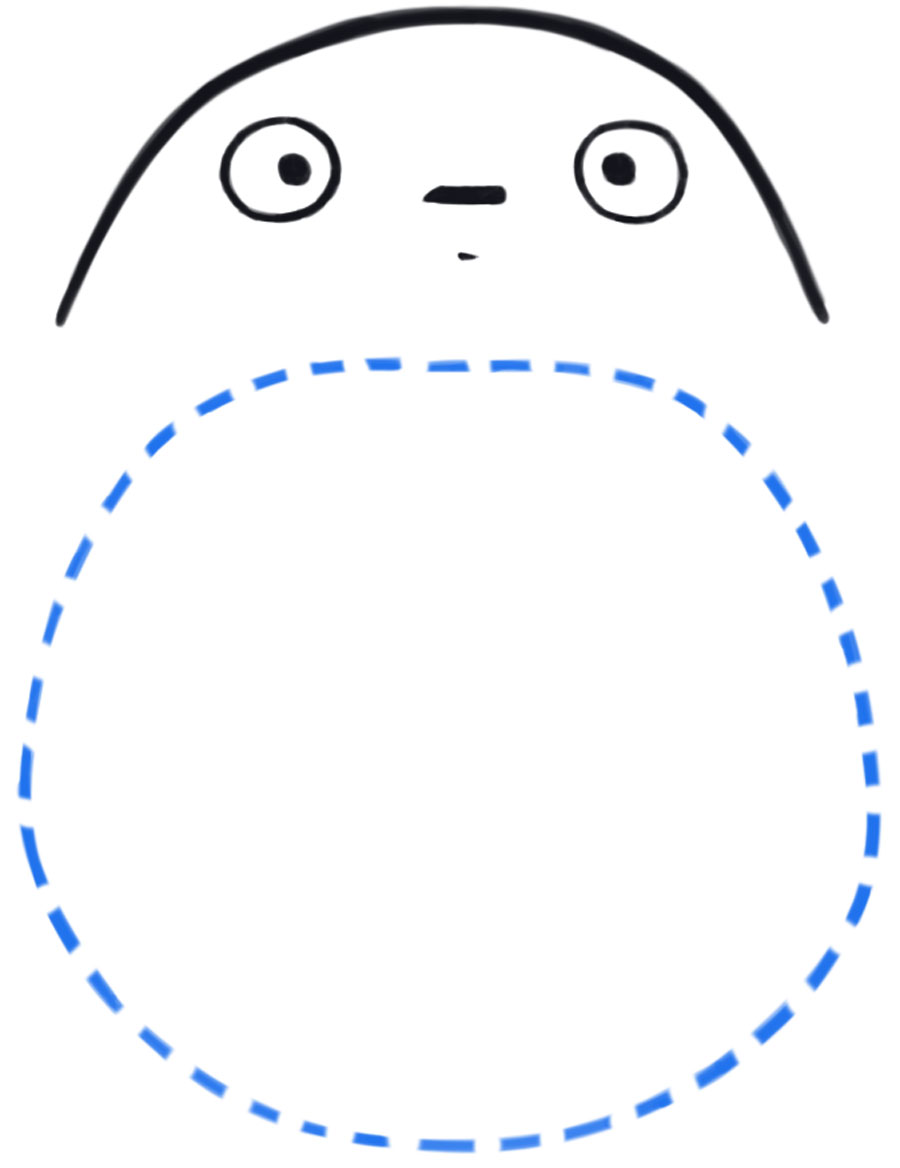
Draw a curved line around his face. The curved line gets further out as it goes downward.
[ad#draw]
STEP 05
Very lightly draw an oval that is a bit flatter at the top. This oval will be erased later, it is just to show you where to place other features. The oval is about as high as 2 of Totoro’s faces.
STEP 06
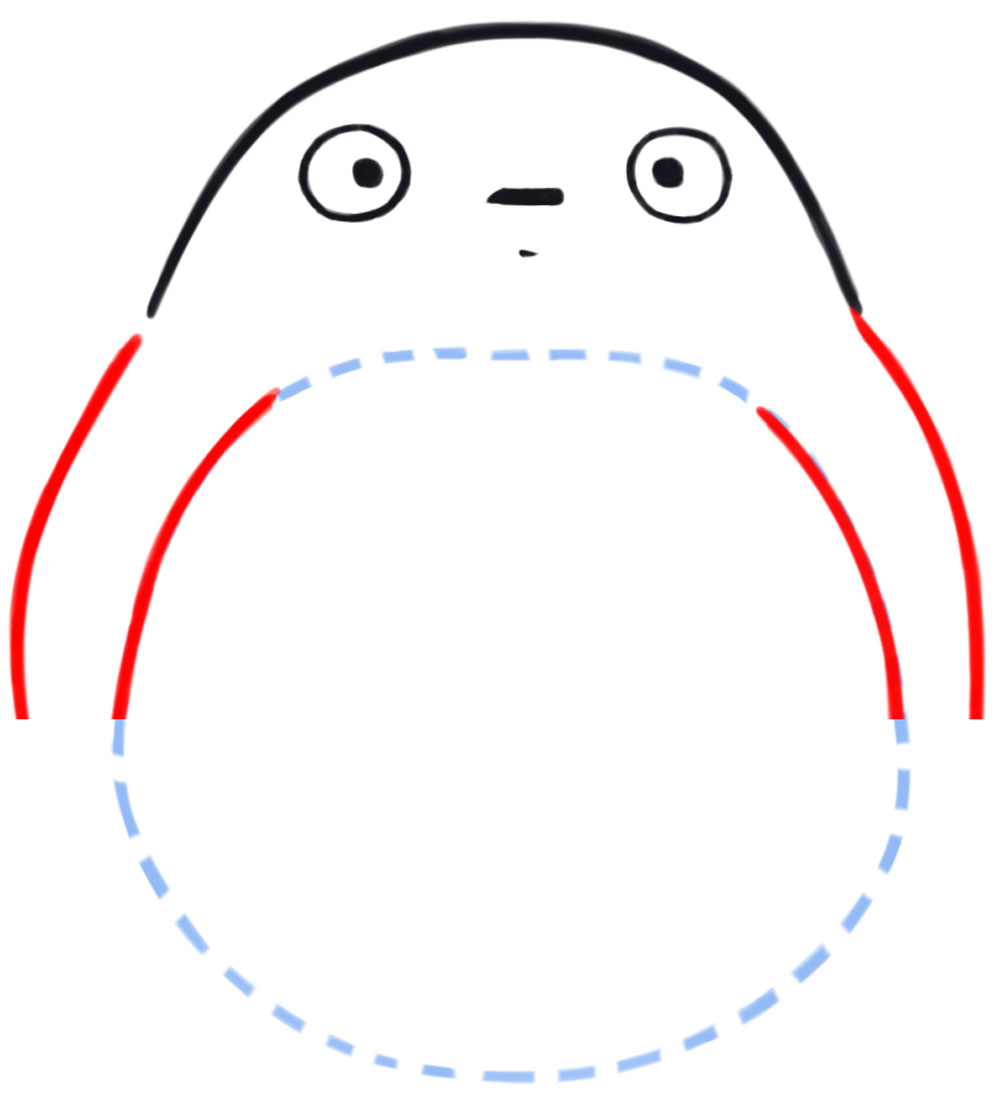
Use the guide oval to show you where to draw the curved lines that are Totoro’s arms.
STEP 07
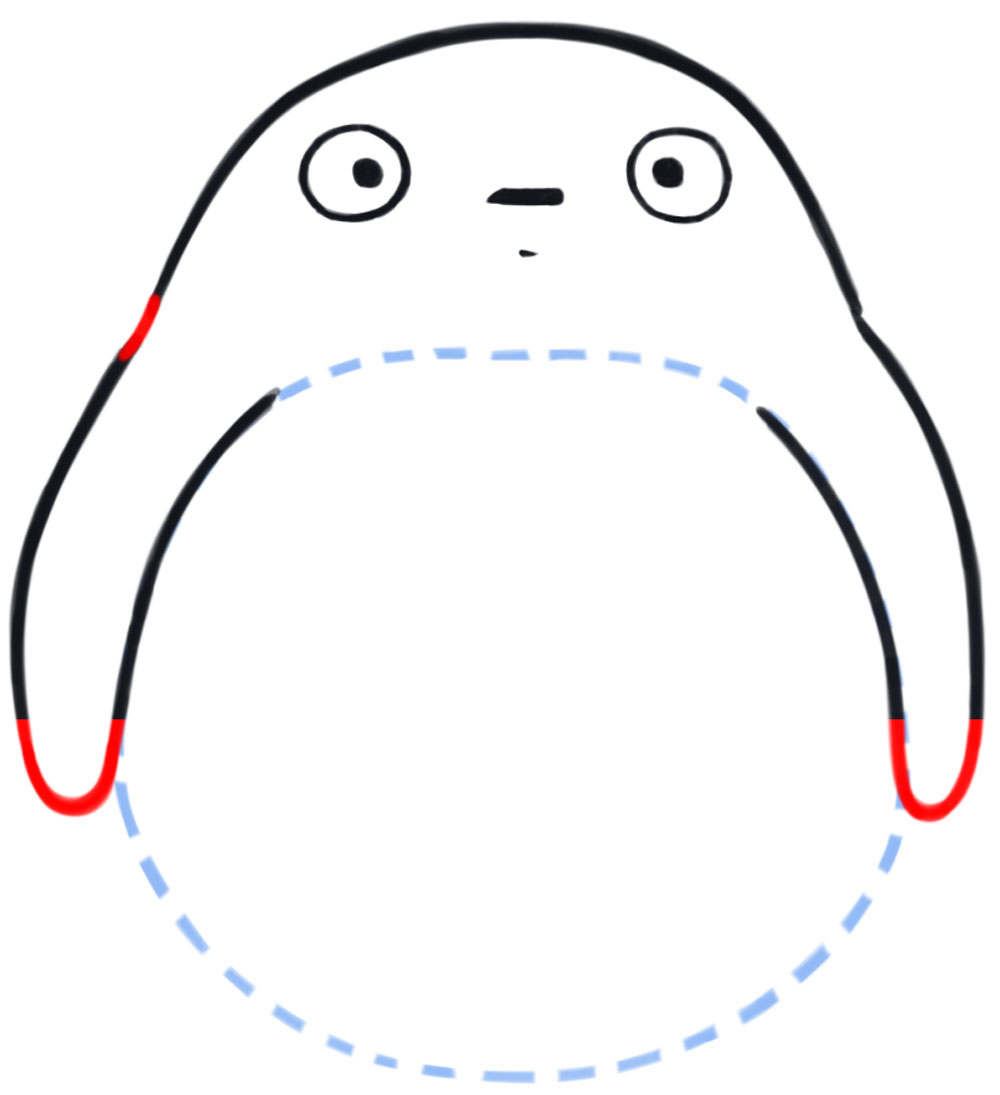
Draw the bottom of Totoro’s arms with “U” shapes. The area where the left arm meats Totoro’s head is a curved line.
STEP 08
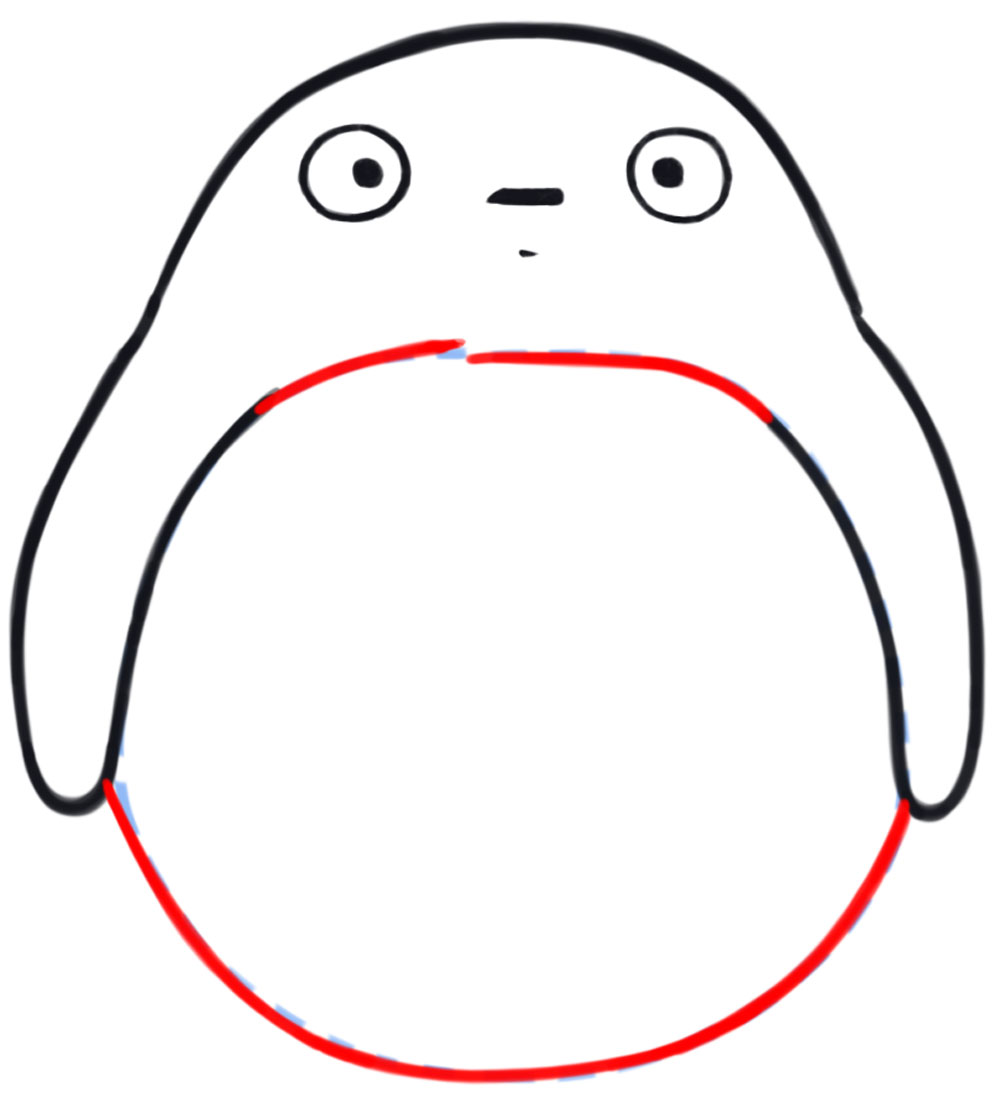
Use the guide oval to help you figure out where to draw the curved lines from this step.
STEP 09
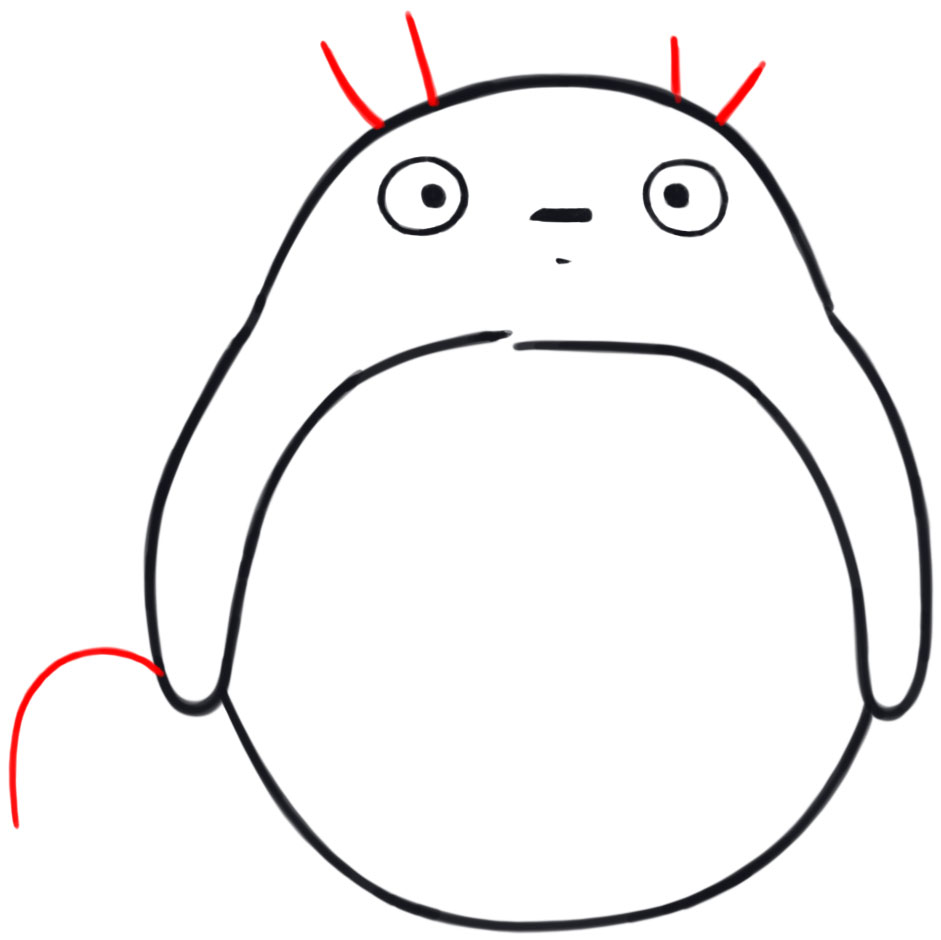
Start drawing Totoro’s ears by drawing slightly slanted lines. Draw an upside-down “J” shape (this will be the baby gray Totoro’s shape).
STEP 10
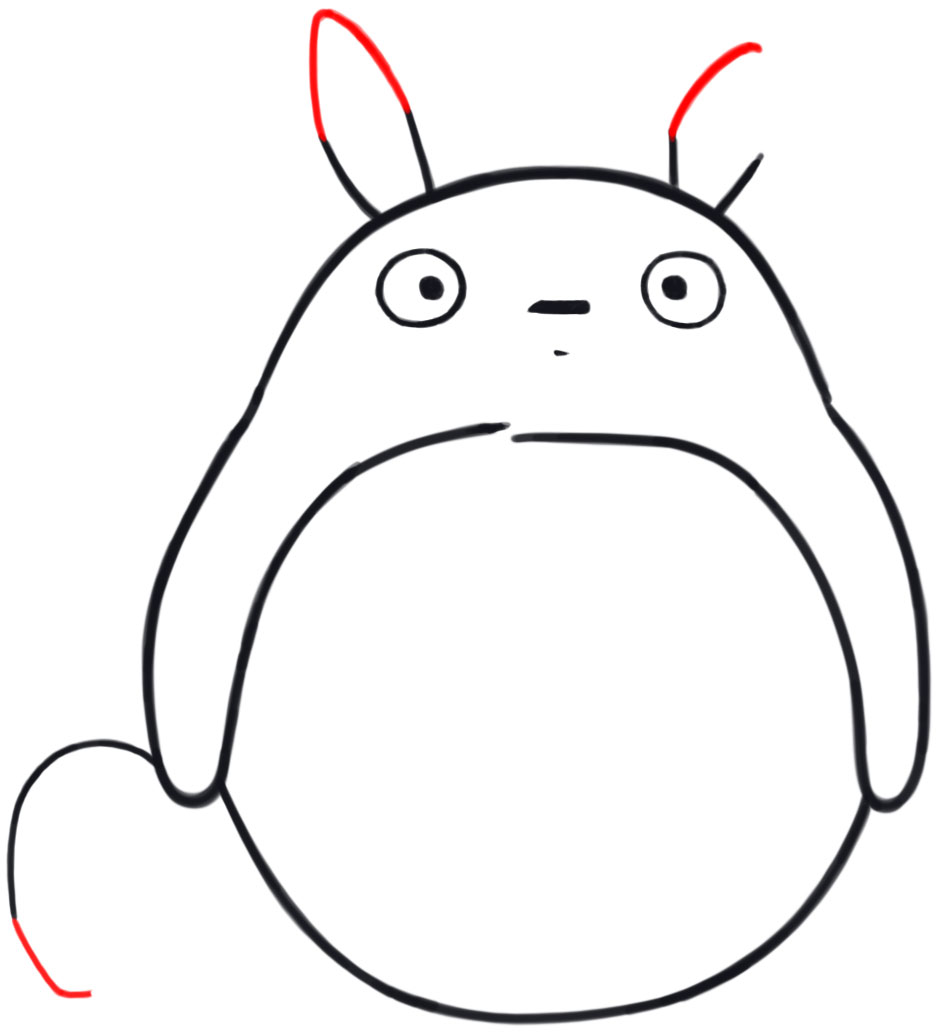
Draw a slanted “L” shape on the left side of the gray baby Totoro. For Big Totoro’s ears: Draw an upside down “V” shape on the left ear and a curved line on the right ear.
Check Out Our New Chibi Drawing Book on Amazon
STEP 11
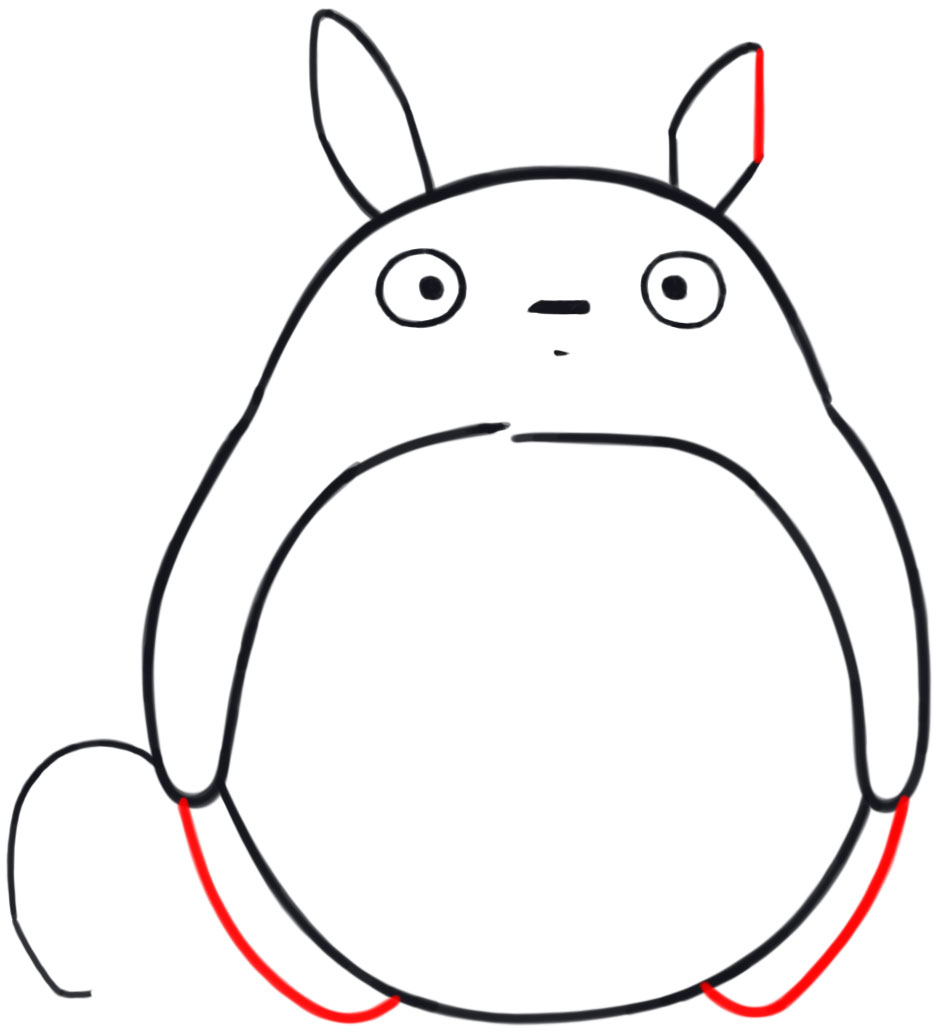
Finish Big Totor’s ears. Draw slanted “J” shapes for Big Totoro’s legs. These legs basically follow the shape of Totoro’s body.
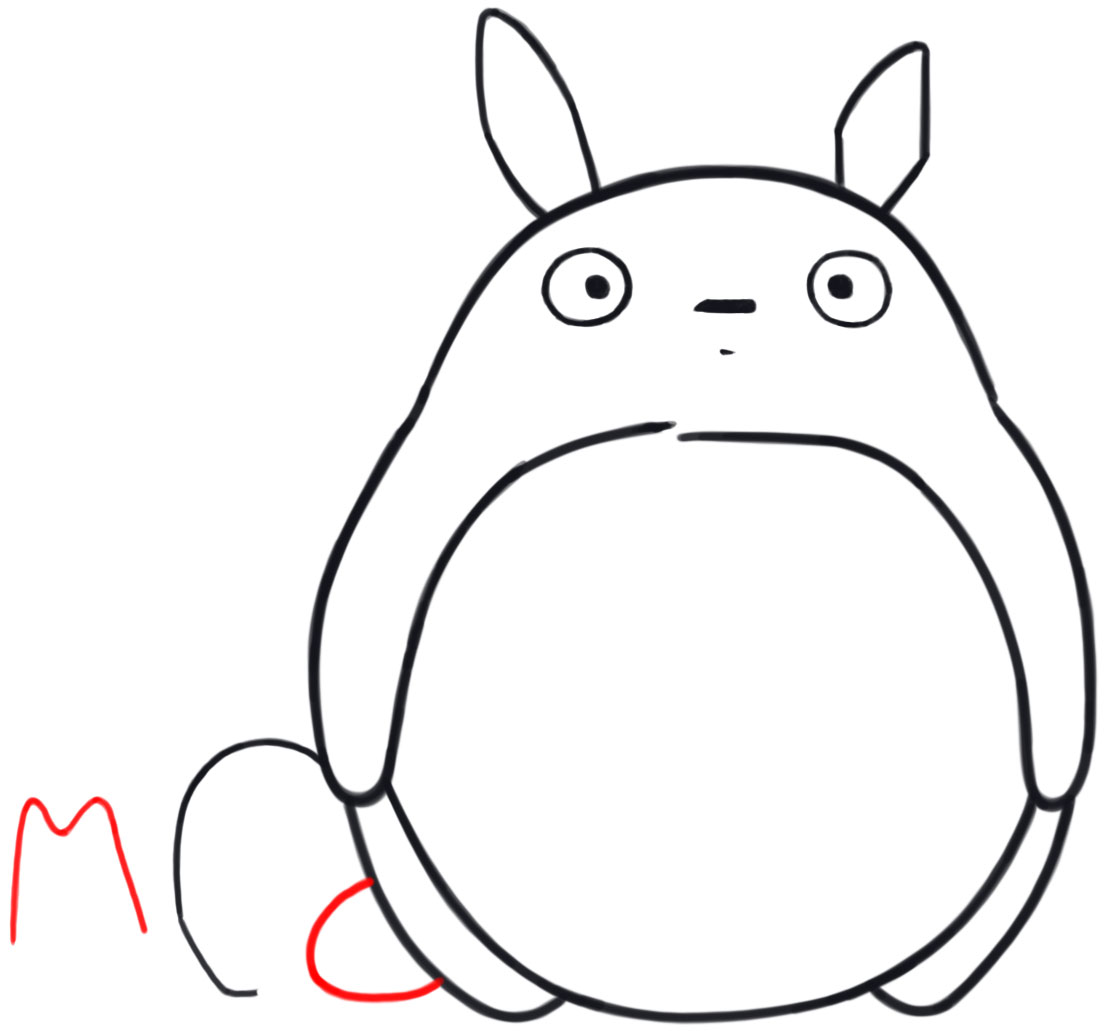
STEP 12
Draw an “M” and a “C” shape.
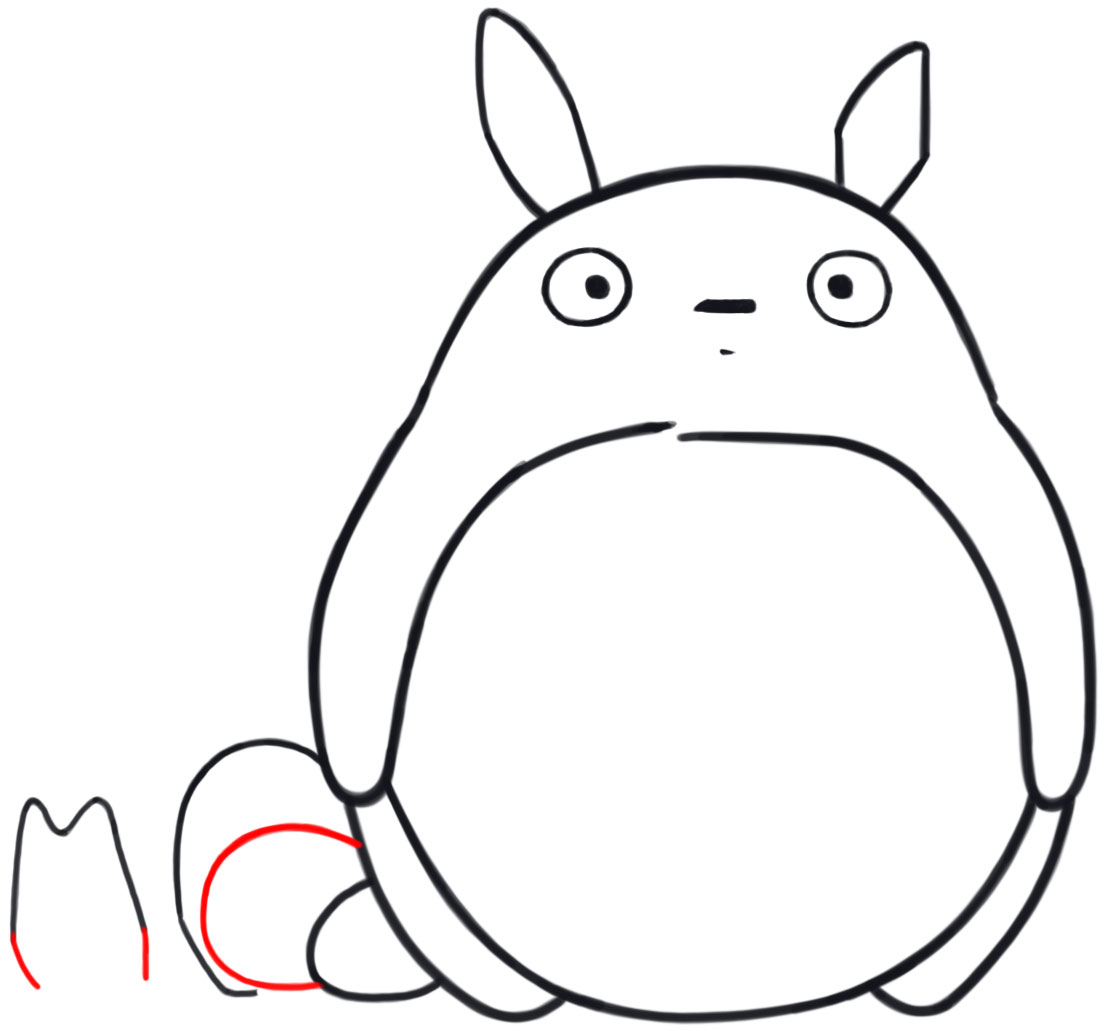
STEP 13
Draw 2 slanted lines on the “M” shape (this is White Totoro’s body). Draw a “C” shape within Baby Gray Totoro’s body.
STEP 14
On Mini Gray Totoro, start drawing his ears and finish his foot. For the right ear, draw an upside-down “J” shape. For the left ear, draw 2 diagonal lines.
STEP 15
Draw a slightly curved line at the bottom of White Totoro. Draw an upside-down “V” on the left ear and a curved line on the right ear of Baby Gray Totoro.
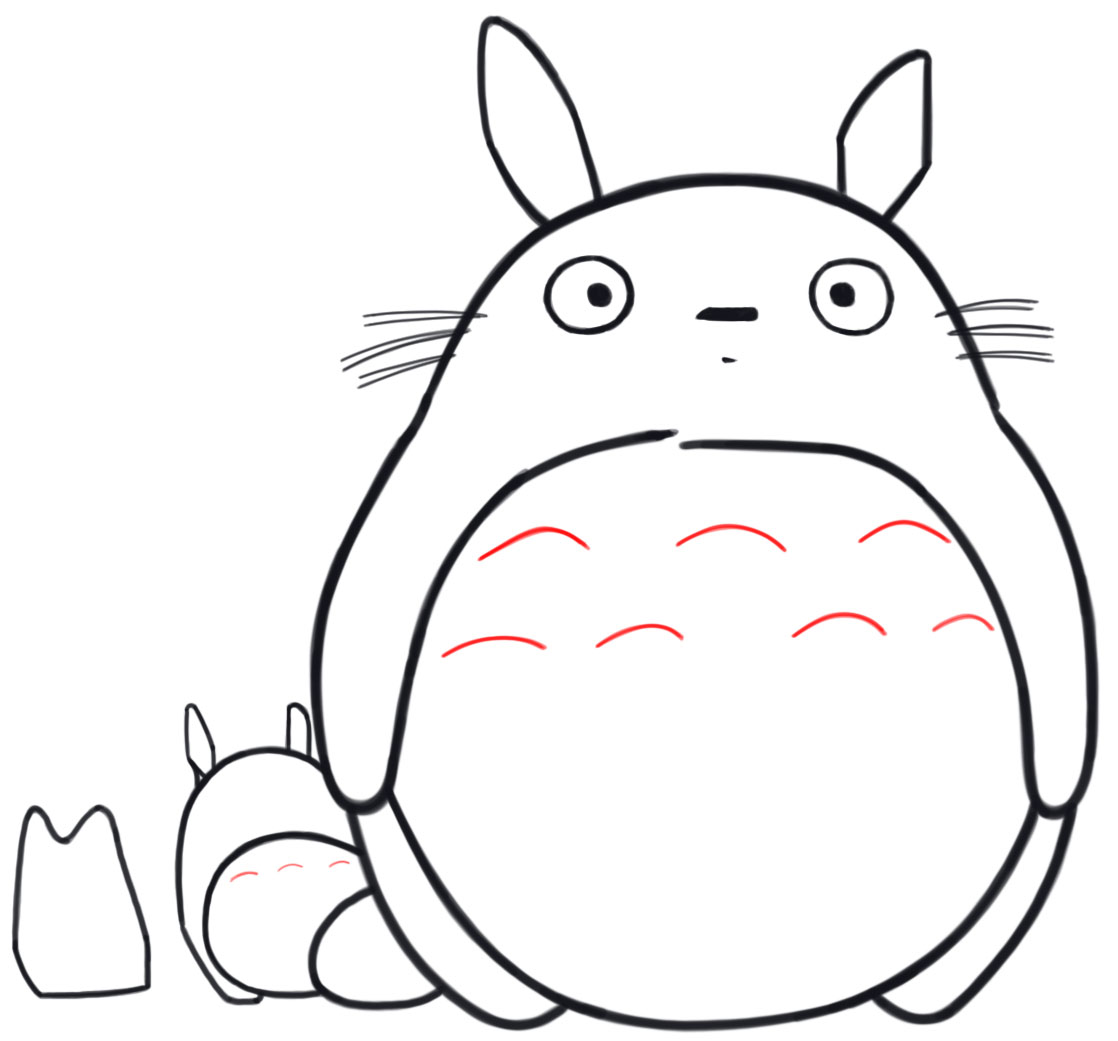
STEP 16
Draw a curved line on Baby Gray Totoro’s left ear. Draw sideways curvy “V” shapes for whiskers on Big Totoro.
STEP 17
Draw curved lines on the bellies.
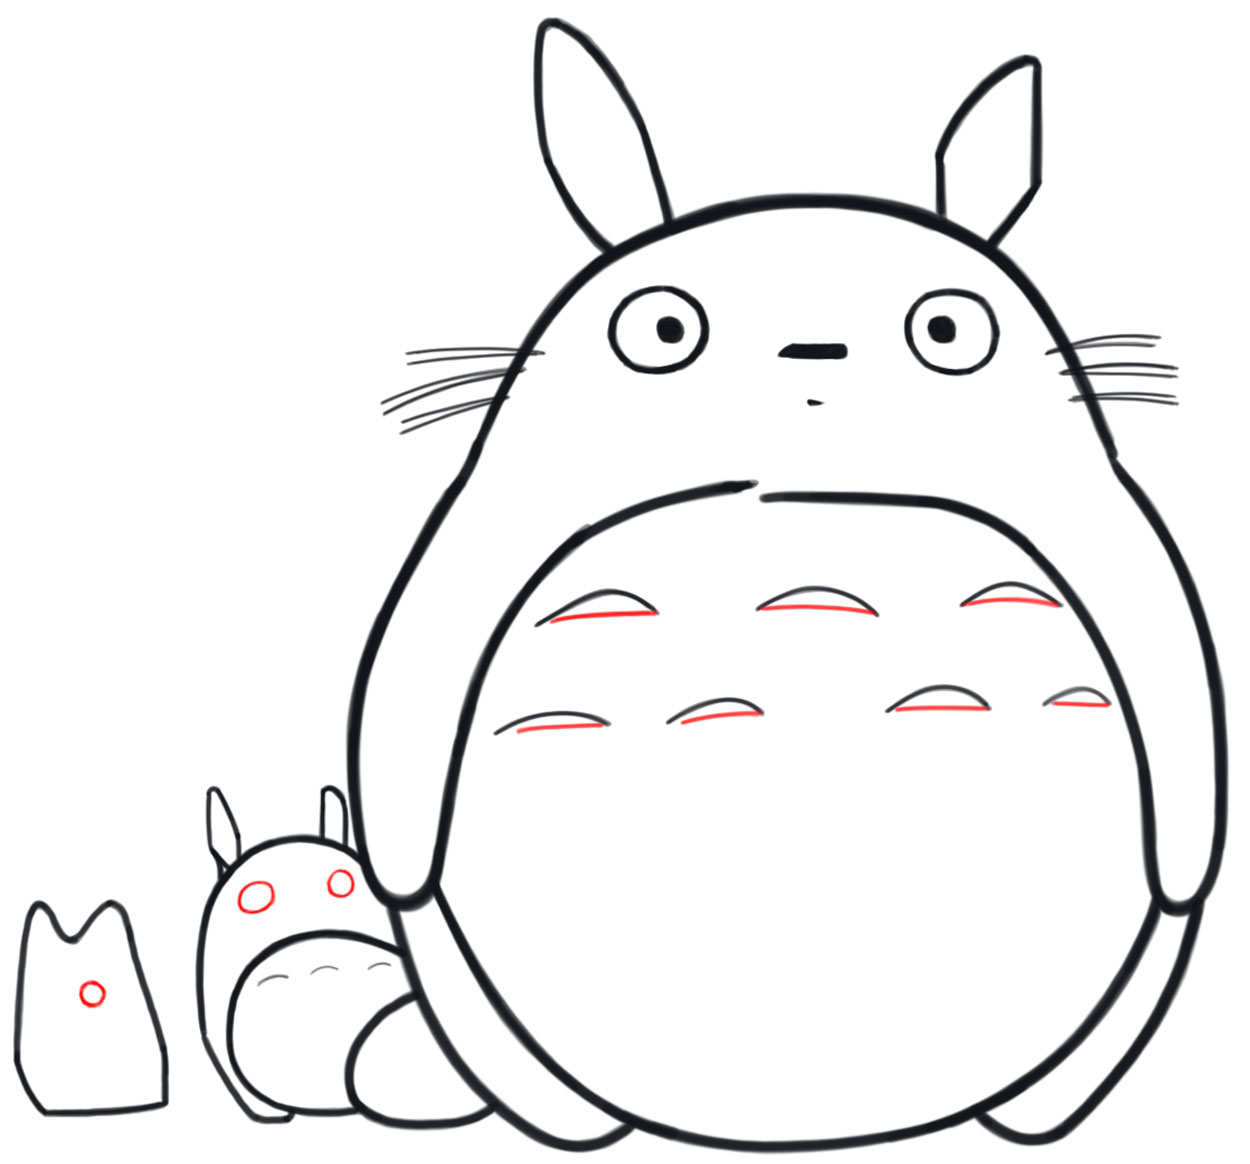
STEP 18
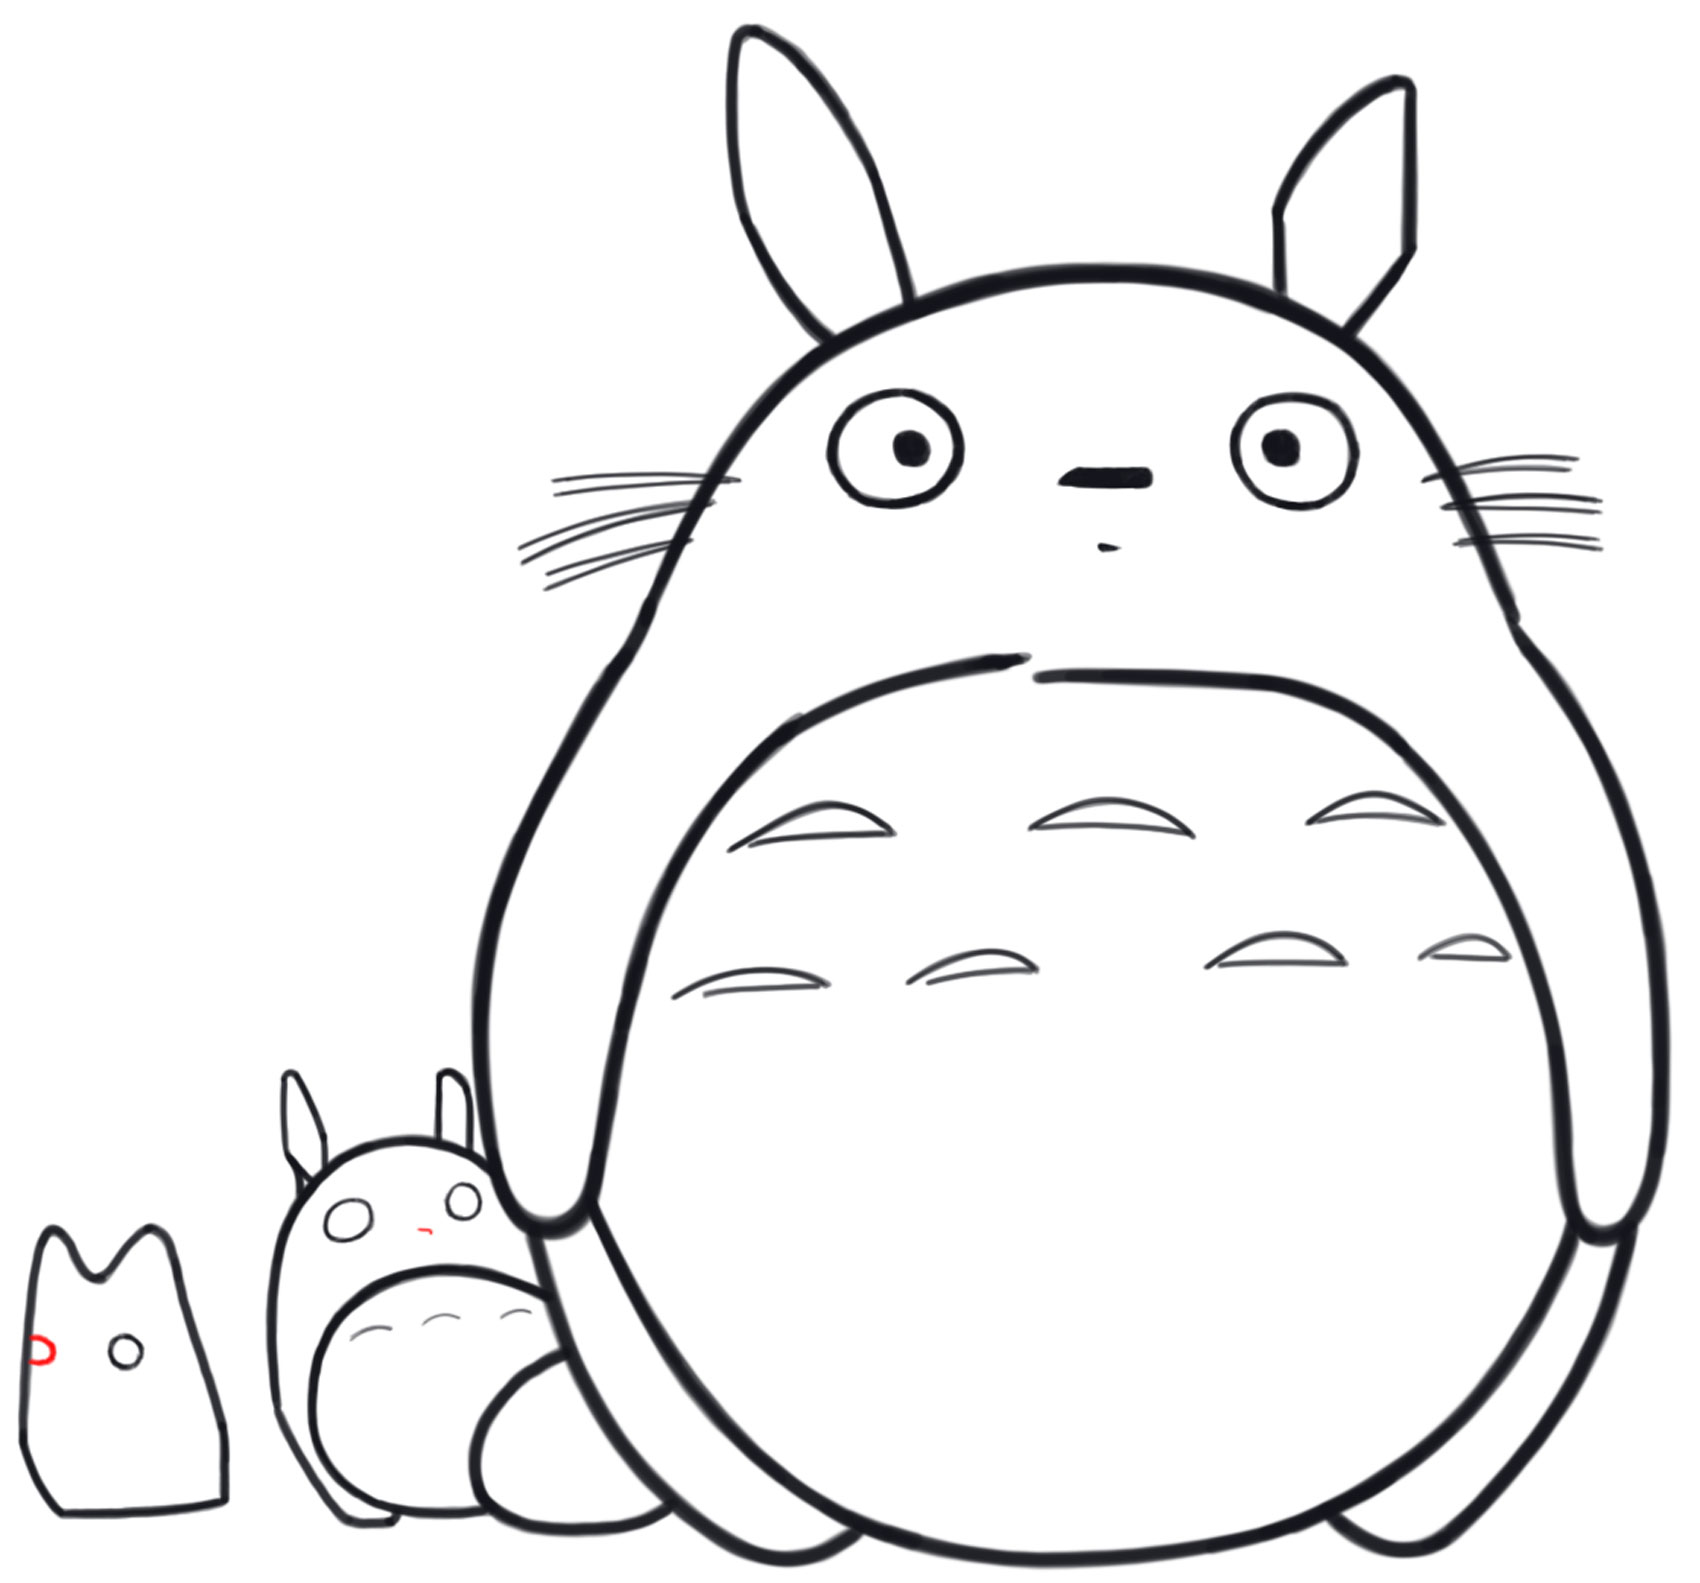
Draw lines at the bottom of the curved lines on Big Totoro’s belly. Draw circle eyes on the mini Totoros.
STEP 19
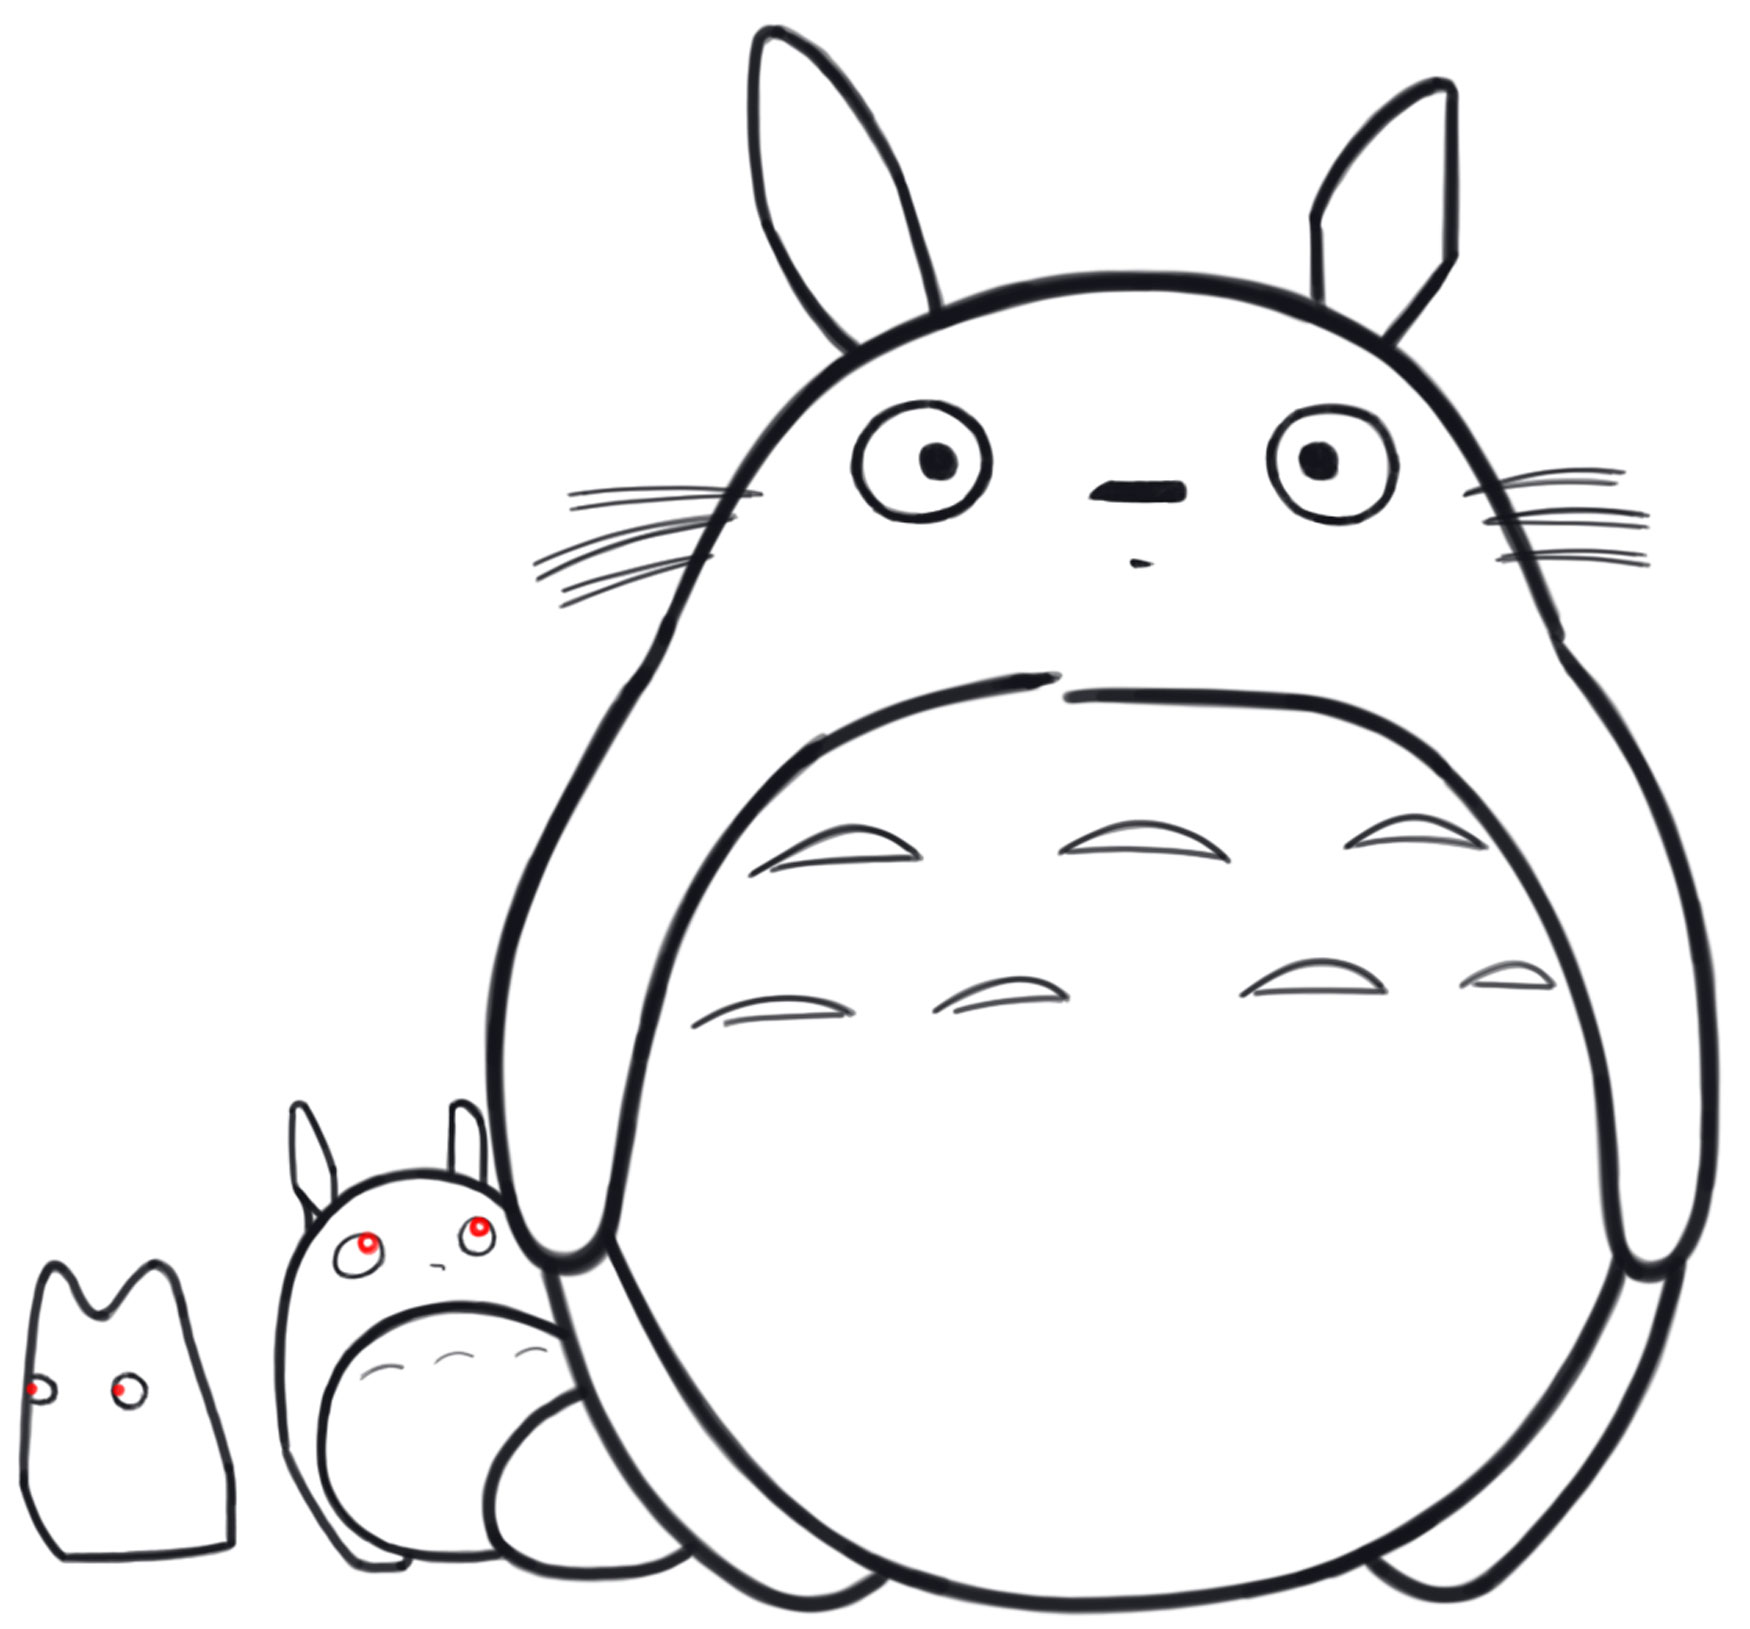
Draw a half oval for the left eye on Baby White Totoro. Draw a sideways “J” shape for Baby Gray Totoro’s nose.
STEP 20
Draw ovals inside the Baby Totoros’ eyes.
STEP 21
Color them all in if you have the time. This drawing came from a great Totoro backpack I saw on Amazon.
I hope you enjoyed this tutorial. Come back soon for more tutorials.
Check Out Our New Chibi Drawing Book on Amazon
