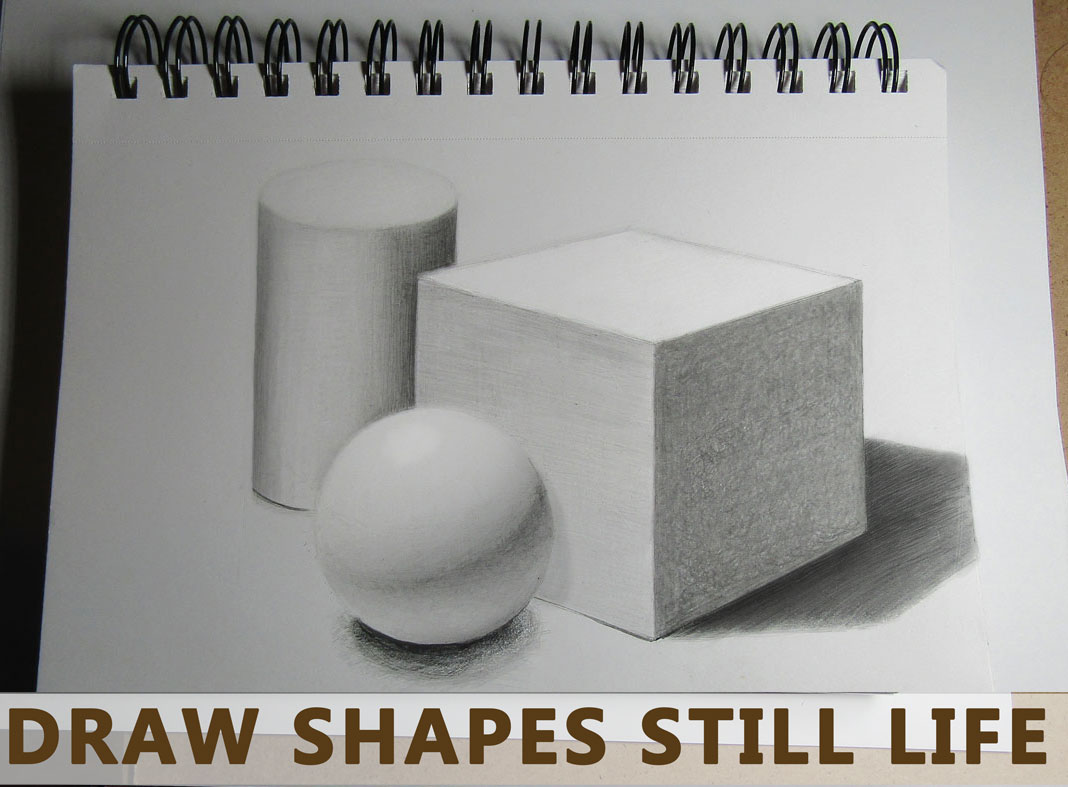
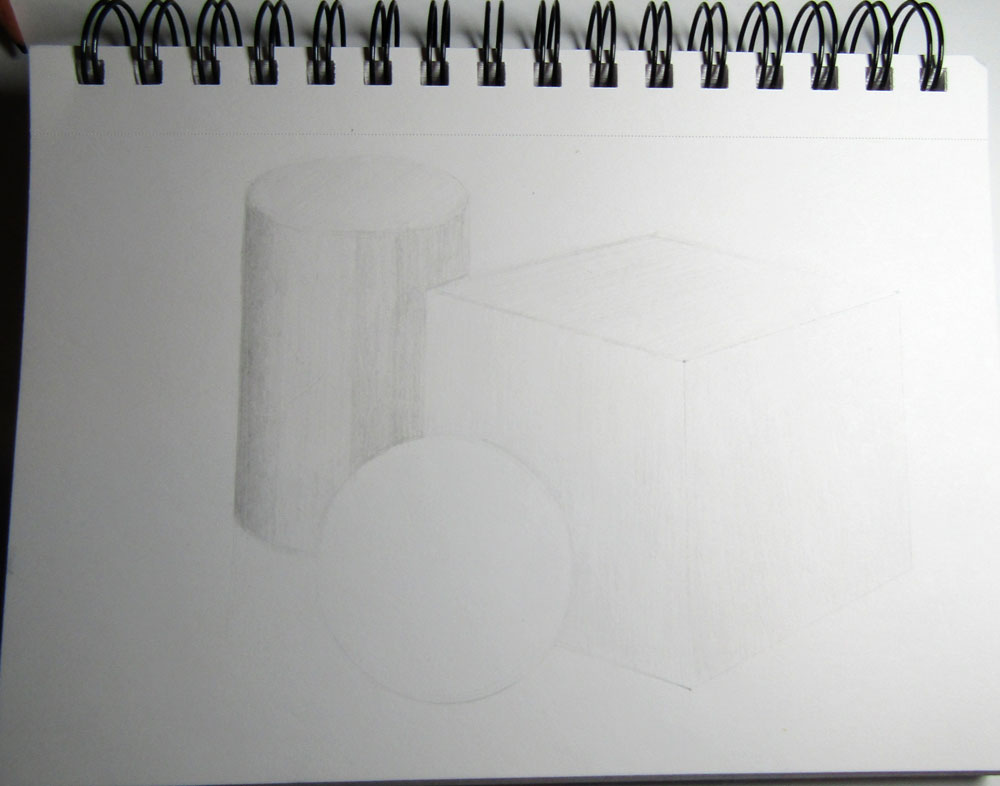
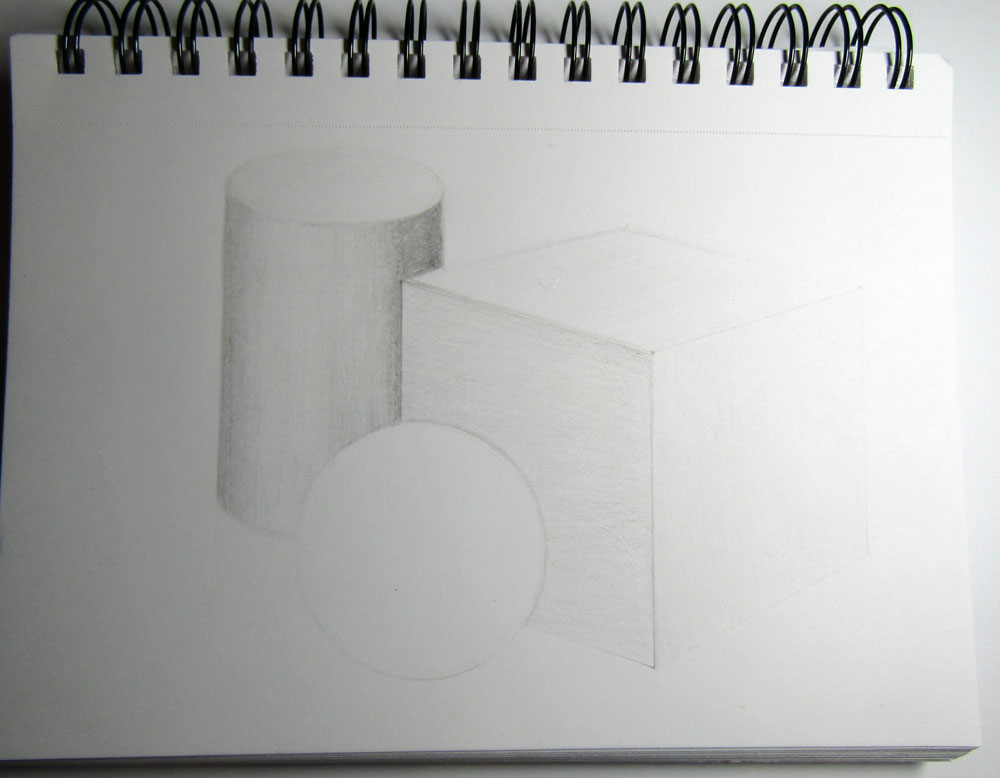
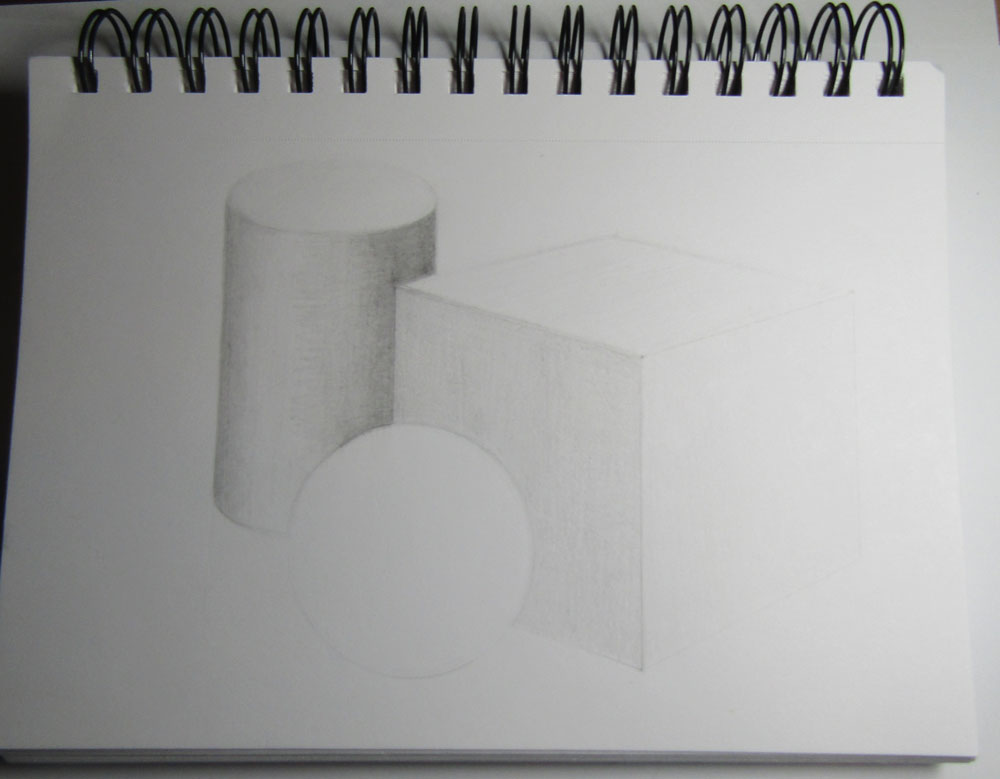
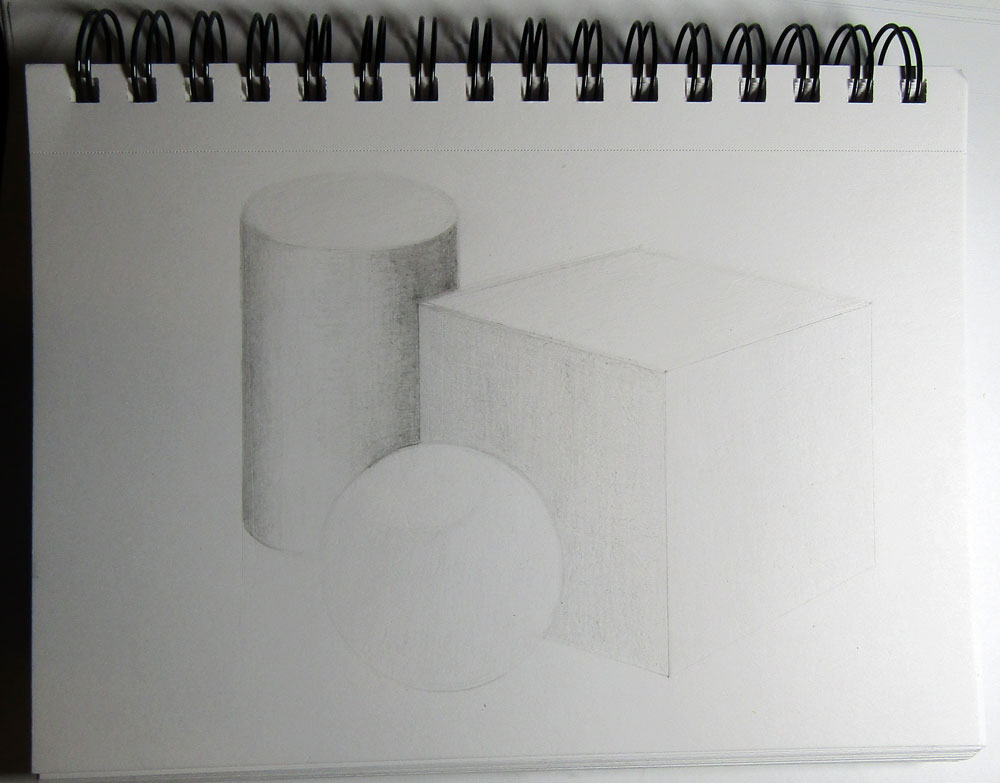
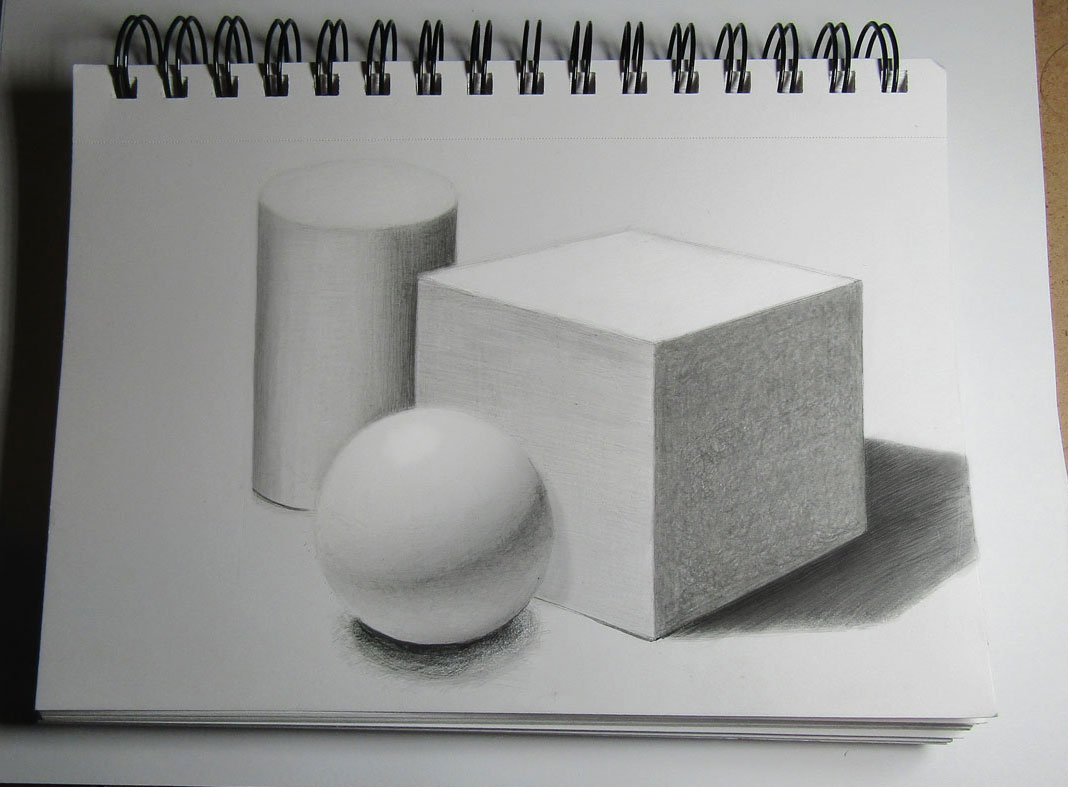
Today I am going to show you how to make a still life with primitive shapes (geometric shapes) including a cylinder, sphere, and cube. We are going to be using graphite pencils to draw and shade the drawing. We will be using the H, HB, 2B, and 4B pencils, but you can use the pencils that you already have if you don’t have the exact pencils. You can also use a normal #2 pencil if you don’t have graphite pencils on hand. If you don’t have graphite pencils, check out Amazon ( Cheaper brand of graphite pencils or a better quality set of graphite pencils )
Learn How to Draw a Still Life with Basic Geometric Shapes with Graphite Pencils (Cube, Sphere, and Cylinder) Step by Step Drawing Tutorial
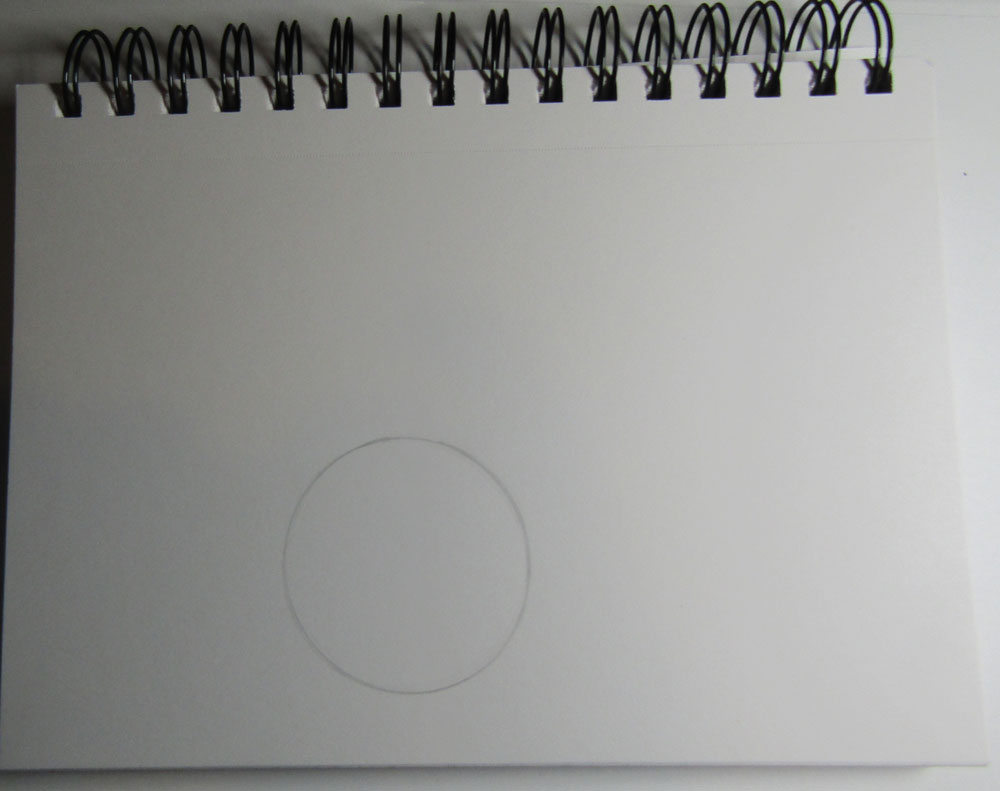
STEP 01
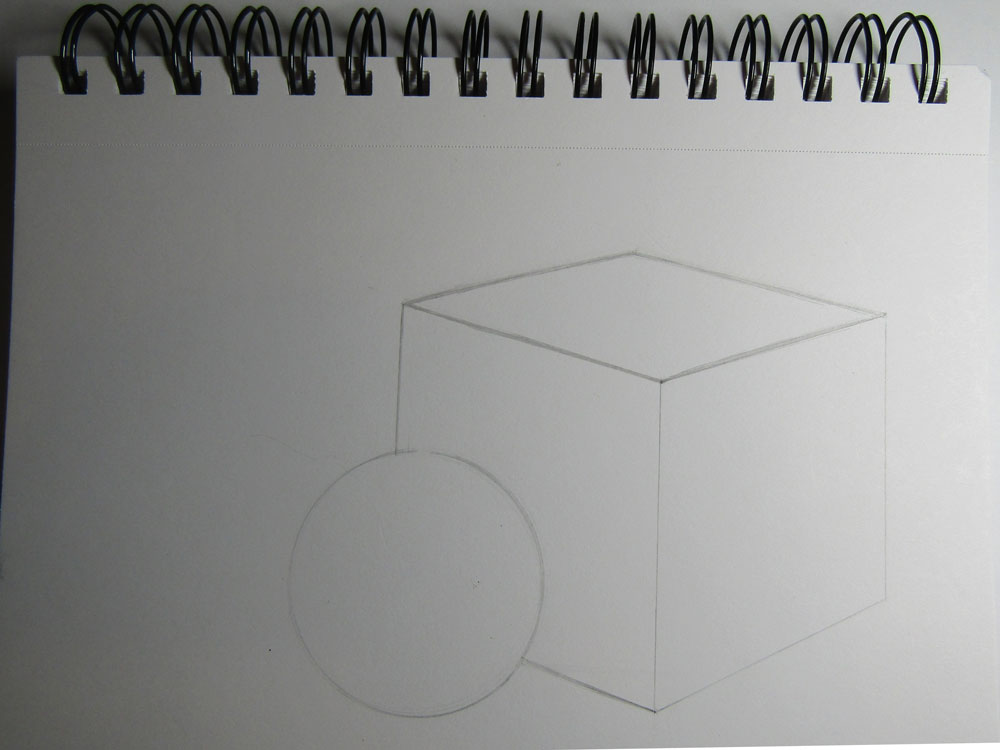
Use a compass or trace a cap to draw a perfect circle.
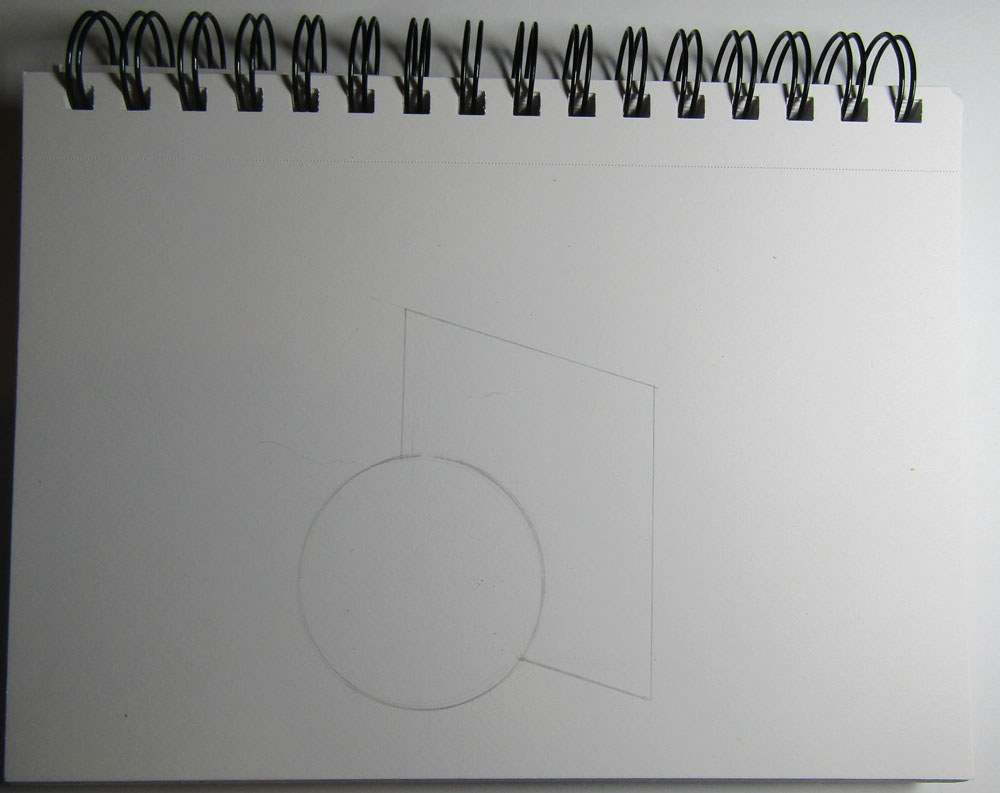
STEP 02
Draw the left side of the cube.
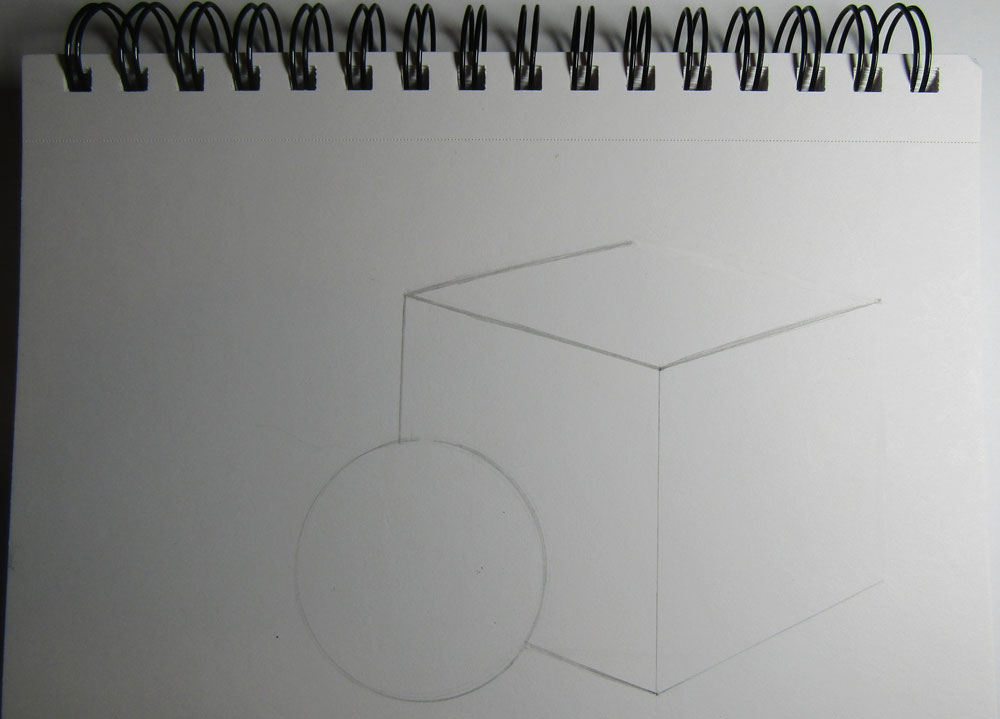
STEP 03
Draw the sides of the cube.
STEP 04
Now, close off the cube.
STEP 05
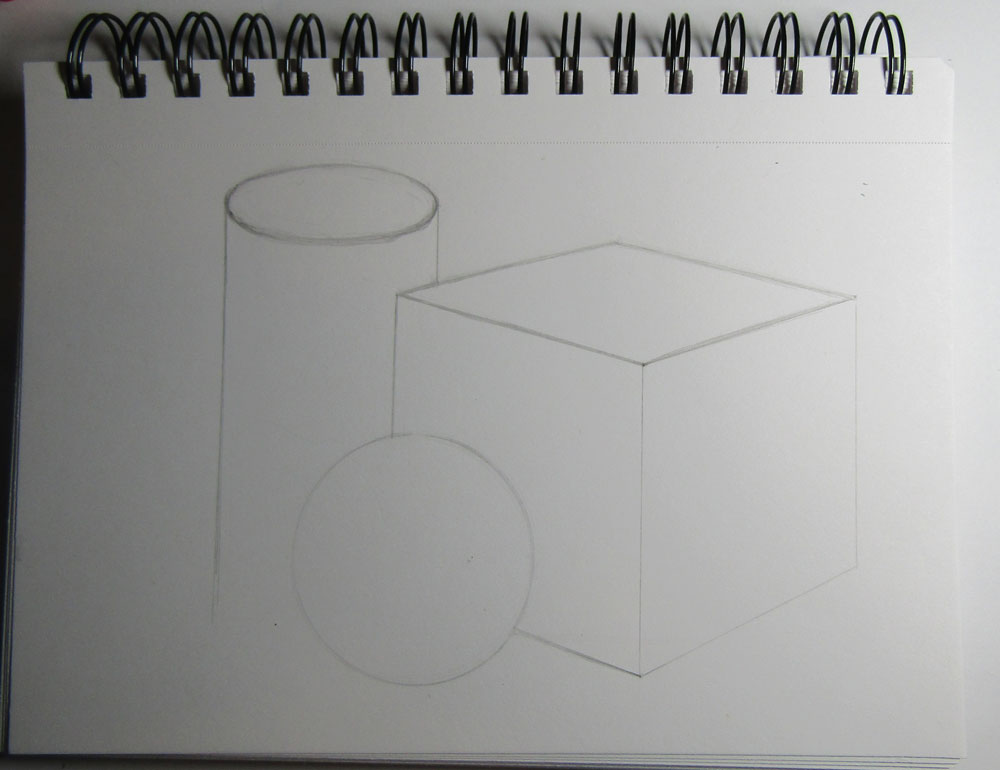
Draw the oval that will be on the top of the cylinder.
STEP 06
Draw the sides of the cylinder.
STEP 07
Draw a curved line at the bottom of the cylinder. You are going to want to erase the lines one all of the shapes so that you can just see the lines.
STEP 08
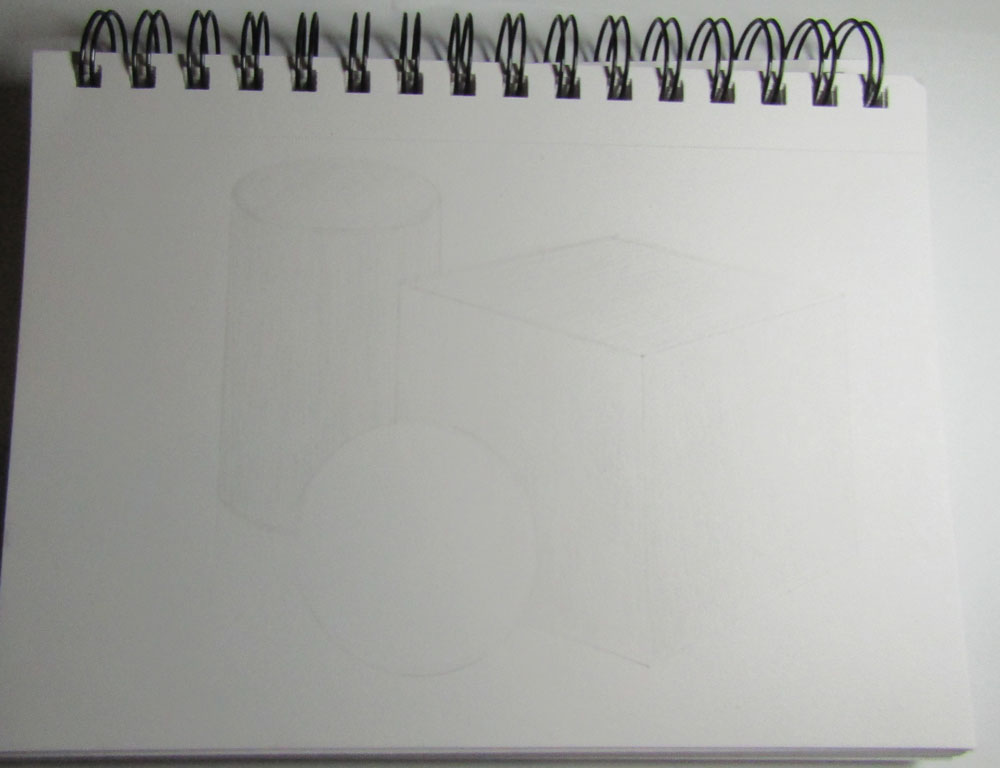
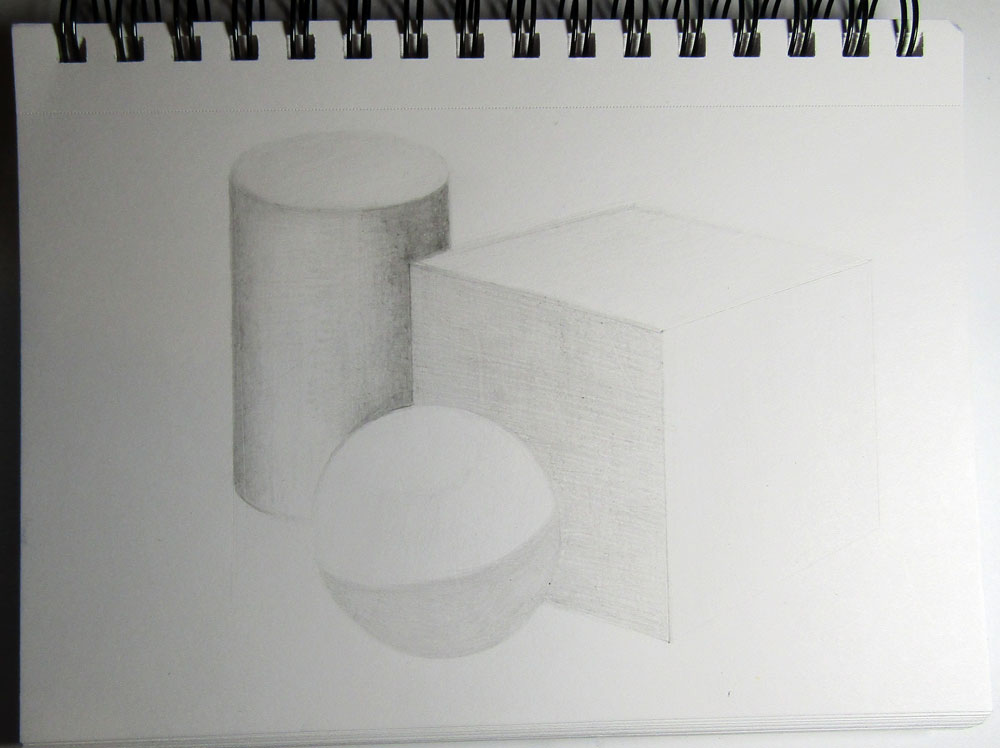
You can hardly see the shapes because I erased as much of the lines as I could and still be able to see them. Use an H pencil to shade the cylinder and cube as lightly as you possibly can. Hold the pencil as far back as you can, this will make your marks lighter. We are just putting a light tint on the shapes.
STEP 09
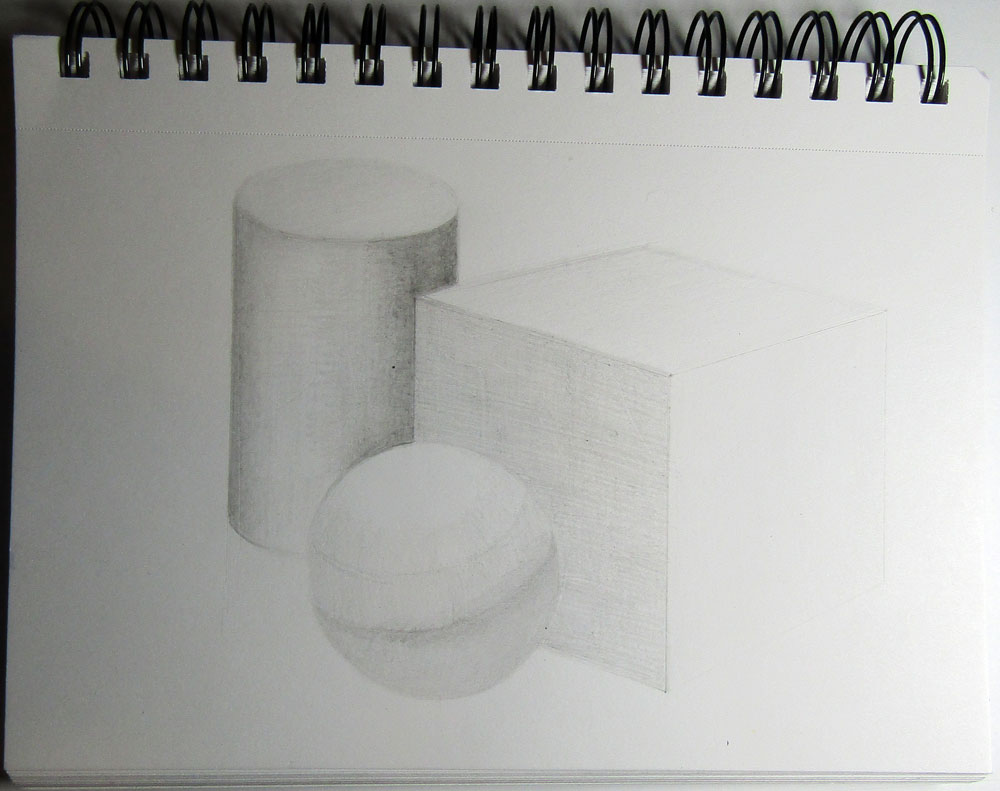
Use an HB pencil to make the left and right sides of the cylinder darker. Try to start making a smooth transition of the shading towards the center. Do this by lightly using the pencil until it gets just a bit darker than the tone next to it.
STEP 10
Continue to use an HB pencil to make a smooth transition from darker to light on the cylinder. On the left side of the cube, lightly shade with the HB pencil.
STEP 11
Continue using the HB pencil to smoothen out the gradation of the shading on the cylinder. Add another layer on the left side of the cube.
STEP 12
Use an H pencil to add a light tone to the sphere (everywhere except the top left – hopefully, you can see the oval of white).
STEP 13
Use an HB pencil to draw a curved line on the lower part of the sphere. Then shade it in with the HB pencil.
STEP 14
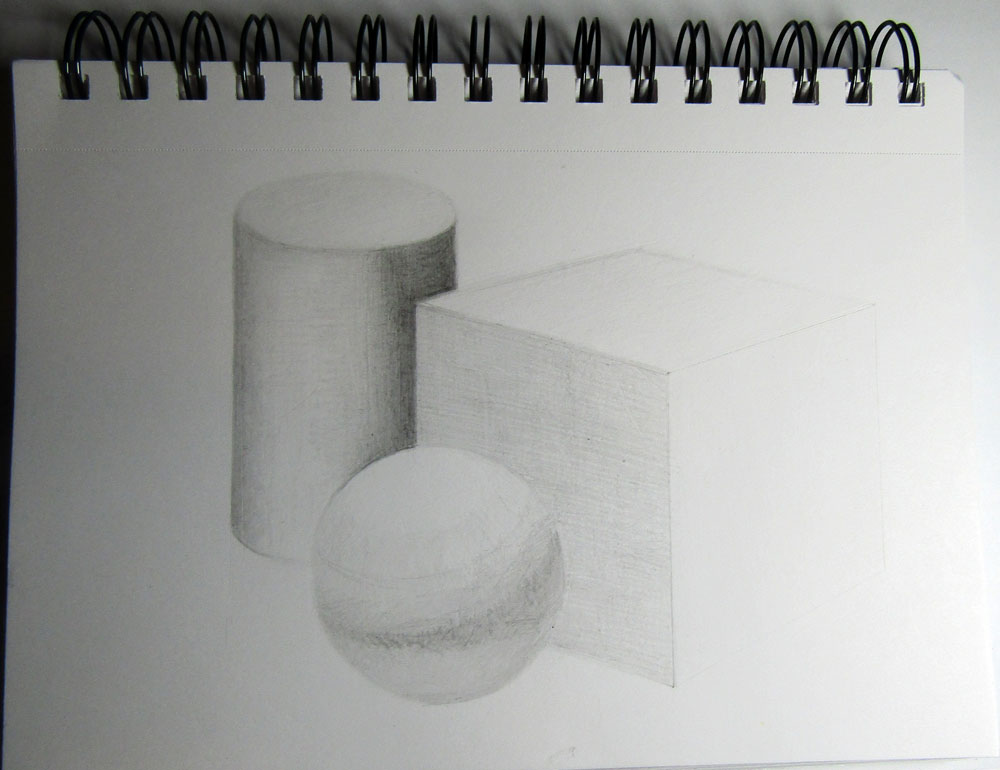
Draw a lighter band of tone in the center of the sphere. Do this very lightly with the HB pencil. Between the 2 bands of tone on the sphere, draw lines in all different directions all along that centerline. This will blend them together a bit.
STEP 15
With a 2B pencil, draw lines in different directions along the centerline as well as on the right side of the sphere, as well as on the bottom of the sphere (although lighter).
STEP 16
Use an HB pencil on the sphere to finish up the gradation. Use a 2B pencil to shade the right side of the cube.
STEP 17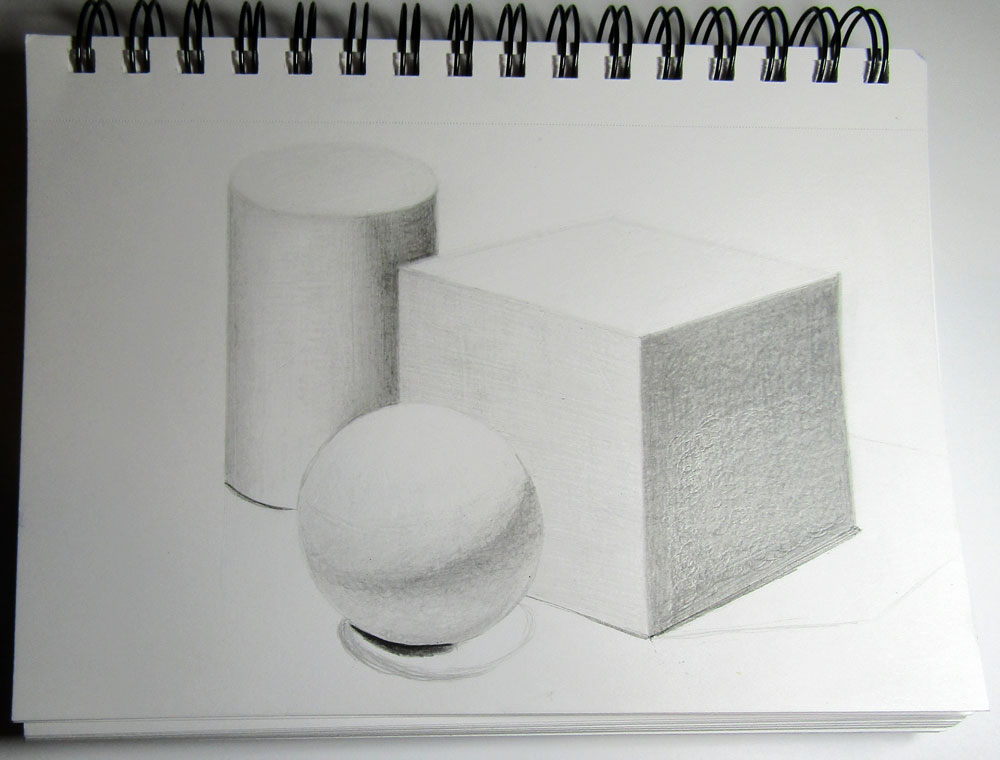
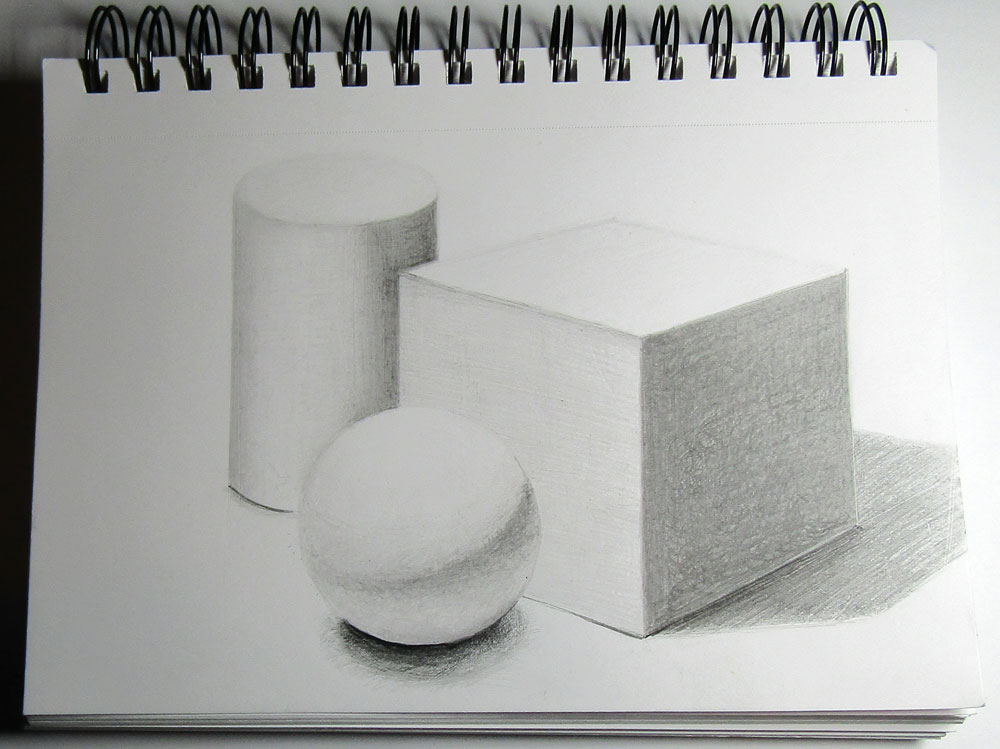
Draw an oval under the sphere for it’s shadow. Use a 4B pencil to draw a very dark cast shadow under the sphere. Draw the cube’s cast shadow too.
STEP 18
Fill in the shadow with the 4B pencil. Draw against the outline of the shadow to make it fuzzier.
STEP 19
Take an eraser and erase out a highlight on the top of the sphere. Darken some of the shadows to make them stand out more.
