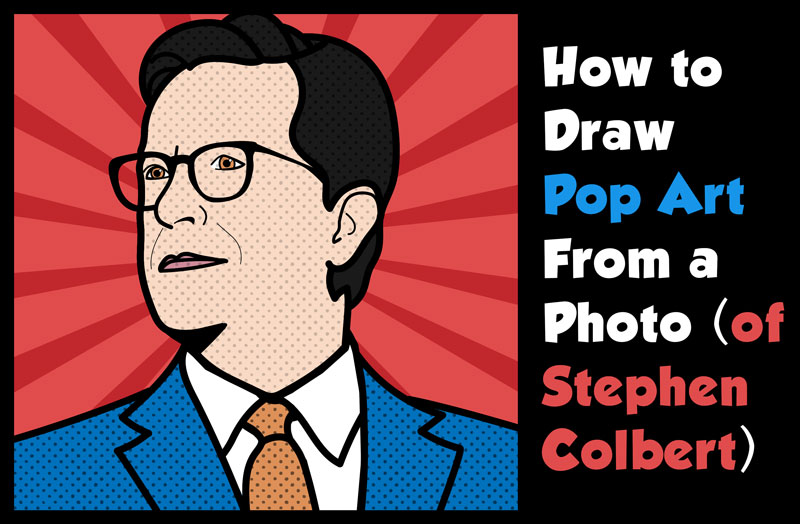

Today I’ll show you how to turn a photo of Stephen Colbert from The Late Show into a comic strip styled pop art picture. You can use this strategy to turn any photo into a comic styled illustration. Follow the step by step instructions below and draw your own pop art picture today.
One of the most important things to do, when you’re creating pop art / comic style illustrations is to draw thick black lines and to draw only the dominant traits. It is about throwing out the minute details and emphasizing the more noticeable traits.
(Step 1) Lightly draw the guide lines for the face. Draw a “C”-like shape. This will be erased later on.
(Step 2) Lightly draw guide lines thru the face. These will be erased later on. Draw a backwards “C” shape for the ear.
(Step 3) Draw a wiggly line for the right-side hair line. Draw a sideways “J” shape for the nostril.
(Step 4) Draw the chin. Fill in the nostril.
(Step 5) Draw an upside down “?”-like shape.
(Step 6) Draw sideways “C” shapes for the bottoms of the lenses.
(Step 7) Draw curved lines for the tops of the lenses.
(Step 8) Outline the lenses with thick lines.
(Step 9) Draw 2 curved lines in between the lenses. Draw a sideways “V” shape at the right side of the glasses. Draw a line back down towards the right.
(Step 10) Draw a curved line on the forehead. Draw a line on the arm. Draw a “J”-like shape on the right side of the nose.
(Step 11) Draw another line. Draw a sideways #3-like shape for the top of the mouth.
(Step 12) Fill in the glasses black. Draw a curved line for the center of the lips.
(Step 13) Draw a line inside the lens. Draw a curved line on either side of the mouth.
(Step 14) Draw 2 “C”-like shapes.
(Steps 15 + 16) Draw some curved lines.
(Step 17) Draw some wavy lines. Draw a #2-like shape in the ear. Don’t draw the blue part.
(Step 18) Draw curved lines for eyes.
(Step 19) Draw curved lines on the bottoms of the eyes and in the hair.
(Step 20) Draw 2 curved lines and a circle in each eye.
(Step 21) Draw some curved lines. Draw a line on the neck.
(Step 22) Draw a curved line on the mouth. Draw a sideways “L” shape on the neck.
(Step 23) Draw some more “L”-like shapes as well as an extra line.
(Step 24) Draw 2 curved lines for the edges of the coat. Draw 4 curved lines to start the tie.
(Step 25) Draw 2 curved lines on the tie. Draw 2 #7-like shape on the coat.
(Step 26) Draw a triangle and fill it in (under the chin). Draw a curved line for each shoulder.
(Steps 27 – 32) We are going to draw a starburst pattern behind Stephen. Use a ruler to draw lines behind him, as if there was a sun behind his head. The stripes get thicker as the move away from his head.
(Step 1) Draw a backwards “?”-like shape. Don’t draw the blue dotted circle.
Technorati Tags: stephen colbert. colbert, how to draw stephen colbert, how to draw comic, how to draw comic style, how to draw pop art, pop art, comic style
Today, I'll show you how to draw a cartoon girl pointing at herself with step-by-step…
Today, I'll show you how to draw a crying cute little cartoon guy who is…
Today, I'll show you how to draw an adorably super-cute cartoon owl on a witch's…
Today I will show you how to draw a super cute baby-version of Winnie The…
Today I'll show you how to draw the famous Pusheen cat from social media, such…
Today I'll show you how to draw this super cute chibi version of Deadpool from…
View Comments
This is really cool!