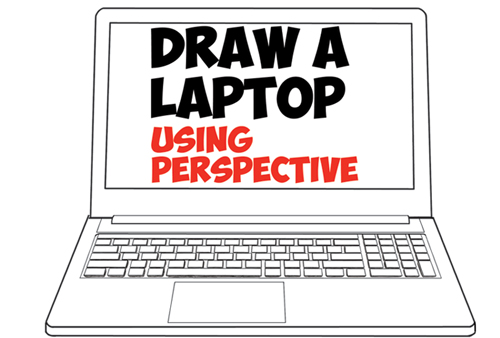

Today I will show you how to draw a computer laptop and keyboard using 1 Point Perspective techniques. Laptops are sort of annoying to draw because of the keyboard and all of the keys that you have to draw spaced out correctly. So, if you want to draw a laptop, just recognize before you draw it, that it is a bit tedious to draw. Either way, this will help you understand perspective drawing techniques a little better. Happy Drawing!
If you want a more detailed guide to perspective, we have a few of them here.
[ad#draw]
(Step 1) Draw a rectangle.
(Step 2) Draw a rectangle around the original rectangle…this will be the outer screen. Draw a dot for the vanishing point. A vanishing point is the point at which receding parallel lines viewed in perspective appear to converge. You can also say that a vanishing point is the point at which something that has been growing smaller or increasingly faint disappears altogether (for example, when you are looking down a street and all the buildings seems to converge or melt into each other, but in reality they obviously, don’t).
(Step 3) To draw the outer part of the keyboard….draw lines back towards the vanishing point….you don’t have to draw the part of the line that you don’t need, which is any part above the outer keyboard.
(Step 4) Draw curved lines on outer 2, top corners of the laptop. Draw a line in between screen and keyboard…but a little lower than previous one drawn in step 2. Also draw a line at bottom of keyboard.
(Step 5) Draw curved lines on bottom corners of keyboard. Also draw a line below keyboard.
(Step 6) We are using the vanishing point again to draw inner keyboard lines. Also draw a line between keyboard and lower line…as I did.
(Step 7) Draw lines for inner keyboard. Draw curved lines in center of laptop and on lower part of laptop.
(Step 8) Draw some horizontal lines again.
(Step 9) Draw some lines to vanishing point.
(Step 10) Draw some horizontal lines for the keyboard.
(Step 11) In this picture, I haven’t draw lines to the vanishing point, but you are going to…It got too messy to show you that I was drawing each line to the vanishing point, just know that I did indeed draw these lines to the vanishing point. These keys are spaced out according to the keyboard I was basing this one. There are hundreds, if not thousands of different keyboards, but this is the spacing out of the keyboard that I was drawing. I have drawn the lines in pairs of twos because of the space between each key.
(Step 12) Continue drawing keys. These lines all recede to the vanishing points. These lines are drawing in twos because the space in between each key.
(Step 13) And even more keys.
(Step 14) Draw 2 more horizontal lines.
(Step 15) Start shading the keys. Each key is shaded in the front. The keys that are to the left of the space bar are shaded also on the right. The keys to the right of the space key are also partially shaded on the left…some of the center-ish keys are mostly just shaded in the front. Check out my drawing to see what I’m talking about.
(Step 16) Here is the finished laptop, check out all the keys to see where I shaded them all.
I hope that you enjoyed this tutorial…come back soon for more.
If you want a more detailed guide to perspective, we have a few of them here.
Technorati Tags: laptop, laptops, drawing laptops, how to draw a laptop, drawing a laptop, computers, keyboard, drawing keyboards, perspective, perspective drawing, one point perspective
Today, I'll show you how to draw a cartoon girl pointing at herself with step-by-step…
Today, I'll show you how to draw a crying cute little cartoon guy who is…
Today, I'll show you how to draw an adorably super-cute cartoon owl on a witch's…
Today I will show you how to draw a super cute baby-version of Winnie The…
Today I'll show you how to draw the famous Pusheen cat from social media, such…
Today I'll show you how to draw this super cute chibi version of Deadpool from…
View Comments
I want to know more of how I can draw with these methods, I am a drawing artist of all kinds of things. Snowcapped mountains, wooded mountains, tree's rivers, rocks, bridges of all kinds. Old houses and barns. Snow scenes. Please leave some good methods of how I can put this to good use. I want to draw many things using these techniques. I assemble my art work into a frame, mating, or mats, glass, and a bocking.
Thank you very much