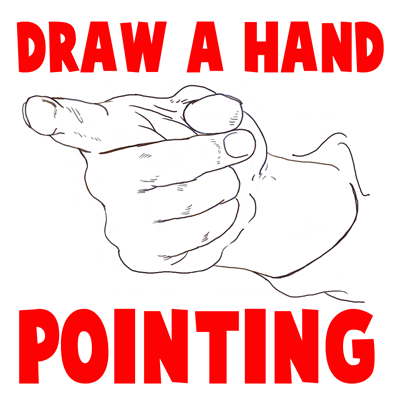
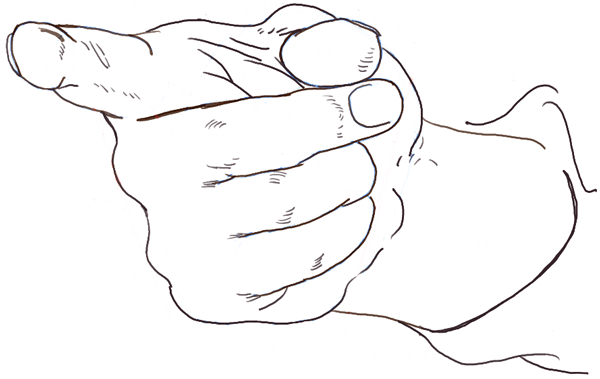
Hands are really hard to draw…especially a hand that is pointing towards you. However, with this tutorial, I think you will be able to draw a pointing hand with less difficulty. I will guide you thru drawing this hand with a step by step process that should make it a bit easier.
You Might Like Our Other Hand Tutorials
How to Draw Hands Pointing with Easy Step by Step Drawing Tutorial
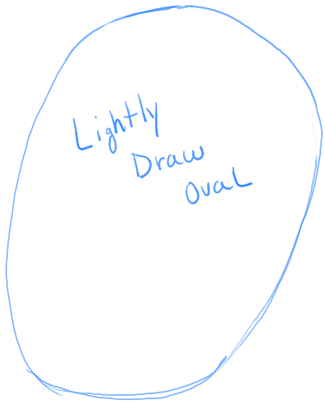
Step 1
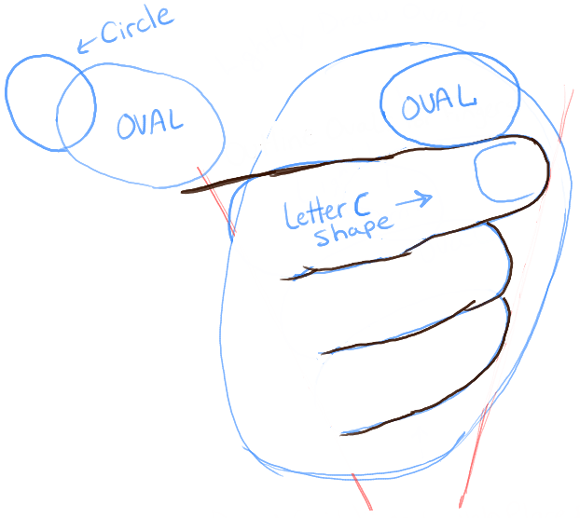
Lightly draw an oval.
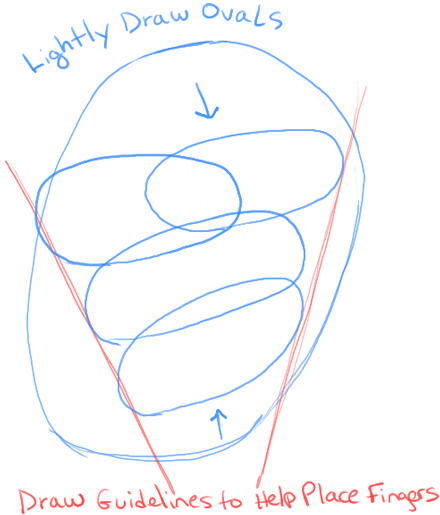
Step 2
– Lightly draw 2 guidelines converging towards each other thru the oval…as seen by the red lines above.
– Use the red guidelines to help you draw the ovals that you see drawn above.
[ad#draw]
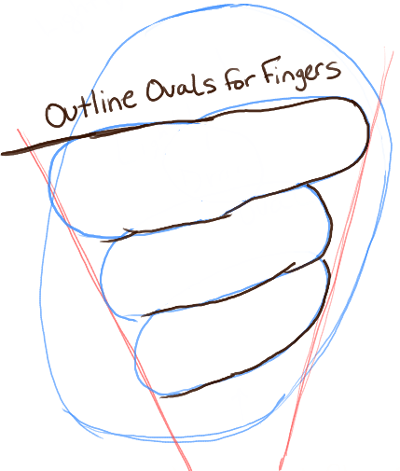
Step 3
– Use the ovals that you drew in the last step to help you draw the actual shapes of the fingers.
Step 4
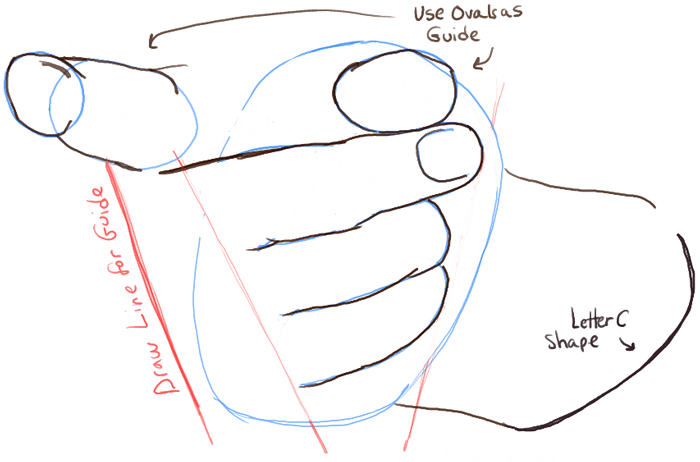
– Draw a letter ‘C’ shaped finger nail in the top finger.
– Draw two ovals and a circle as seen above.
Step 5
– Use ovals / circle from last step as a guide to draw the actual thumb and pointing finger.
0 Draw a letter ‘c’ shape and a curved line for the forearm.
Step 6
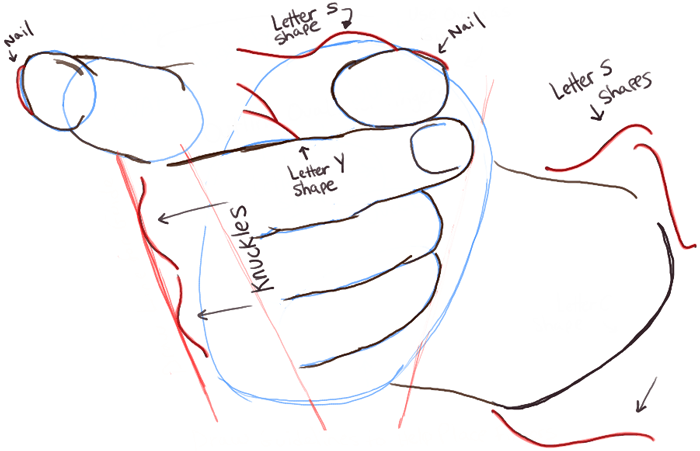
– Draw a few letter ‘s’ shaped curves for the sleeve.
– Draw hill-shaped knuckles…notice where the tops of the knuckles line up in comparison to the fingers.
– Draw a letter ‘Y’ shape.
– Draw 2 nails.
– Draw a letter ‘s’ shaped curve near the thumb.
Step 7
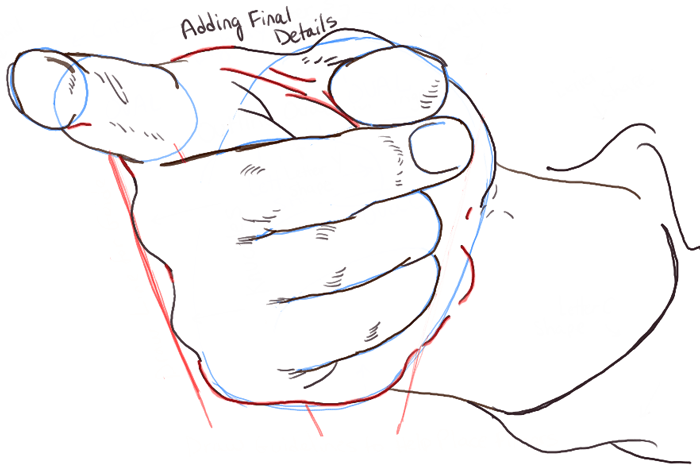
– Draw a few final details.
Step 8
Erase guidelines (blue in this tutorial).
Finished Drawing of a Hand Pointing at You
Now you have the finished drawing of the pointing hand. Hopefully you were able to draw the hand well…if not, try again. It takes some practice. Come back for more hand drawing tutorials as well as many other drawing lessons that will help you.
You Might Like Our Other Hand Tutorials
Technorati Tags: pointing hands, hand pointing, how to draw a hand pointing, drawing hands pointing, hands, drawing hands, how to draw hands
