Page : 1 2
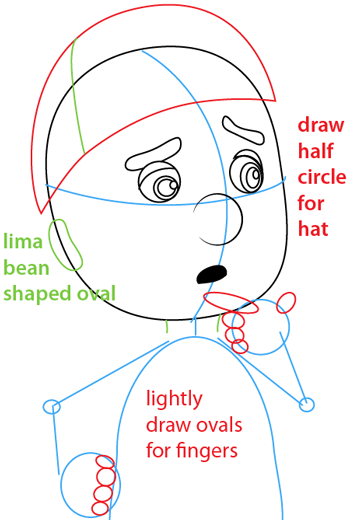
Step 6
Draw a half circle for the hat and a lima bean shaped oval for the ears. Lightly draw ovals for the fingers.
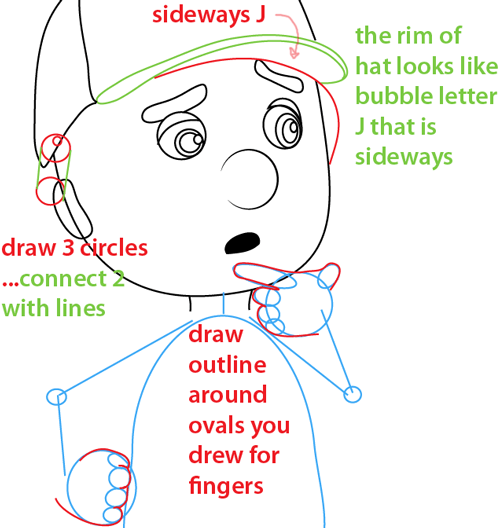
Step 7
For the pencil, draw three circles and connect them with two lines. Draw the rim of the hat, it looks like a bubble letter ‘J’ shape that is sideways and also draw another sideways ‘J’ shape for the bottom of the hat.
Step 8
Draw a curved line and a letter ‘V’ shape for the outline of his hair. Then draw lines on his forearm around the stick figure arm.
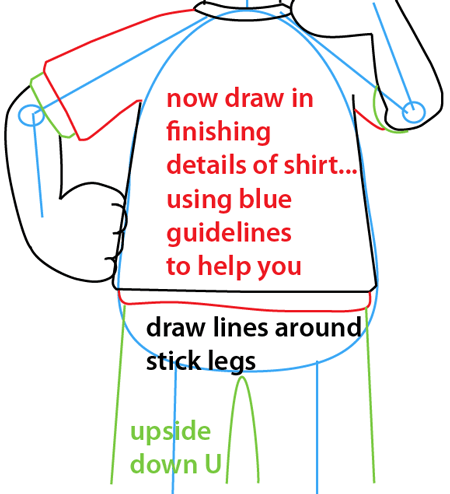
Step 9
Now draw in the finishing details of his shirt using blue guidelines to help you. Draw an upside down ‘U’ shape and then draw lines around his stick legs.
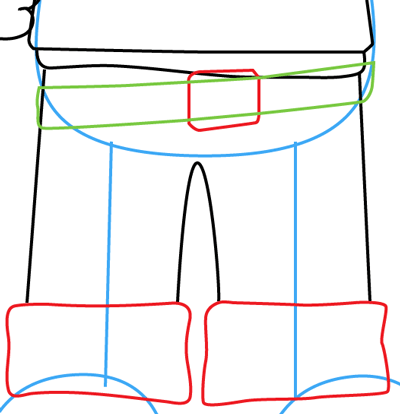
Step 10
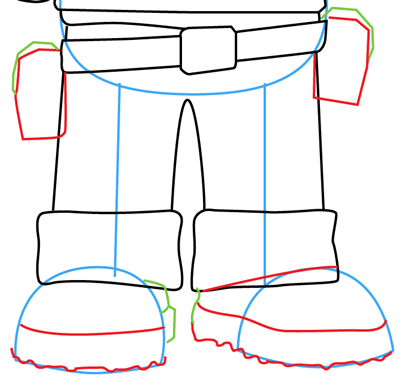
Draw two rectangles for the cuff of his pants and draw his belt by drawing two rectangles.
Step 11
Draw the details of his shoes and two rectangle shapes for the side of his belt to finish his handy belt.
Finished Drawing
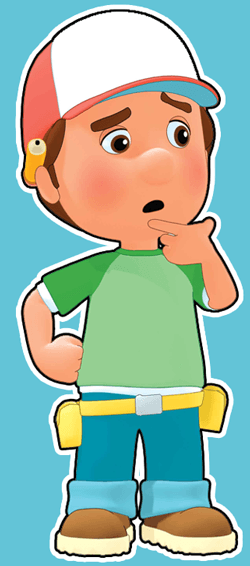
I hope that this tutorial helped you to draw Manuel “Manny” Garcia from Handy Manny and that you had a lot of fun
Technorati Tags: how to draw handy manny, drawing handy manny, how to draw Manuel Garcia from Handy Manny, draw manny from handy manny, how to draw Manny from Handy Manny, how to draw Manuel Garcia from Handy Manny, how to draw a Handy Man, Handy Manny, Handy Man, Manuel Garcia, Manuel, Garcia, Disney Character
Page : 1 2
Pages: 1 2


AWSOME! it went great drawng him(: thanks