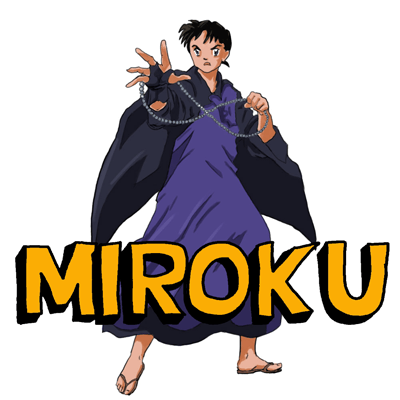
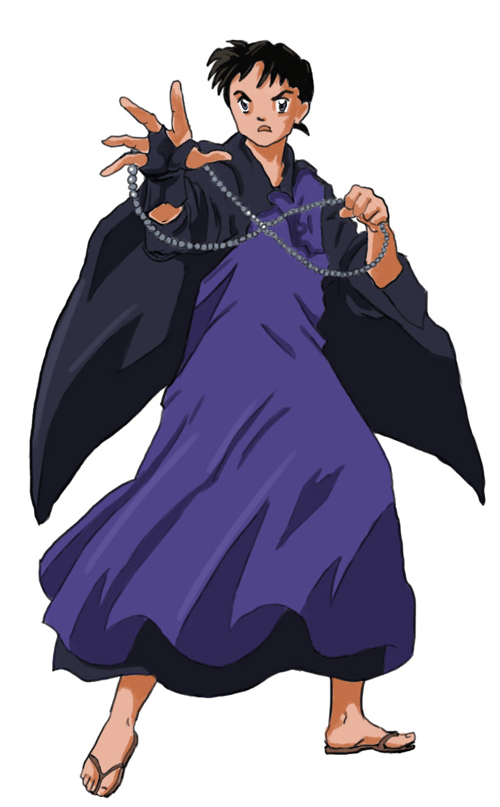
Today, we will show you how to draw Miroku, a Buddhist monk in the show Inuyasha. Miroku can attack enemies with his holy staff and sutra scrolls, but his greatest weapon, the Wind Tunnel embedded in the palm of his hand, is also a hereditary curse originally inflicted by Naraku upon Miroku’s grandfather Miyatsu. Miroku hopes to break the curse by killing Naraku. The following drawing lesson will guide you through drawing Miroku in simple, illustrated steps. Have fun.
Here are More Inuyasha Drawing Tutorials
How to Draw Miroku from Inuyasha with Easy Detailed Step by Step Drawing Lesson
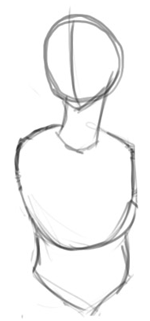
Step 1
1. First of all draw the head and the body.
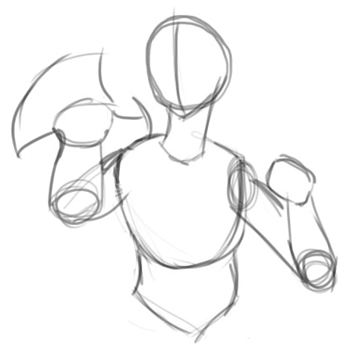
Step 2
2. Add arms. Note that the bigger arc of the hand is the wider the fingers will be spread. In this drawing it’s not onli widely spread but also closer to the viewer.
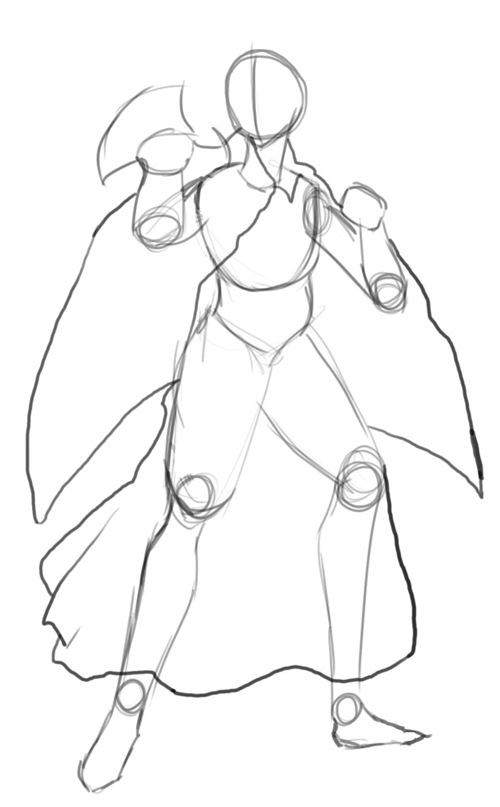
Step 3
3. Now draw the legs.
Step 4
4. Get to the details slowly. Draw the clothes. They are also a little spread as Miroku is in an action pose (posating spell).
Step 5
5. Draw the hair. Also add some more details, such as folds.
Step 6
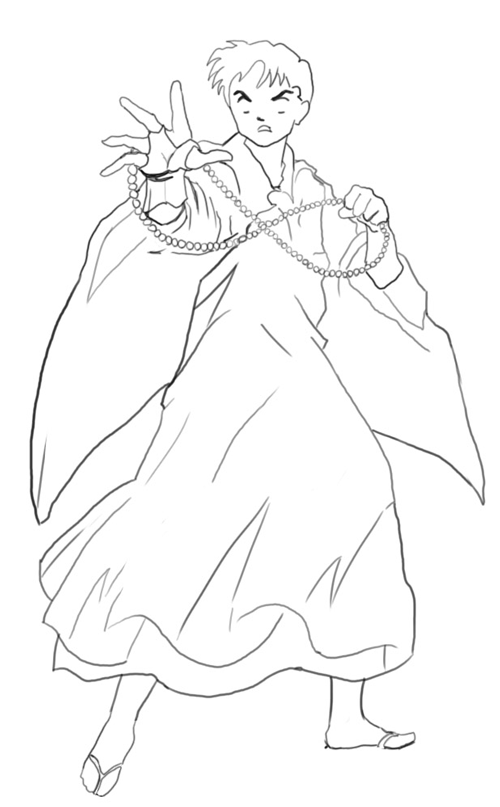
6. Now you don’t need the skeleton anymore. Draw more details: fingers, face, bead (necklace) etc.
Step 7
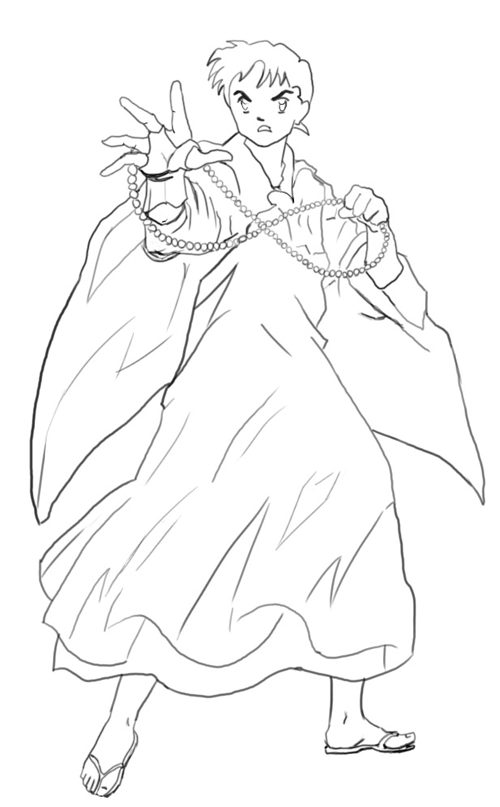
7. Finish up the details. Draw the smallest details last.
Step 8
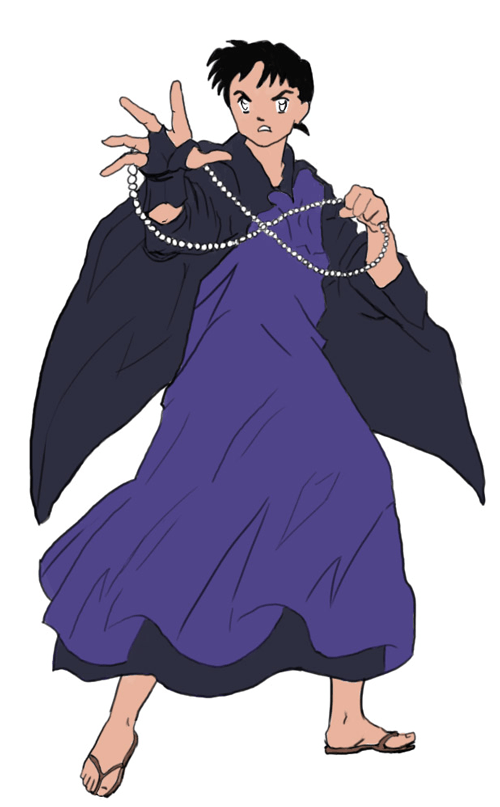
8. Start coloring by adding plain color of every different part.
Step 9
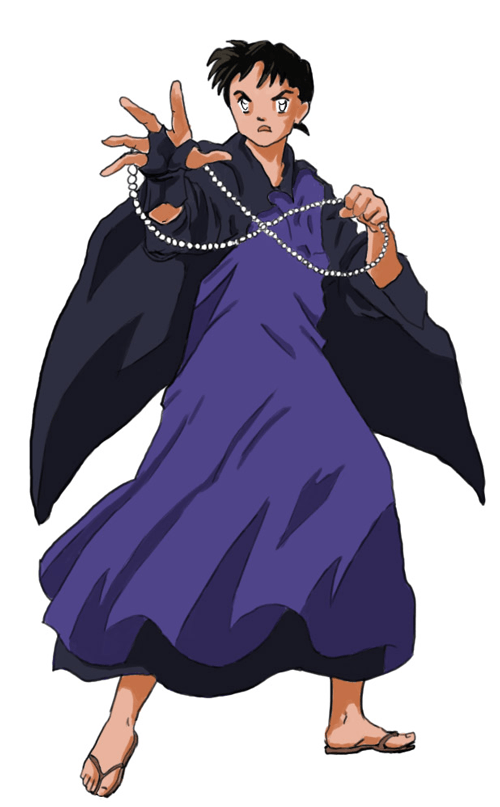
9. Now add the shading. Note where is the light source (this time it’s somewhere in the top)
Step 10
10. Finish by coloring ornaments and small details.
Here are More Inuyasha Drawing Tutorials
Technorati Tags: Miroku, Miroku, draw Miroku, drawing Miroku, how to draw Miroku, draw Miroku, drawing Miroku, how to draw Miroku, inuyasha, draw inuyasha, drawing inuyasha, how to draw inuyasha, drawing lessons, drawing tutorial, how to draw, manga, anime, manga lessons, manga tutorials
