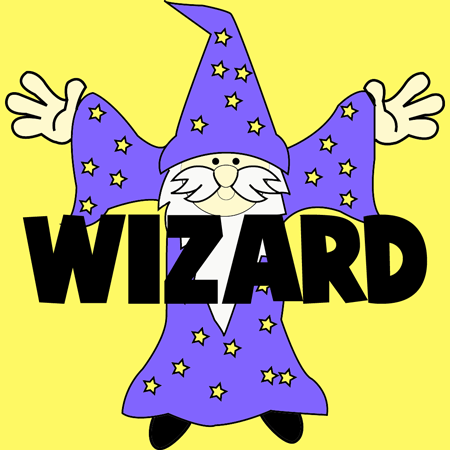
Learn how to draw a cute cartoon magical wizard with the following instructional illustrated steps. This drawing tutorial will guide you through each step using simple shapes and forms. have fun.
How to Draw Cartoon Wizards with Easy Step by Step Drawing Lesson for Kids
Step 1
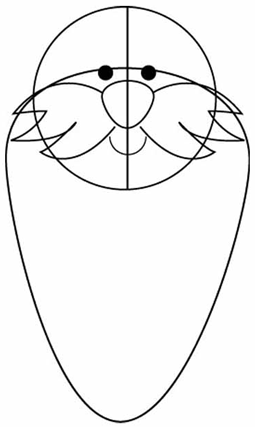
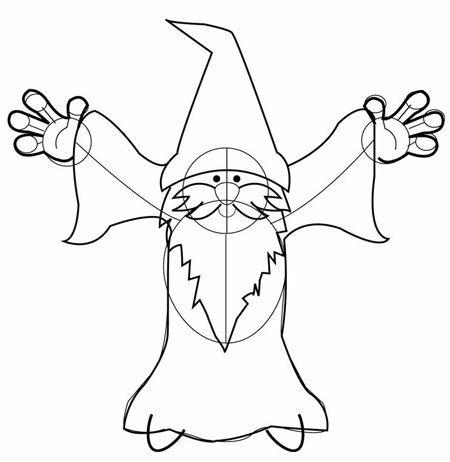
Step 1. Draw a circle for the head and eyes, then a oval for the nose, and a semicircle for the mouth. Use a vertical and horizontal line as guidelines. For the moustache, create two shapes as you see in the image, using curved peaks., finally for the beard, create a big oval shape.
Step 2
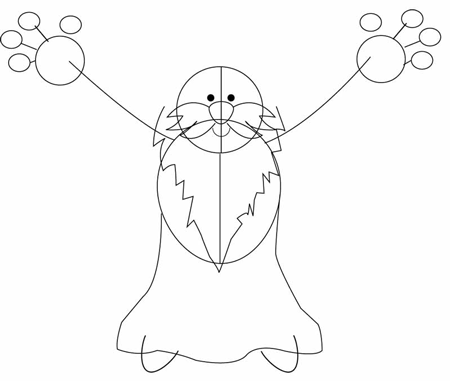
Step 2. The body. Add a oval for the body, from there draw a a long shape (this will be the clothes) and add the feet. Draw triangle shapes around the beard, because is a very messy beard. For the arms, create 2 curved lines and add circles at the end.
Step 3
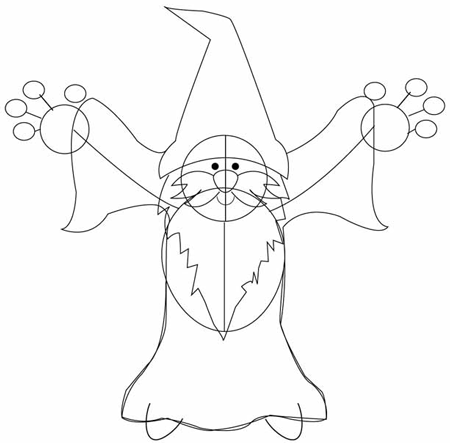
Step 3. The clothes. Draw around the guidelines and basic shapes, use long, and curved shapes to create the sleeves. For the hat, use a triangle with a peak at the top.
Step 4
step 4. Add details to the body by drawing around the guidelines, create the hands using the guides too
Step 5
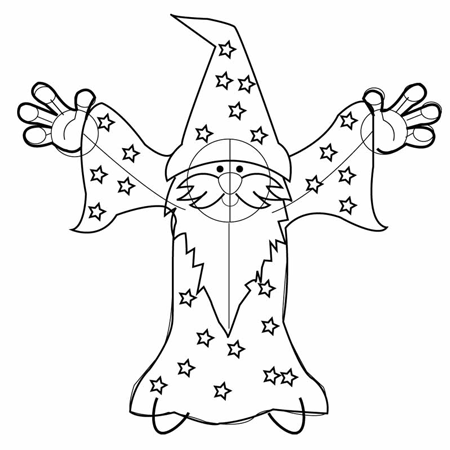
step 5. Add details to the clothes, create small stars over the hat and other parts of the clothes, he`ll look more like a wizard now
Step 6
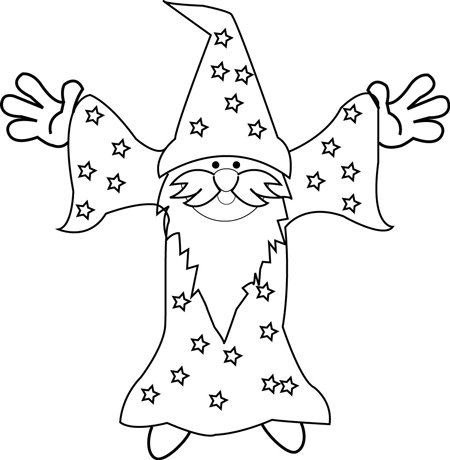
Step 6 Finally, erase the guidelines
Step 7
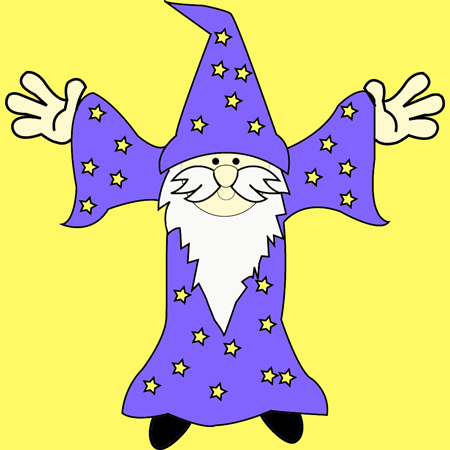
Now colorize the Wizard with whatever colors you choose.
Technorati Tags: wizards, wizzards, cartoon wizards, cartoon wizzards, draw wizards, drawing wizards, how to draw cartoon wizard, draw cartoon wizard, drawing cartoon wizard, cartooning, drawing for kids, drawing cartoons, drawing lessons, drawing tutorials, how to draw
