Today we will learn how to draw Yoshi with the following illustrated steps. I used our free drawing application to draw him (use can use this free drawing tool too – here) – so you can also watch a video tutorial/demonstration of me drawing Yoshi (watch the video of me drawing Yoshi here). Below are my screenshots from the video tutorial. Yoshi is a dinosaur whose debut was in Super Mario World on the Super Nintendo Entertainment System as Mario and Luigi’s accomplice. Since then he has been in his own series of games, including Super Mario World 2: Yoshi’s Island. He has also appeared in many of the spin-off Mario games, such as Mario Party, Mario Kart, Super Smash Bros, Super Mario Galaxy 2, and others too.
Here are Even More Super Mario Bro Characters
How to Draw Yoshi from Mario & Luigi Video Games with Easy Step by Step Drawing Tutorials for Kids
Step 1
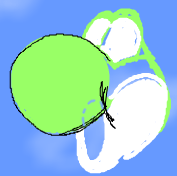
Start off drawing Yoshi’s snout by drawing a circle. If you want to color in Yoshi, then color it green.
Step 2
Lightly sketch 2 ovals / like a sideways number 8.
Step 3
If you are coloring in Yoshi, then color the eyes in white and surround it by green.
Step 3 – a little bit more of a description to help you out
I just wanted to show you that it looks like a sideways number ‘3’.
Step 4
Draw an oval (white if you are coloring him in).
Step 5
I started outlining his snout…for his mouth opening, draw an oval (blue) … part of it gets cut off by his green snout.
Step 6
I am outlining his face a bit more now.
Step 7
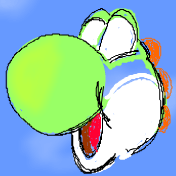
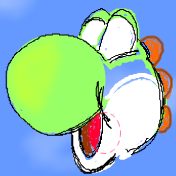
Fill in his8 mouth red….a darker red towards the left…and a lighter red for his tongue. Draw 3 orange scales at the back side of Yoshi’s head.
Step 7 Still – Just a little bit more descriptive
The humps look like a number ‘3’ with an extra hump. Draw a circle that gets cut off for the tongue.
Step 8
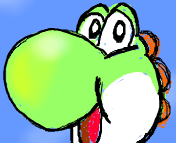
For the pupils / irises of the eyes…just draw a black oval with a smaller white oval within it.
Step 9
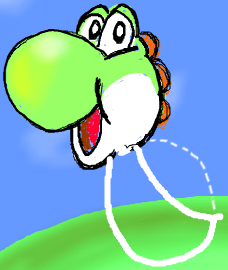
Now lets start drawing Yoshi’s body. Draw an oval (which is almost a circle). Draw an inwards curved line too.
Step 10
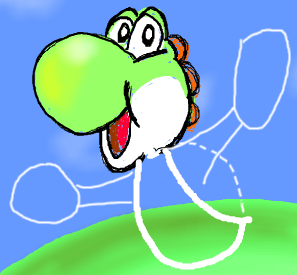
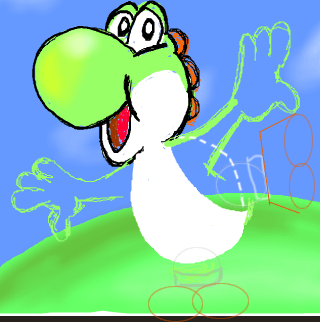
Now lightly sketch his arms and hands by drawing an oval for the hands (the one on the right is bigger because it is closer, something called foreshortening). Draw arms that look like sideways tree trunks.
Step 11
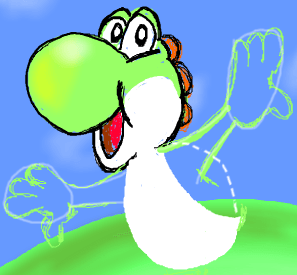
I kept transparent ovals over the hands so you can see that you just have to put sideways number ‘3’s for the finger hum;s. For the thumbs just make sideways letter ‘U’ type shapes. I know that you can do it.
Step 12
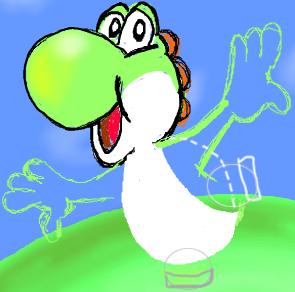
For each thigh / leg … draw a circle and a rectangle.
Step 13
For each shoe draw a number ‘8’ like shape. On the right shoe draw a vertical (up and down) line with 2 lines that go to the right (the top one slants slightly upwards and the bottom one slants slightly downwards).
Step 14
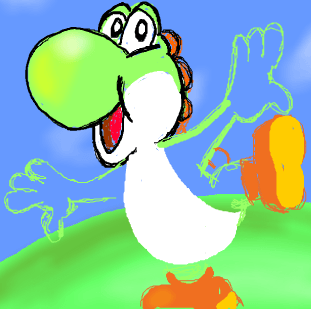
Now color those shoes in … the bottom of the shoe is a yellow-orange. I drew one more scale below the right arm too.
Step 15 – Finish up the Yoshi Drawing
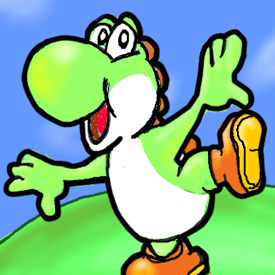
Now draw a darker outline to make him look sharp and put in a few more details such as in his shoes…oh and finish coloring him up … if you want to, that is. Now you can show off your Yoshi drawings to everyone you know.
Watch this drawing tutorial as a video here … try to draw it yourself with out free online drawing app (free registration)
Here are Even More Super Mario Characters to Learn How to Draw
Technorati Tags: yoshi, draw yoshi, drawing yoshi, how to draw yoshi, mario, luigi, mario characters, mario bros characters, drawing for kids, how to draw, drawing lessons, drawing tutorials







stupid