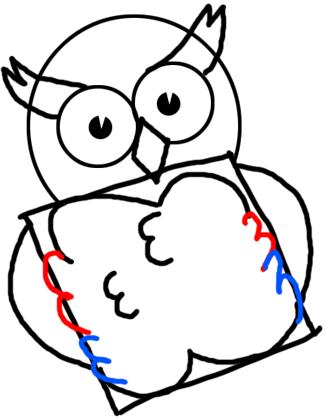
Step 6
On the left of the square body, draw 2 backwards number ‘3’s and then on the right side of the square draw 2 number ‘3’s.
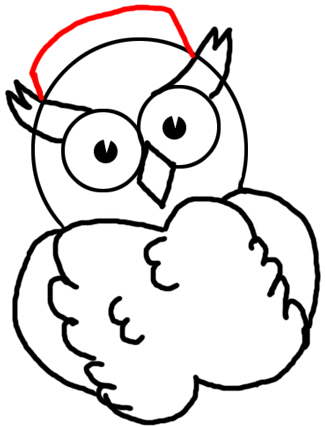
Step 7
Draw 2 lines up and then draw a curved lines on top of both lines…this is the start of the owl’s graduation cap.
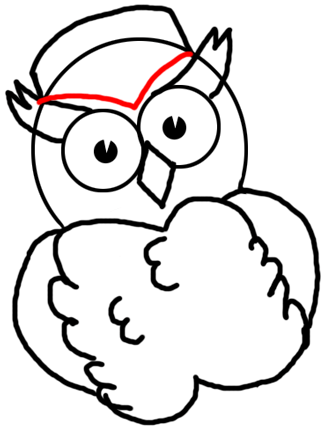
Step 8
Now draw a flattened looking letter ‘v’ like shape above the owl’s eyes.
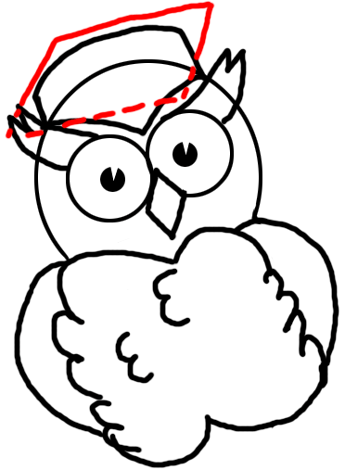
Step 9
Now draw a slanty-square like shape (parallelogram for those who are old enough to know what that is). The dashed line indicates that it is behind the owl and will be erased.
Step 10
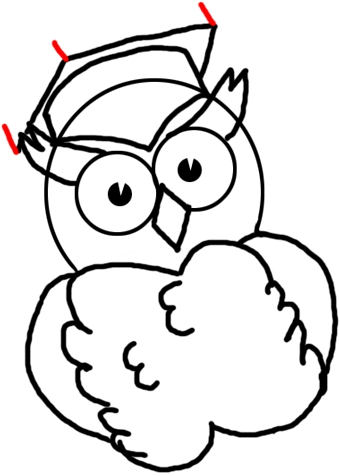
Now draw a line up from each corner.
Step 11
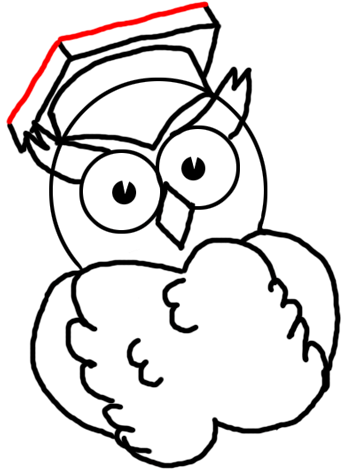
Now connect all the lines on the cap.
these steos helped me a lot!!!!!!!!!.
That was helpful!
thanks for helping me on my book jacket homework!